JEWELED BUTTERFLIES

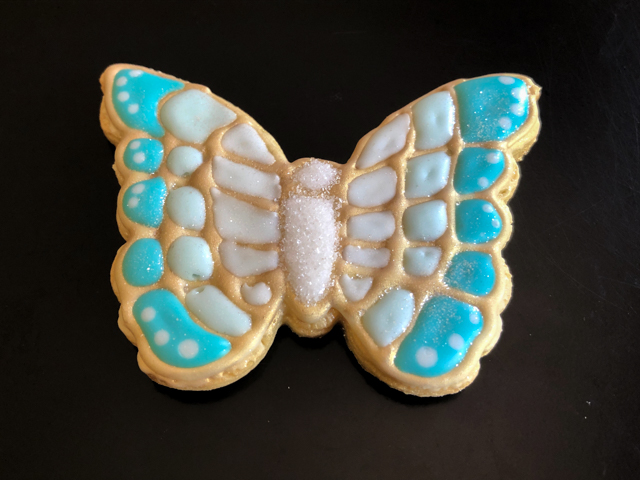
These cookies were made following a tutorial from Marlyn (available in her Patreon site), and although a little involved, they will make you happy and relaxed as you see them develop, one little section at a time.

It all starts by painting a very thin layer of Royal icing on the cookie. After just a few minutes it was dried and I could draw the sections with a food pen. White icing was used to draw the outline of all sections, allowed to dry and air-brushed with gold. Then three different tones of the same color (I used teal from Chefmaster) filled the wing sections. Some steps are shown in the composite picture below.

Finally the body is filled with white Royal icing, and gets a shower of sparkling sugar.

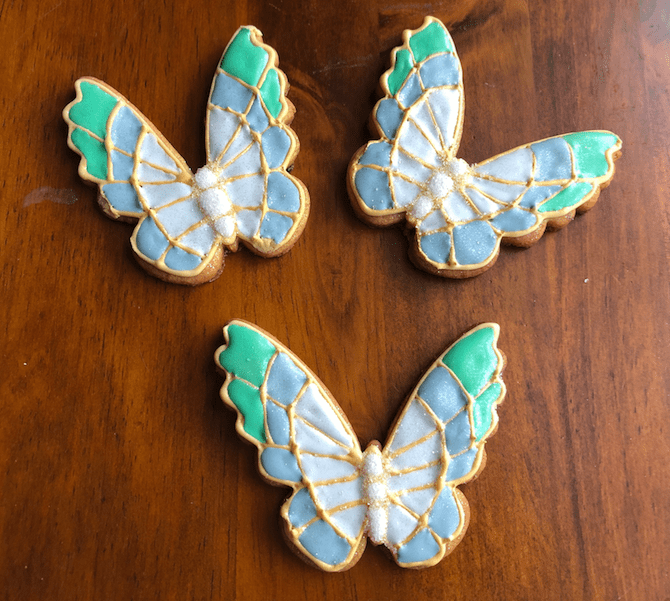
The same design works on different shapes of butterflies. The first time I used a different cookie cutter and had some issues with the fine lines, but still like the overall look.

Leave a Reply

Fill in your details below or click an icon to log in:

WordPress.com Logo

You are commenting using your WordPress.com account. Log Out /  Change )

Facebook photo

You are commenting using your Facebook account. Log Out /  Change )

Connecting to %s