Skip to content
For the Love of Cookies
Search
Blog
About
Contact
INDEX OF POSTS
Category:
Easter
HAPPY EASTER!
EASTER VIBES
A LITTLE EASTER WREATH
PYSANKY EGGS, IN COOKIE FORMAT
A LITTLE EASTER CENTERPIECE
COUNTDOWN TO EASTER!
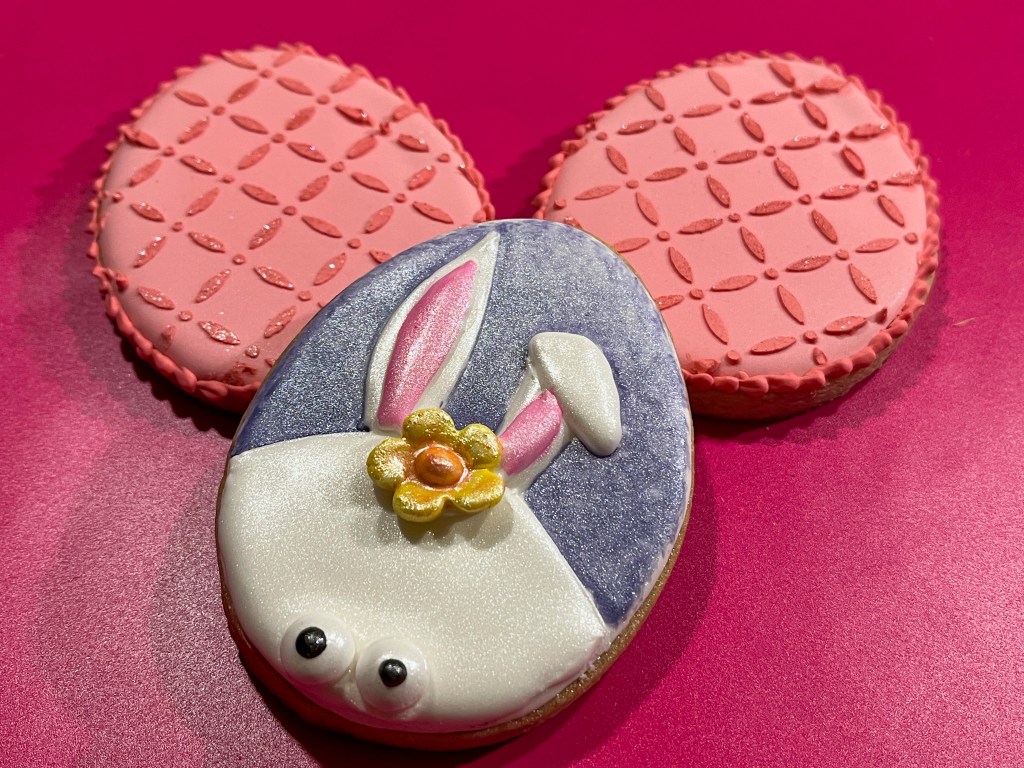
FUNNY BUNNY LOVE
AMY’S CELEBRATIONS FOR MARCH
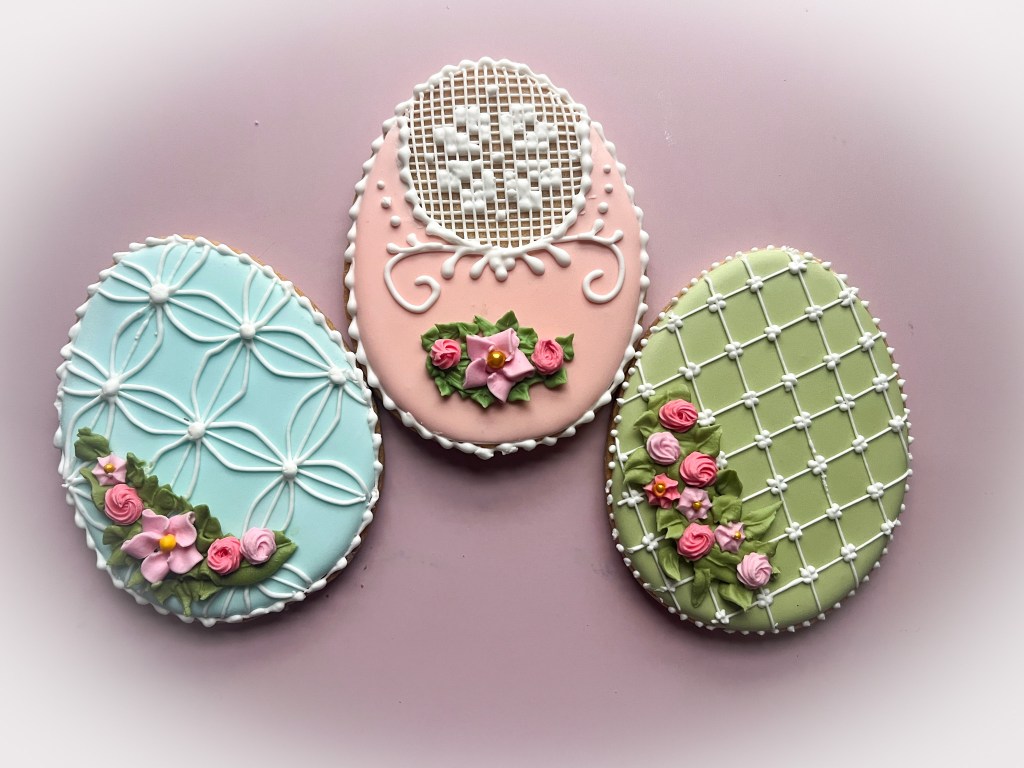
MARLYN’S EASTER EGGS WITH FLORAL DETAILS
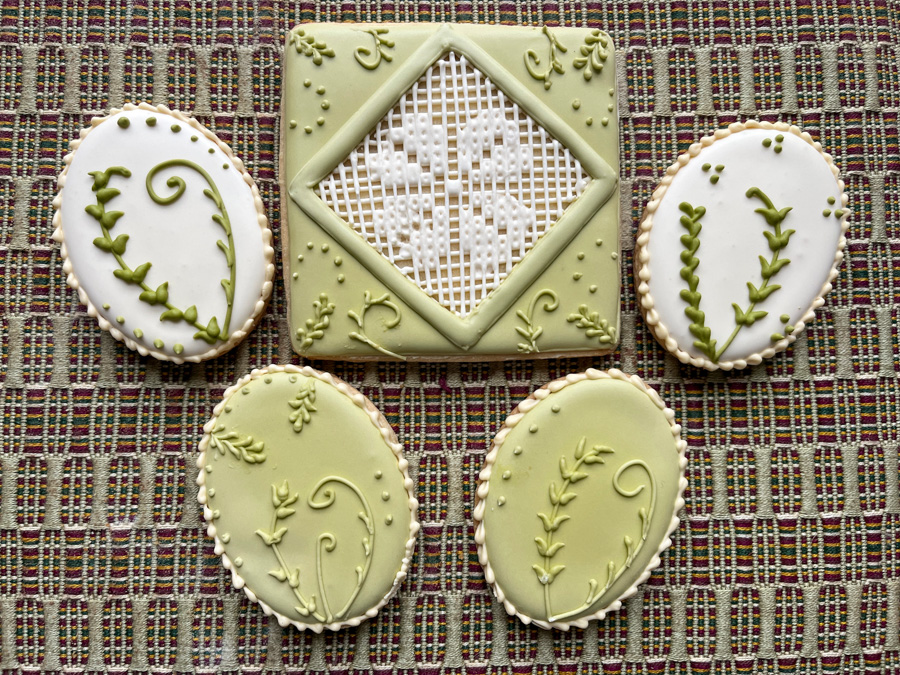
TUNDE’S SIMPLE ELEGANCE
Next Page
Subscribe
Subscribed
For the Love of Cookies
Join 158 other subscribers
Sign me up
Already have a WordPress.com account?
Log in now.
For the Love of Cookies
Subscribe
Subscribed
Sign up
Log in
Report this content
View site in Reader
Manage subscriptions
Collapse this bar