Skip to content
For the Love of Cookies
Search
Blog
About
Contact
INDEX OF POSTS
Category:
Special Holidays
COOKIES FOR THE 4th OF JULY
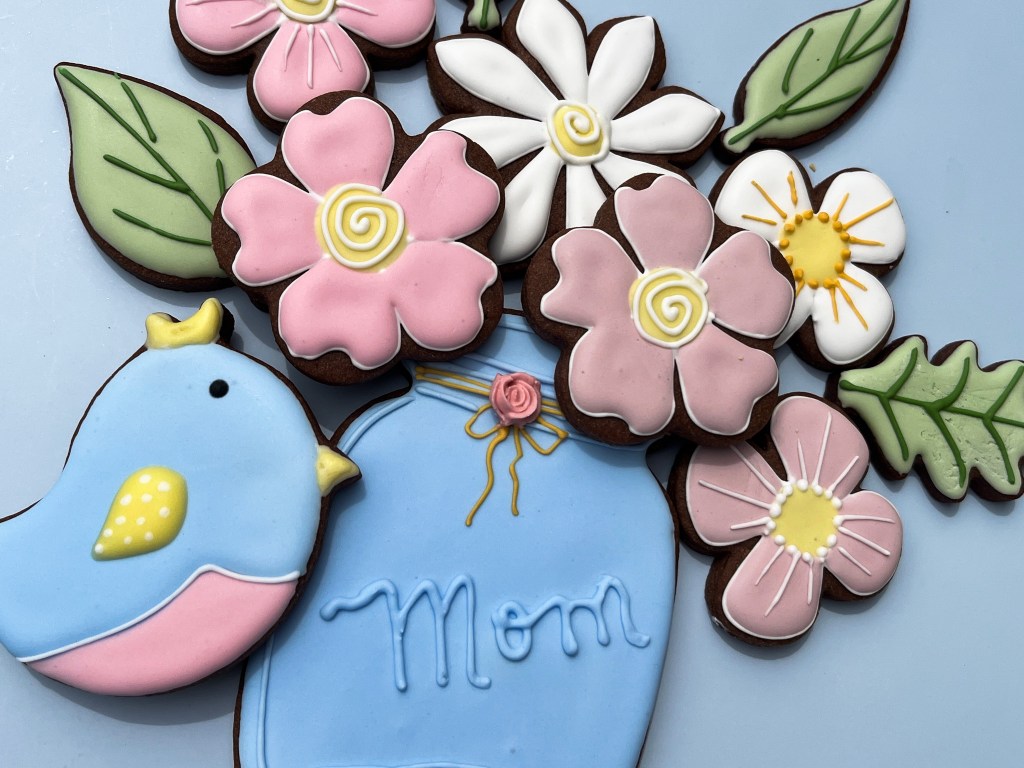
HAPPY MOTHER’S DAY!
ST PATRICK, THE ENCORE
GREEN FOR ST PATRICK’S DAY
HAPPY CHINESE NEW YEAR!
HAPPY NEW YEAR!
HAPPY THANKSGIVING!
HAPPY 4TH OF JULY!
COOKIES FOR THE 4th of JULY
COOKIES FOR MOTHER’S DAY
Next Page
Subscribe
Subscribed
For the Love of Cookies
Join 158 other subscribers
Sign me up
Already have a WordPress.com account?
Log in now.
For the Love of Cookies
Subscribe
Subscribed
Sign up
Log in
Report this content
View site in Reader
Manage subscriptions
Collapse this bar