Skip to content
For the Love of Cookies
Search
Blog
About
Contact
INDEX OF POSTS
Month:
December 2021
LET IT SNOW, LET IT SNOW, LET IT SNOW!
IS IT A CUPCAKE? IS IT A FERN?
MERRY CHRISTMAS!
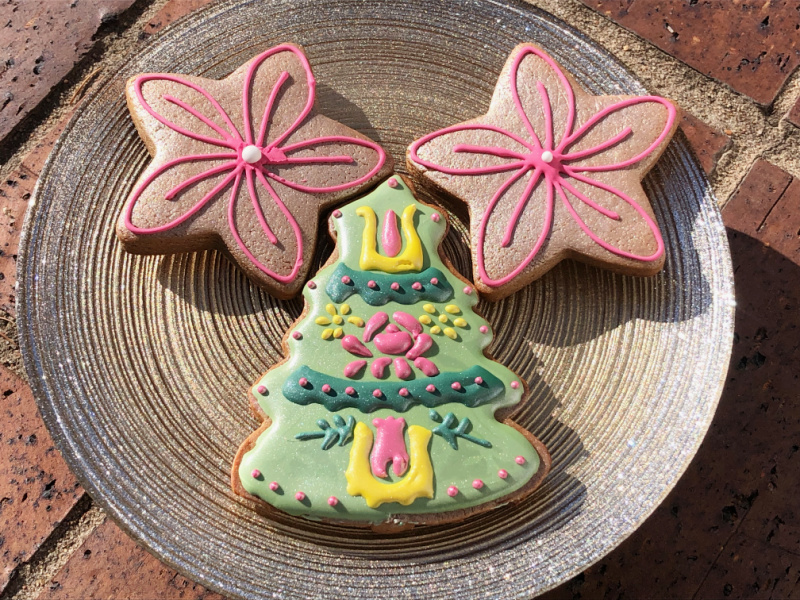
CHRISTMAS COOKIES
SANTA CLAUS IS COMING TO TOWN!
AMY’S CHRISTMAS COOKIES: A FUN VIRTUAL CLASS
MARLYN’S HUNGARIAN TREE
A CHRISTMAS TREE PARTY
CHRISTMAS TIME MACARONS
LET THE HOLIDAY BAKES BEGIN!
Subscribe
Subscribed
For the Love of Cookies
Join 158 other subscribers
Sign me up
Already have a WordPress.com account?
Log in now.
For the Love of Cookies
Subscribe
Subscribed
Sign up
Log in
Report this content
View site in Reader
Manage subscriptions
Collapse this bar