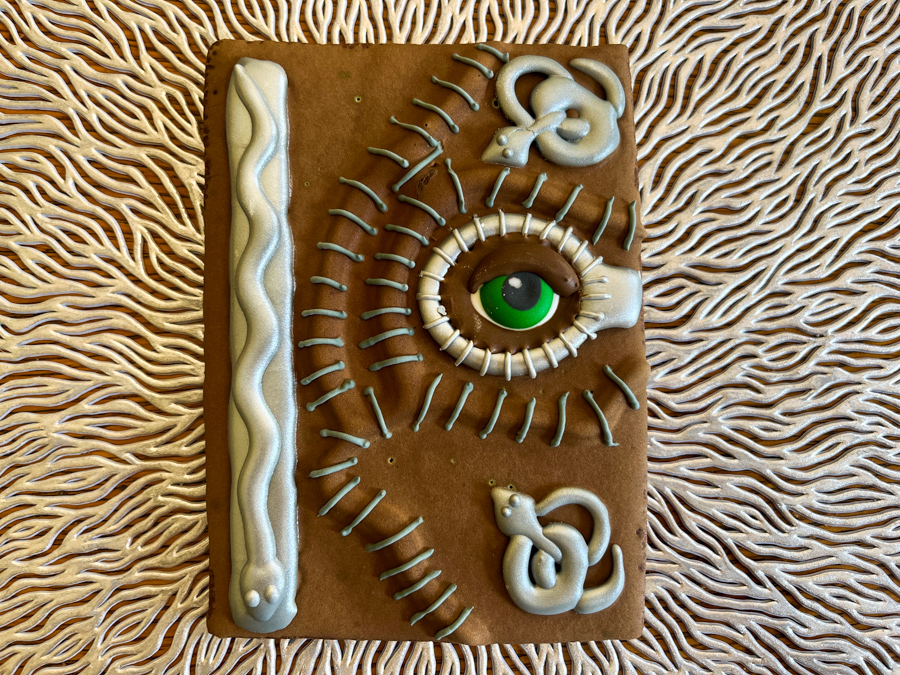
HOCUS POCUS, A COOKIE ADVENTURE!
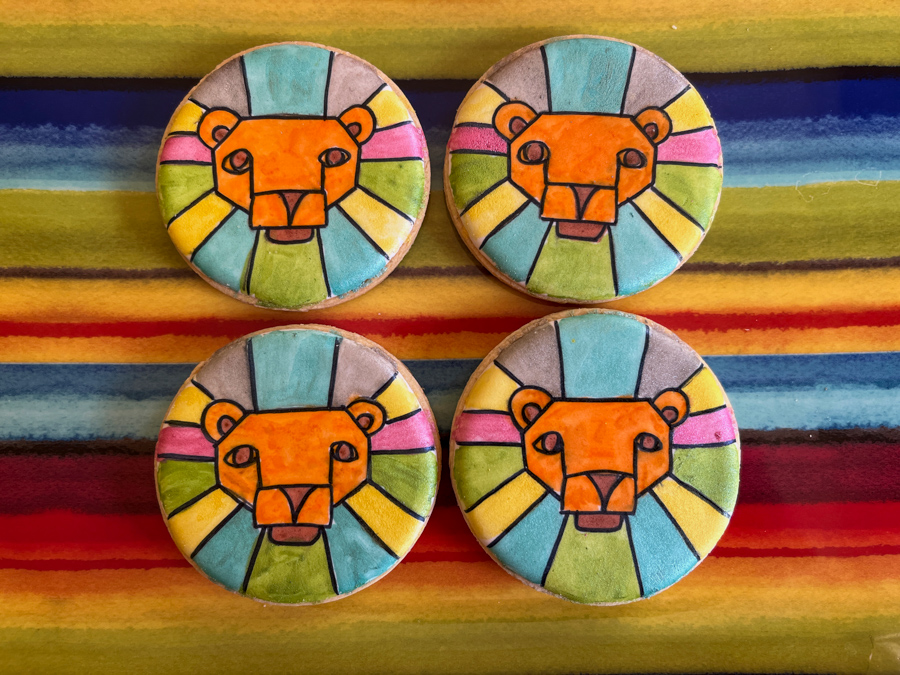

Talk about pushing the limits with the decorating, this was definitely challenging but SO MUCH FUN! Needless to say, it is one of Marlyn’s designs, and full of details that make it special. I simplified things a bit. As originally planned, this is a 3D cookie, supposed to form a box to hold Halloween candy inside. I went with just the top of the box as a stand-alone cookie. I absolutely loved bringing this design to life… The link to this particular tutorial from Montreal Confections is available here.


The base for my cookie is a chocolate-chipotle, which is usually what I go for because everybody loves the flavor so much. Since the cookie is dark to start with, I though it would be a good base for it. As I am a member of Marlyn’s Patreon site, I have access to all that is needed to make the design. Most of it relies on Royal icing transfers, which are the cookie decorator’s best friend. You can make many and use the best ones. Three transfers are needed: the stretched out snake, the coiled snake, and the eye. The most challenging – to me – was the coiled snake, that needs to be piped in the correct order. I messed up my first set, had to re-do them. Things that have precise spacial orientation are very hard for me. Long story, enough said.


You can make the transfers way in advance, they stay good forever. Then the decoration of the base cookie is not that complicated and Marlyn gives a full step-by-step guidance.


I had extra transfers and used the eye (my favorite) as a single accent in a cookie…


This is a real tour-de-force of a cookie, but once again it gives you the chance to learn a ton of things. I loved it!

ONE YEAR AGO: Henna-Inspired Vegan Macarons

TWO MODERN LIONS

Two simple cookie designs, that give the King of the Jungle a fun and modern spin.

DESIGN #1


Don’t you love it when a cookie cutter helps you with the decoration? This adorable cutter is available at etsy (click here). Once you bake the cookie, the design is laid out for you. I used two colors of Royal icing, light gold in flooding consistency to cover the whole extension. Let that set, and used piping consistency for the details, in light brown. Next day I used a fine tip food pen to add the eyes, whiskers and mouth. Super simple, and I think the end result is pretty cute…

.

DESIGN #2


I borrowed this design from the IG page of Kathy Barbro (artprojectsforkids). I used my mini-projector to draw the image on fully set iced cookie (white background). Then, I used a food pen for the face, and luster powder mixed with vodka for the sections around the lion’s head.


Once the painting was fully set, I went back over the lines with a slightly thicker tip food pen, for a more polished look.


I really love this design, and it is super easy to do. I imagine that most people can draw it free-hand, but as you may have noticed, I need all the help I can get. You can do the outside in two colors only, or even keep the whole thing black-and-white. But of course, I am slightly addicted to colors…

ONE YEAR AGO: Cat in a Teacup

MARLYN’S SUNFLOWER PUMPKIN

I cannot lie, I hate that Summer has ended, but I must also admit that Fall might very well be the greatest season for cookie decorating… because…. pumpkins, autumn leaves, and let’s not forget: HALLOWEEN! So, to start things on the best possible mood, I kick the season with a set of cookies created by Marlyn. I fell in love with them at first sight: a mixture of pumpkin and sunflower, in a composition full of small details that make a simple design shine. You can watch her tutorial with a click here.

The background of the pumpkin is made a little more special by spray painting the edges and then splashing some gold on the whole surface. I love that technique, which she demonstrates very well in the video. Just adding these two additional steps to the background makes the cookie special. But, of course, the icing on the cake is the sunflower, petals piped over a ring of icing to give it a little more lift. With Marlyn, it is all in the small details. Below, you can see some of the steps in the preparation of the cookies.

I loved making these cookies because you slowly see the image coming to life. Moreover, they stand as a very nice lesson in decorating, because you need to work on so many skills: a nice smooth flooding, then some air-brushing, working with luster powder, and finally piping designs with different icing consistencies (for the flowers, leaves, and fine line details).


For the sunflower center I used two different methods: black sanding sugar, and adding texture to Royal icing using a fondant ball. I like them both, but working with sanding sugar can be tricky, if you go that route, make sure the petals and areas around the center are fully set so the sugar won’t glue to them.

I hope you enjoyed this set, that represents the essence of Fall so well!

ONE YEAR AGO: Welcome to Fall!

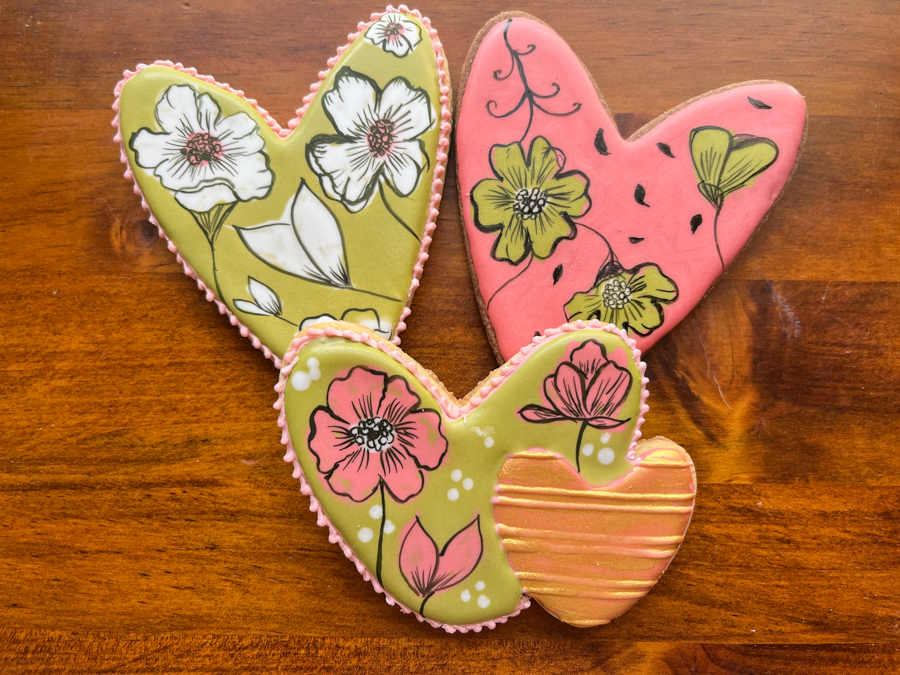
ANDI’S WET-ON-WET FLORALS

This set of cookies were part of an online class I took recently (click here for details). Andi is a wonderful instructor and when you subscribe to the class you get a super detailed PDF not only with all the recipes and templates, but also in this case a little tutorial on how to draw this particular type of flower. For me, this kind of basic info is extremely helpful. Right after I finished the cookies planned for class, I took a little departure and made a small set of my own, using her basic approach. I highly recommend her classes. This was a reasonably simple one, I am trying to decide if I should take a deep breath and go for one of her more advanced versions. You know how that might end… (wink, wink).

This online class had four designs, but two of them I messed up. One of the things that needs to be considered is that designs with a big area of wet-on-wet might cause the icing to overflow the edge of the cookie, which distorts the image. I added too much of the base color without taking that in account. But the heart-shaped cookies worked very well. Also in the class we had a square cookie and a large, round cookie with a monogram inside. I need to re-visit those in the future.

I cannot go into all the details for the different stages (due to copyright issues for the class), but what I loved the most was adding the black details using a fine brush and this particular food color, which is Andy’s favorite for this type of work. It truly works super well. It is a dye designed for air-brushing, it dries reasonably quickly, but it is very forgiving. You use it straight from the bottle, no need to adjust anything.

One of the cookies I had issues with started from a square shape and a band of gold luster painted on the naked cookie. I used that idea and made a composite square cookie. In this case, instead of wet-on-wet, I painted the design with luster gold and then used the black Amerimist gel color to add the details.

Below a few steps of the prep for these cookies… First, painting with gold, icing with green, and using a stencil to add a pattern just in one area of the cookie. Luster gold to paint a very loose design of the flowers, and the black details added once it all dries, which is less than 10 minutes.

I really loved this method, and will be exploring different shapes of flowers in the future. I also love how a very elegant design can be made with just three colors of Royal icing.

ONE YEAR AGO: Brush Embroidery

A LOVELINESS OF COOKIES

Did you know that a group of ladybugs is called a “loveliness?” Cannot think of a more appropriate term… Today I share a set of cookies that made me very happy. I normally find a lot of boo-boos in my bakes, things that I wish I had done in a slightly different way, but sometimes… sometimes they come out the way I hoped. Without further ado, some loveliness for you!

The inspiration for these cookies came from painted rocks. It is amazing what artists can do, and the shape of a rock is quite appropriate to turn it into a ladybug. Cookies are flat, but I think they worked ok too. This batch was flavored with hazelnut and vanilla. Here are the steps to bring loveliness to cookie life…

First, I drew the basic design with a food pen…

Then, I used baby black luster powder + vodka to paint the area in between the wings…

Using flesh tone gel dye from Americolor, I flooded the head region, let that crust for 10 minutes, then outlined and flooded the wings, adding dots of black (wet-on-wet icing).

Here is the loveliness, waiting for final details…

After a few hours, a line of black icing was added to the separation of head and body, gold sanding sugar sprinkled on top (I used this product from Wilton), and a little golden bow (made with fondant) glued in the center.

The loveliness was then ready, just waiting for the facial details next morning…

All that was left to do is adding eyes, a nose and a smile… oh, yes, some blush to the little faces too!

ONE YEAR AGO: Royal Icing Etching

SUMMER COOKIE CUTTER FLIP

Cookie decorators love “the flip”: using a cookie cutter for a design unrelated to its original purpose. In this case, Marlyn used a three-tier cake cutter to make an adorable sea scene with a Mermaid’s Tail. I followed her steps and then made my own version modifying it slightly to incorporate a dolphin. This cookie composition is not at all complicated, but you do need to do it in stages.

Her tutorial is available on Facebook with a click here.

I simplified a few things, like the mermaid’s tail, so that I could make that in one single sitting. But I advise you to watch the way she did it, because it results in a more delicate design.

Below some of the steps to make the dolphin. I just found an image in the internet and drew it on a piece of paper, then used that to draw the design on the surface with the cookie with a black food pen. Black in piping consistency for the outline, then gray to flood. Details added with a pen once the gray layer was fully set. I finished the body with some touches of silver luster powder just for a little extra bling. And did the same for the mermaid’s tail, using gold and pink luster.

I love the concept of flipping a cookie cutter, and this one is a nice way to extend Summer a little further… I am all for that!

ONE YEAR AGO: Royal Icing Etching

THE MANY FACES OF WHITE

Every weekend I like to work on a special cookie decorating project, either to learn a new technique or to practice something I still feel insecure about. But I also like to have a set of cookies waiting without any specific design in mind. My favorite approach is to just pick some simple shapes (squares, ovals, circles) and flood them with white or a very light pastel tone Royal Icing. Next day they are ready to be decorated. The possibilities are pretty much endless. Today I share a series of cookies in which the starting point was a simple white background.

DESIGN #1
STRIPES & DETAILS

Maybe my favorite of this series… I used food safe pens to paint a series of bands of color, then used piping consistency icing to add little details. Super basic. Inspiration came from painted rocks, if you go on Instagram or Pinterest you can find a ton of designs to inspire you.

.

DESIGN #2
STRIPES & FONDANT ACCENTS

A lot simpler to do because the stripes don’t need to be precisely separated, I just used luster powder in 4 different colors to paint the background. Fondant shells in gold complete the look.

Even simpler, stripes can be added with a fan type brush, just touches of gold coupled with a modern fondant flower (made with this mold)

.

DESIGN #3
MINI-PROJECTOR

So many images available in the internet or in coloring books, just google something, grab your projector and go to work… Lately, I’ve been a little focused on a certain breed of dog… The one below was painted with food safe pens and the bubbles added with piping consistency Royal icing.

The two images below were “borrowed” from one of my favorite pages in Instagram, Jillfcsrocks. And no worries, she is aware that I get her images on my cookies… She is also a cookie-maker! They were painted with Sugarprism.

Another cookie painted with Sugarprism, this one demanded a little more time, but I had fun letting my inner Van Gogh coming out (cough, cough).

.

DESIGN #4
STENCILS

Probably the easiest, most efficient way to decorate a cookie, coupling stencils with the air-brush. My main advice is to invest on a screen (like this one) to get really sharp edges on the design. That is not too important in busy patterns such as the black random spots, but it will help other types of drawings like the paw prints and the dragon. Are you watching House of Dragons? Fun show…

Stencils can also be joined with piping in white and then painted. Probably the most involved decorating method of all the examples in this post. When you couple it with painting (in this case, Sugarprism), it is a very nice way to get a more realistic image. Big thank you for Marlyn from @montrealconfections for helping me with the design of this stencil.

ONE YEAR AGO: Heart of Honey Pizza Box Cookie

SUMMER GIRLS

Sometimes I decide to throw caution to the wind and try something way out of my comfort zone. Remember the gnomes I made recently? This set of cookies were also designed by Shirlyn, and they pushed me to the limit of my abilities. For sure. Character cookies are not easy, and the only way I could attempt those was following the very detailed instructions in her tutorial. If you compare my cookies to hers, you will realize I have a long ways to go, but every marathon starts with the first mile. So here I am to share my first attempt at these cute cookies, perfect to celebrate all things Summer.

I am thrilled with my girls, because I never imagined being able to even attempt this type of cookie a year or so ago. It was not that easy, I have to admit. My Royal icing was a little too thick, the colors a tad too strong. But I’ve learned quite a few things, and at some point intend to repeat them, trying to keep in mind the level of finesse that Shirlyn achieves.

A mini-projector is a huge help to transfer the image onto the cookie, but there are ways to do it without it, using paper, as demonstrated by my tent-baker friend Tanya (click here)

Below, a few of the steps in this cookie decorating marathon that involved 10 colors of icing…

You might notice (bottom right picture) that my icing consistency was not perfect. I think the lesson to learn is that even if it seems pretty painful to stop and adjust it, in the end it will be worth it. Shirlyn suggested opening the bag, spraying a little water, and massaging it to distribute. That makes it possible to thin it without having to go through the trouble of un-bagging, and wasting a lot of icing in the process. I intend to try it next time.

By the end of the first day, the cookies will be all fully piped with the design, and next day you will have a great painting adventure waiting for you!

I kept thinking that selling cookies like these would be pretty much impossible because they are very labor-intensive and unless you are a famous cookie-artist with a million followers in Instagram, no one would be willing to pay for the amount of work that goes into each one. But since I make them and give them away, this is not an issue. I am just happy thinking that maybe a little girl got the cookies and that they made her smile…

If you are interested in online tutorials by Shirlyn, jump to her Instagram page and stay tuned for her upcoming lessons. And you can still sign up for any lesson she has available right now, including the Flamingo-Gnome and the Summer Girls. I love her style of teaching, and also appreciate that she tells you how to get better, what to focus on next time.

ONE YEAR AGO: Jurassic Park Pizza Cookie Box

A TOUCAN ADVENTURE

This cookie composition was designed by Amber. A short video demonstrating how to make it is available on her youtube channel (click here). For a much more detailed tutorial and access to the templates, you need to be a supporter in her Patreon site (click here).

I cannot lie to you, these are a bit of a labor of love. I actually made it a lot easier by piping the Royal icing transfers in white, allowing to fully dry, and then painting. Amber has incredible skill and did the whole thing piping different colors in each section of the beak. I loved the whole process, and assembling the final cookie to reveal the full bird sitting on a branch. How does she come up with this stuff? I have no idea, but I am so glad she does!

First things first, making all the transfers – either following Amber’s method, or if you prefer to paint, do them all in white first. She has the templates sized perfectly not only to cut the cookie by hand, but to draw the image of the toucan so you can pipe the basic shape and add the transfers. Using paint you can do the beaks with different color combinations. I used Sugarprism and food pen for all components.

Once those are painted and dry, you can work on the cookies…

I made two with a very smooth background, and one with a bit of texture, working the surface with a thick brush. Because it would be important to get the surface of the bird smooth, I just cut its shape with parchment paper and laid on top of the icing while wet. That area stayed flat, and once the icing was sightly crusted I worked the regions outside the bird with the brush. Next morning I removed the parchment paper with the shape of the toucan, and proceeded with the Royal icing step.

Some of my piping could have been a little more precise, but overall I am very happy with these cookies. Once you spread the preparation in a couple of days, it is not overwhelming. If you watch Amber’s tutorial you’ll see she gilds the lily further by doing brush embroidery over the black wing. I confess I was afraid of ruining the cookie, so I skipped it.

This would be a nice center piece to include in a set of tropical smaller cookies,
or simply to offer as a gift to a special friend.

Huge thank you to Amber for sharing very detailed tutorials in her Patreon site!

ONE YEAR AGO: Marlyn’s Pizza Box Beach Cookies