Skip to content
For the Love of Cookies
Search
Blog
About
Contact
INDEX OF POSTS
Month:
February 2022
FOR THE LOVE OF UKRAINE
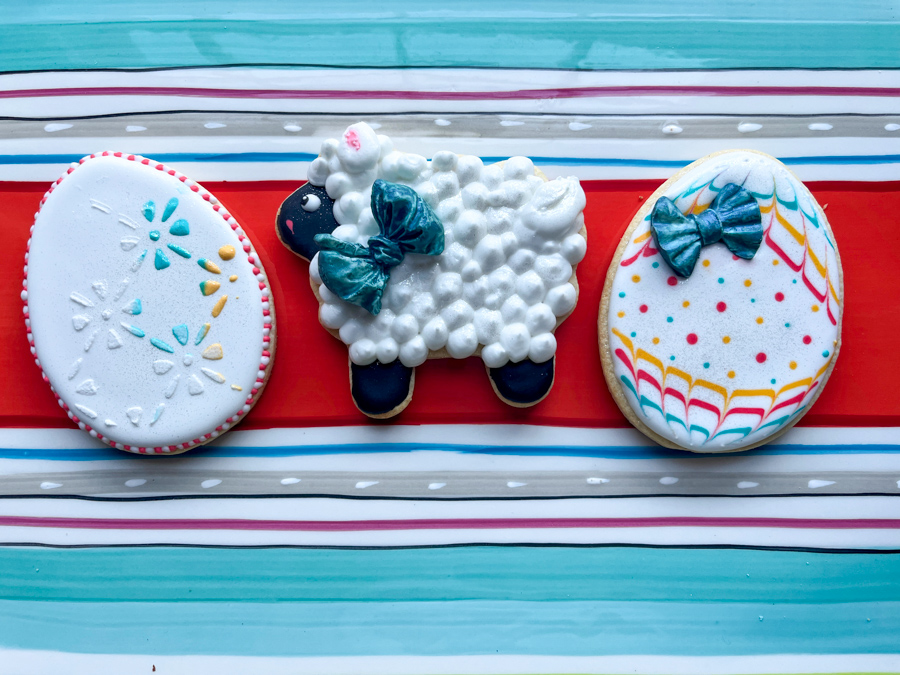
EGGSCELLENT EGG HUNT: ONLINE CLASS WITH AMY
CARDINALS IN A TREE: A PIZZA BOX SET
OF BEARS AND BUNNIES IN LOVE
GINGERBREAD HEART COOKIES
FOR THE LOVE OF HEARTS
FOLLOWING MY HEART
OF GNOMES AND UNICORNS
Subscribe
Subscribed
For the Love of Cookies
Join 158 other subscribers
Sign me up
Already have a WordPress.com account?
Log in now.
For the Love of Cookies
Subscribe
Subscribed
Sign up
Log in
Report this content
View site in Reader
Manage subscriptions
Collapse this bar