Skip to content
For the Love of Cookies
Search
Blog
About
Contact
INDEX OF POSTS
Category:
Abstract Patterns & Zentangles
FUN WITH TEXTURE
MANDALA STENCIL
A JAPANESE FLAIR
A TRILOGY OF SWIRLS
DOT-STENCILED COOKIES
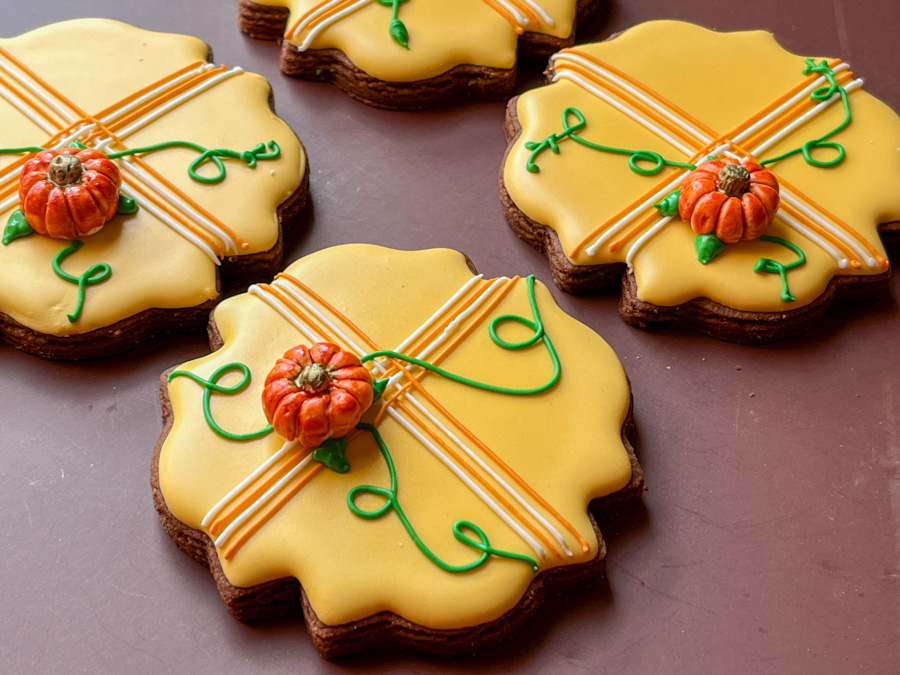
TUNDE’S QUILTS
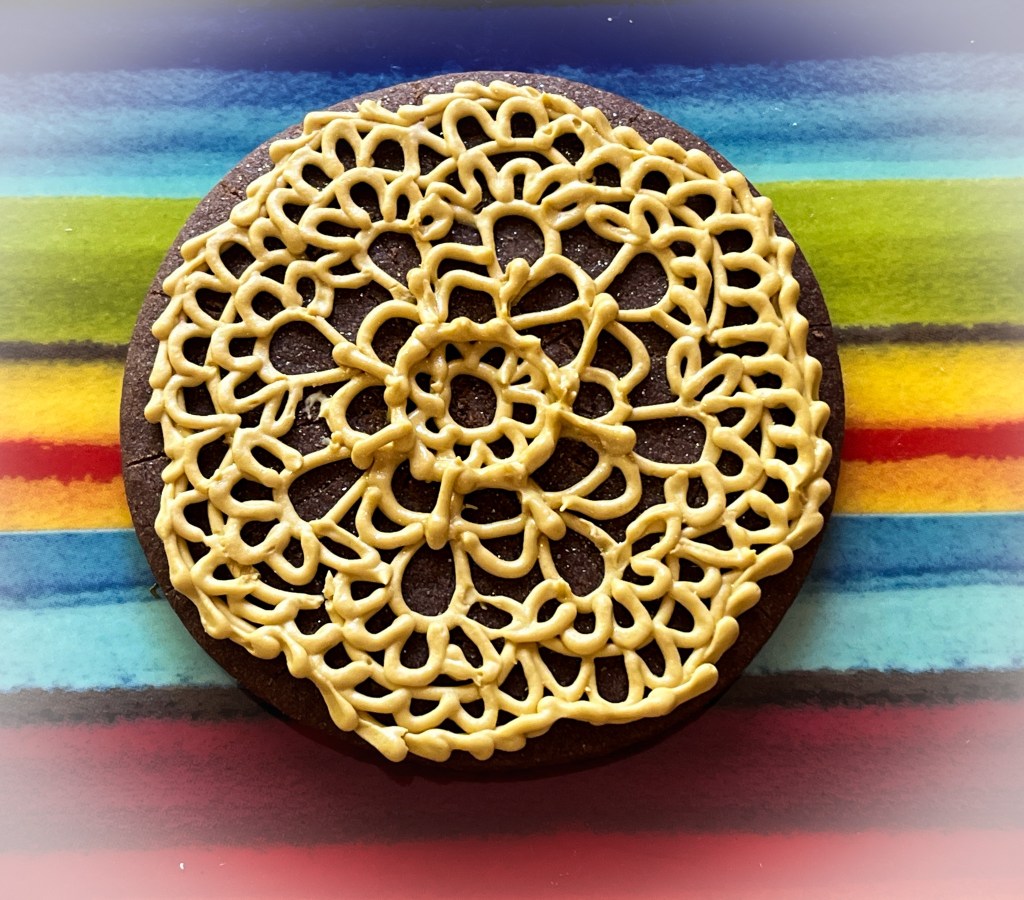
CROCHET COOKIES AND MEMORIES OF GRANDMA
I’VE GOT THE BLUES
WALKING A FINE LINE
ZENTANGLE FUN AND BONUS VIDEOS
Next Page
Subscribe
Subscribed
For the Love of Cookies
Join 158 other subscribers
Sign me up
Already have a WordPress.com account?
Log in now.
For the Love of Cookies
Subscribe
Subscribed
Sign up
Log in
Report this content
View site in Reader
Manage subscriptions
Collapse this bar