Skip to content
For the Love of Cookies
Search
Blog
About
Contact
INDEX OF POSTS
Month:
October 2022
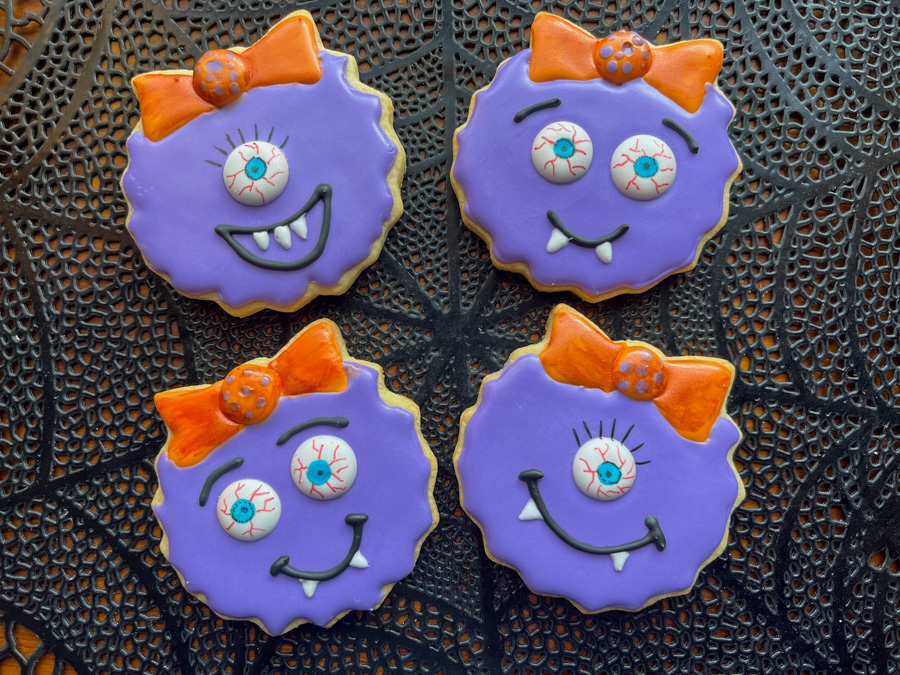
HAPPY HALLOWEEN WITH SWEET 16!
MARLYN’S INSPIRATION FOR OCTOBER
AMY’S STACKABLE PUMPKIN SET
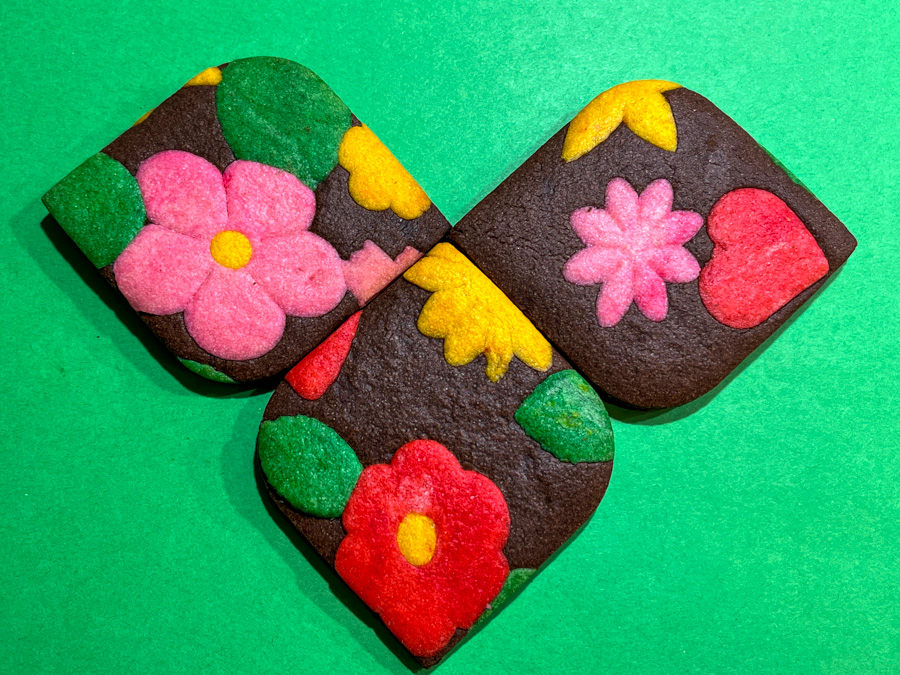
PLAYING WITH COLORED DOUGH
COOKIE CANVAS, A COOKBOOK REVIEW
LITTLE SPIDER BROOCH COOKIE
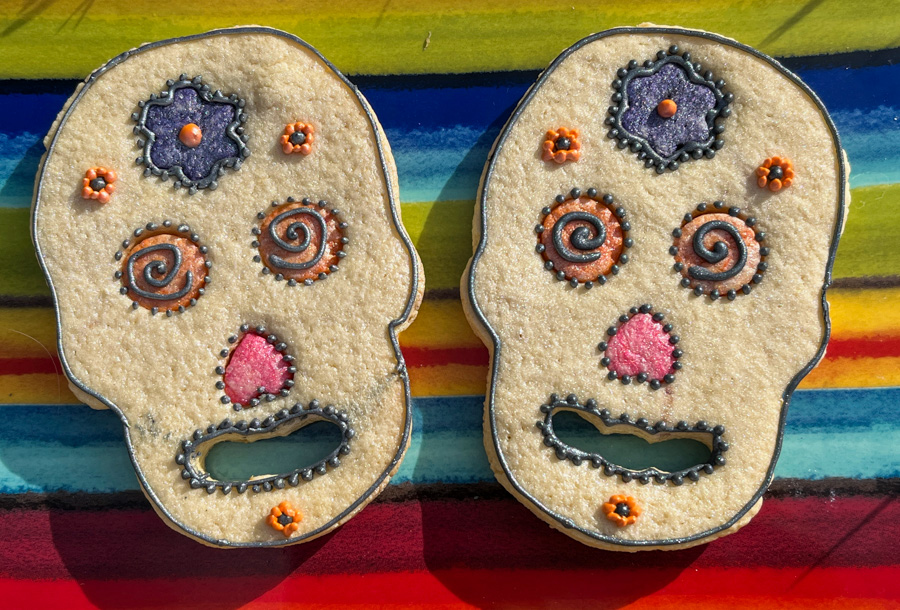
ARE WE SCARED YET?
TUNDE DUGANTSI’S FALL COOKIES
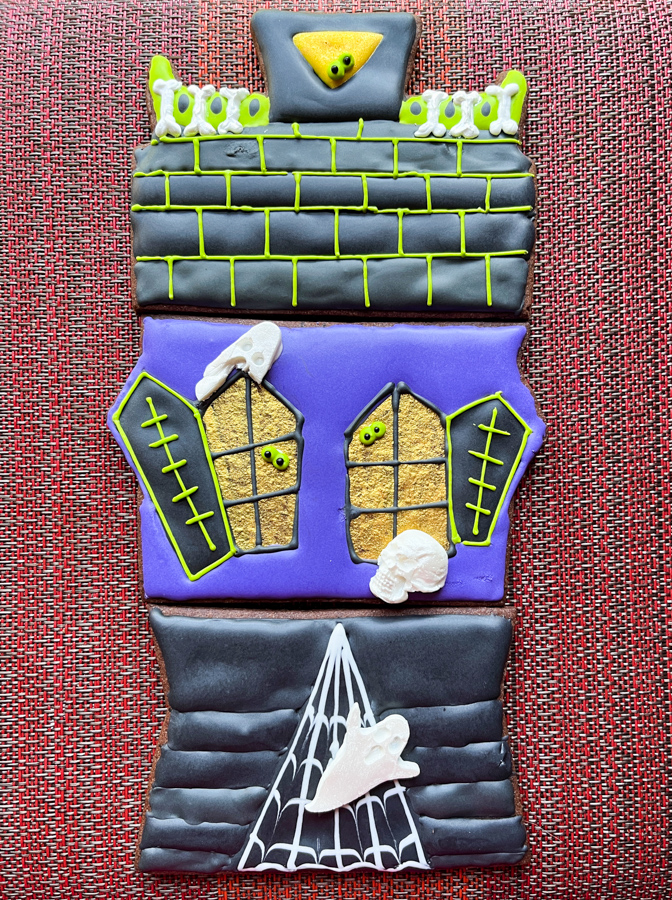
AMY’S HAUNTED HALLOWEEN MANOR
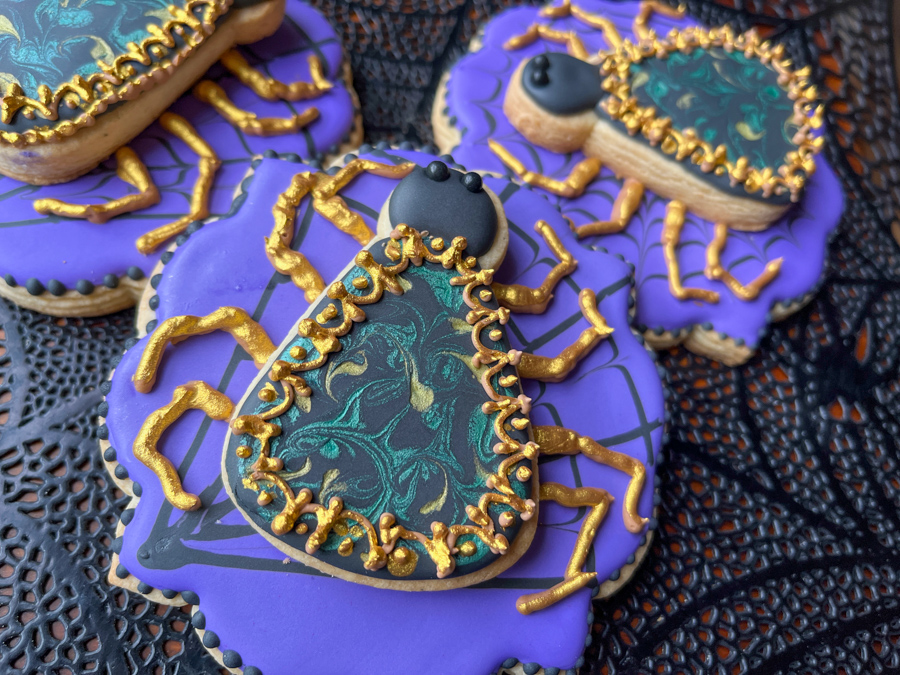
TWO SPOOKY COOKIE PROJECTS
Subscribe
Subscribed
For the Love of Cookies
Join 158 other subscribers
Sign me up
Already have a WordPress.com account?
Log in now.
For the Love of Cookies
Subscribe
Subscribed
Sign up
Log in
Report this content
View site in Reader
Manage subscriptions
Collapse this bar