This is one of the techniques I struggled with for a long time. It is a little tricky to get the consistency of the icing just right, so that it spreads smoothly without getting under the stencil and messing the design. Once you “get” it, decorating with stencil will quickly become a favorite method because it is quick, efficient and oh so cool… In this post, I show a few different ways to approach it, but of course, they all start with a nicely flooded cookie surface, fully dry so it can take the pressure of spreading the icing over it.
WHITE ON PINK
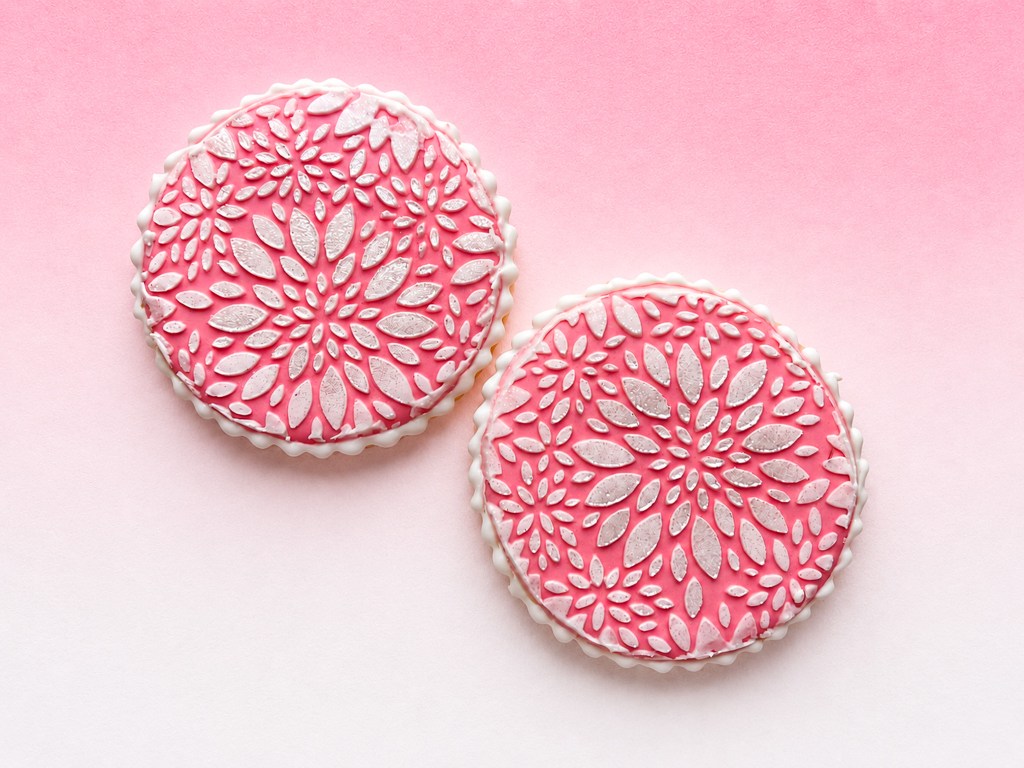
Super simple, add white icing and before you lift the stencil, pump a nice covering of Diamond dust on the design. Lift gently, and smile… A bead border wraps up the look.
TURTLES AND BEES
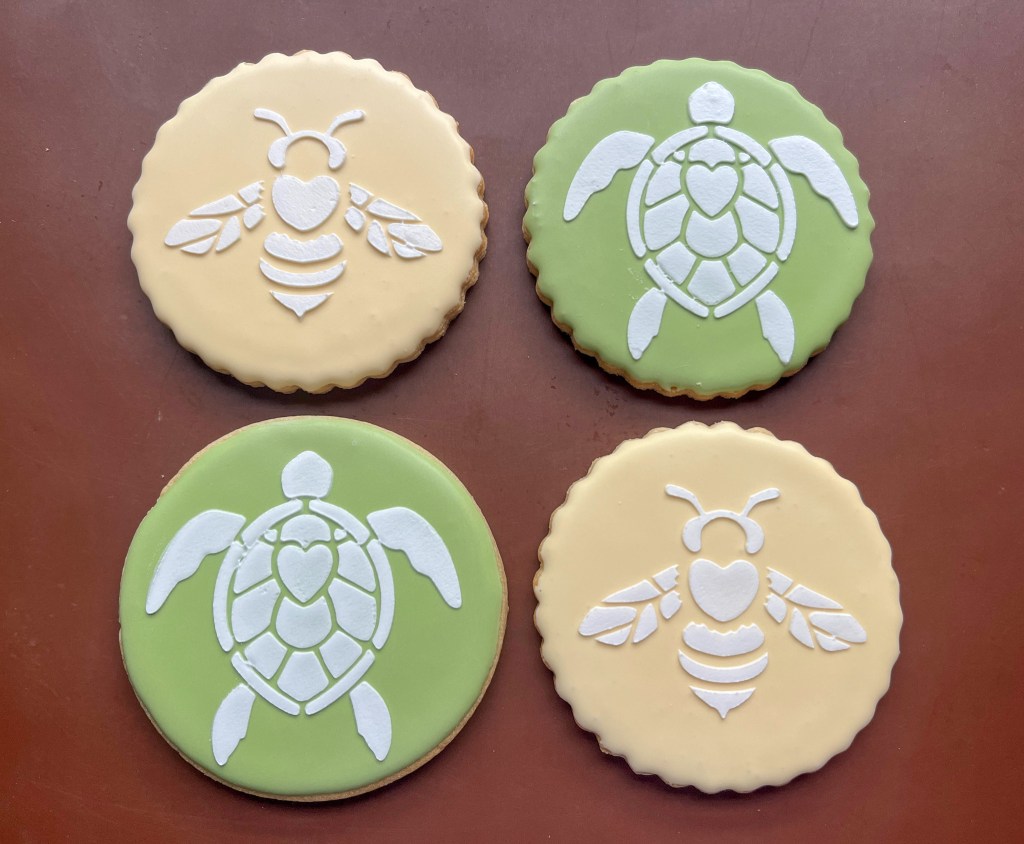
In this case, I decided to explore two different options, leaving the design white, for a minimalist look, or going the extra mile and painting it with luster powder + vodka. I honestly cannot decide which way I prefer…
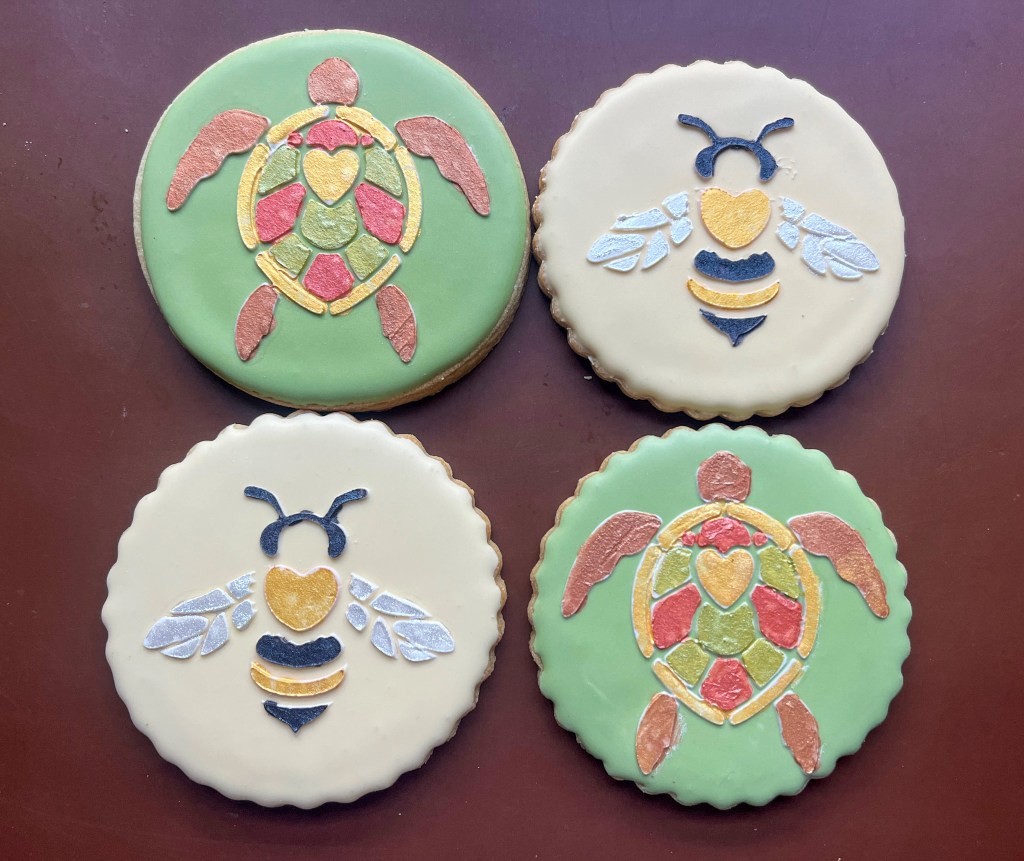
Of course, if you are pressed for time, simply stenciling will do, but sometimes painting can be super Zen.. Here they are side by side so you can pick your favorite way.

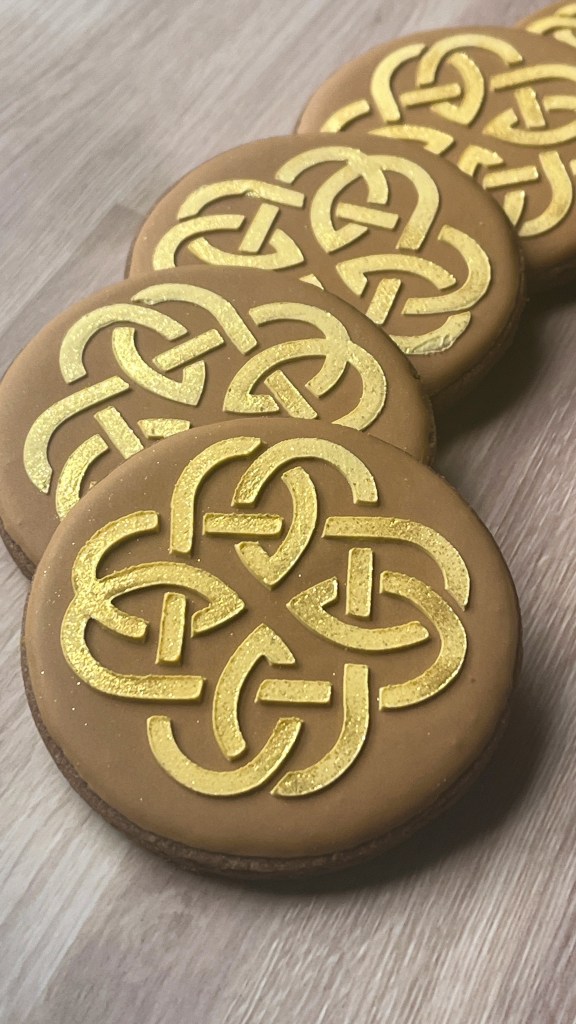
THE CELTIC KNOT

I used gold royal icing to start with, and painted with gold after it fully dried. I really love the way these turned out.
THE GOLF SWING

No painting, just light brown icing to make the image. A simple and quick way to have cookies ready for your favorite player and his buddies…
A LOVING HEART

Full circle, the last cookie uses the exact same technique of the first. White icing and a little cover with Diamond Dust.
For stencil posts of my past, click here for a nice Mandala version and here for a Christmas vibe.
ONE YEAR AGO: Little Fishes
TWO YEARS AGO: Amy’s Woodgrain and Florals
THREE YEARS AGO: The Sloth, a Cookie Flip by Haniela
FOUR YEARS AGO: Cherry Blossom Tree
FIVE YEARS AGO: For the Love of Portugal


Leave a Reply