You have NO IDEA how excited I am about this! As I’ve mentioned before, without the aid of a mini-projector, my cookie decorating would be quite limited, as I cannot draw to save my life. However, not too long ago I was minding my own business when Facebook shared a little advertisement for an online course called “Pattern Painting”, by Yvette St Amant. I was intrigued, browsed a bit and decided to try it. A whole new universe opened up for me! It is basically playing with patterns, colors, shapes. No need for precision, or any drawing skill. It felt absolutely liberating, and what she taught on a white canvas, I started using on a Royal iced cookie base. With this post, I invite you to see some of the things I’ve played with lately. After each design, just a few words to explain the specific technique I used.
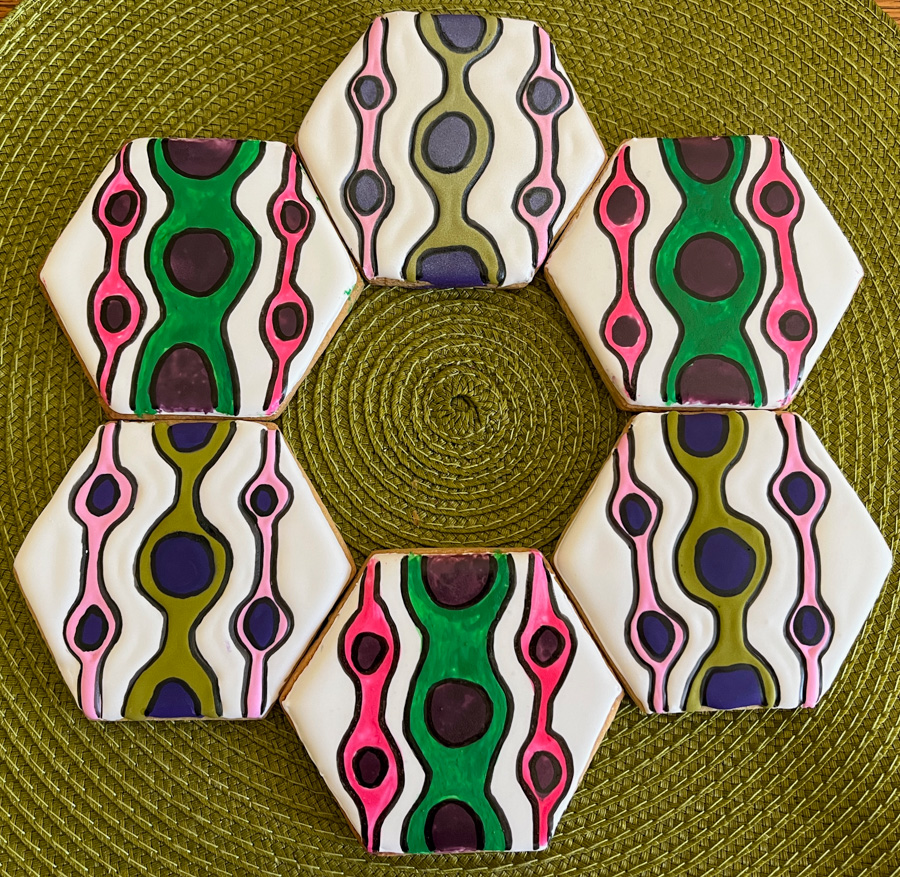
HEXAGONS
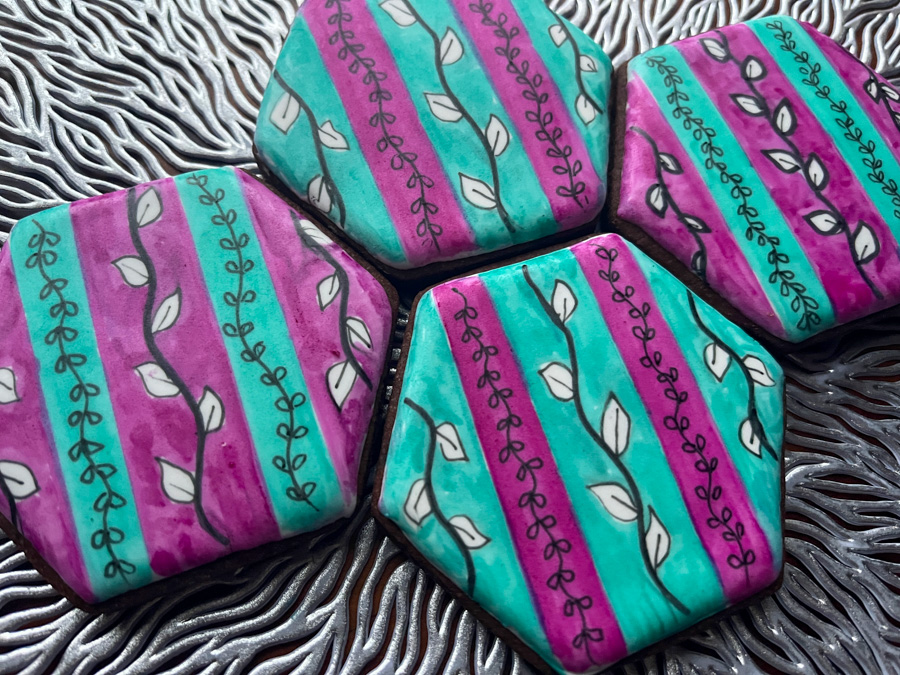
Hexagons iced in white. Food safe pens used to paint stripes and details. I inverted the colors in half of the cookies, to give it a bit of the yin-yang thing I love so much.

BLACK AND RED

I love this shape! Cookies were again iced with white, and after the background is fully set I used food safe pens to draw.
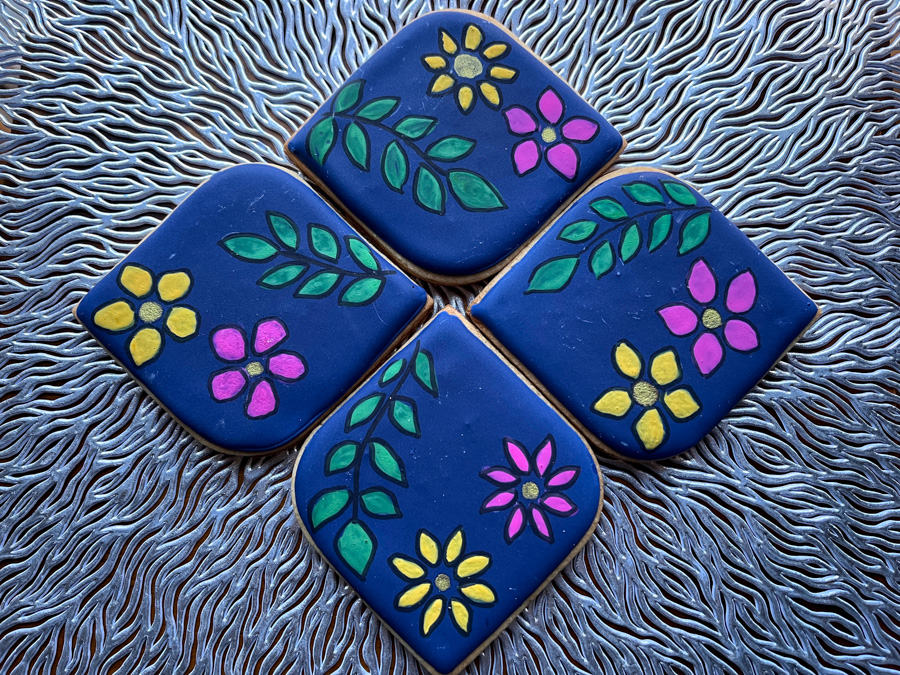
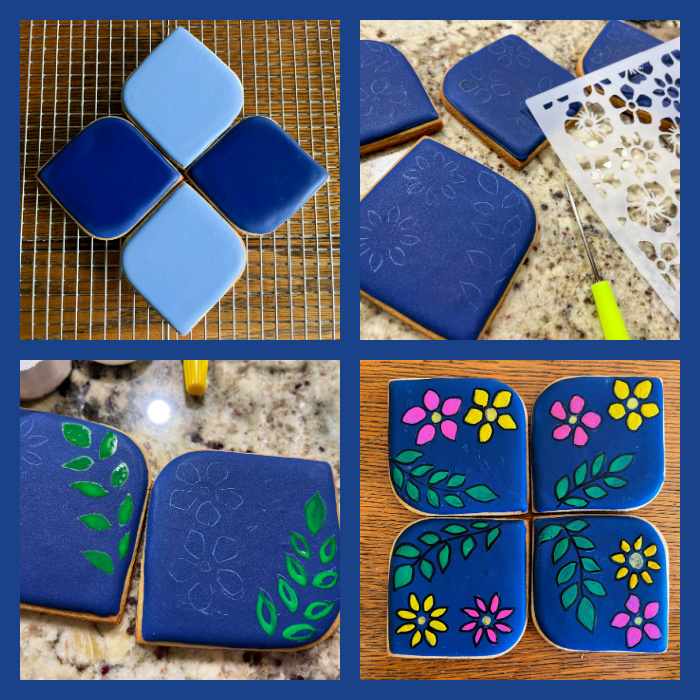
SUGARPRISM PAINTED FLORALS
.
To help me with this design, I used a stencil, and scratched the outline of the flowers before painting with Sugarprism. Sugarprism goes well over even a dark background, making it perfect for this type of pattern.
.
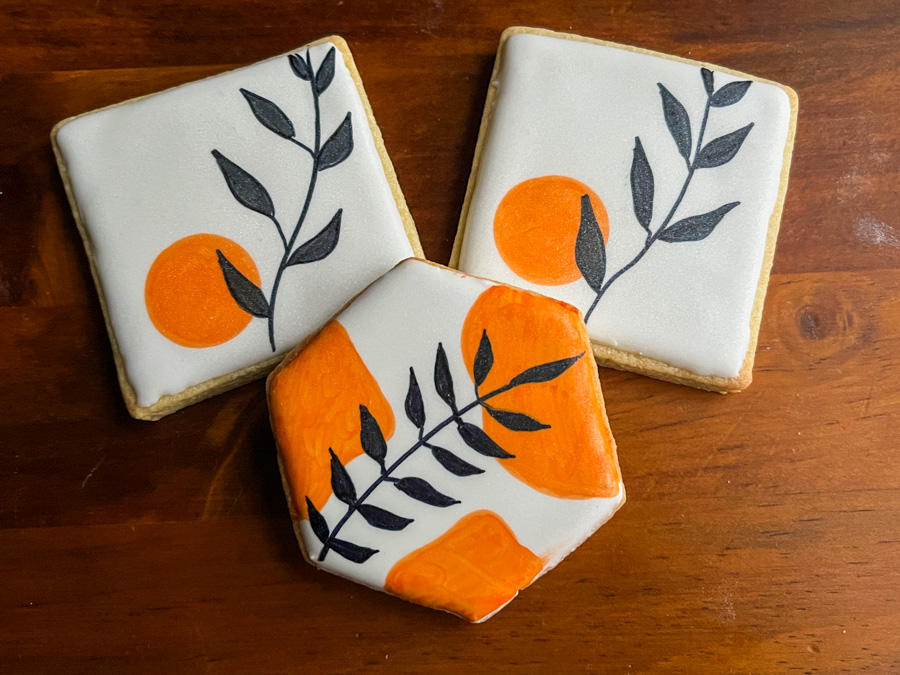
MODERN ABSTRACT, TWO WAYS
This was actually the first set of cookies I made using Yvette’s tutorials. For this set I used two different methods: adding the design with Royal icing piped in sections, or painting with Sugarprism Below, the steps for the first approach.
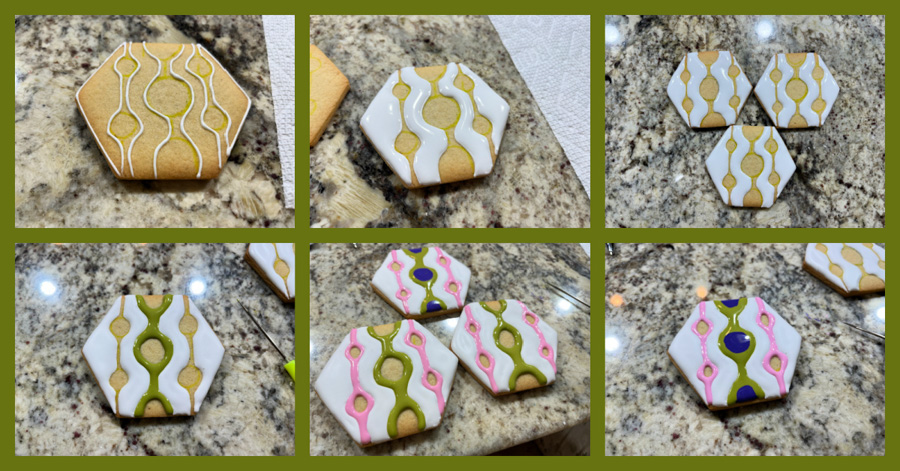
Decide on the pattern and do an outline with white. Fill the white areas right away, wait about 15 minutes and add the other colors, in this case green and pink. Let that set again for a few minutes, and finally cover the center with a contrasting color of your choice. In a few hours I added the black outline with a food safe pen.

.
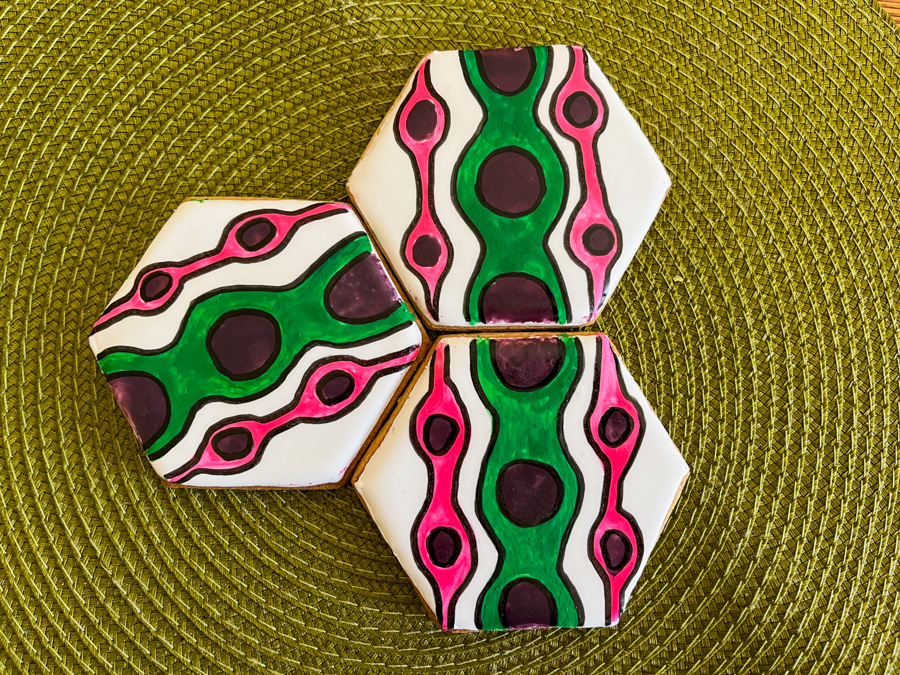
A totally different look for the same design, is achieved by flooding the whole cookie with white, then painting the pattern with Sugarprism.
.
TURQUOISE CIRCLES

Another design idea I got from Yvette’s tutorials. Royal icing white for the background, and a food safe pen to add details. I love this type of abstract pattern, and intend to go on exploring it.
BEES AND VINES

I confess I did not know where I was going with these cookies, but love the way they turned out. Once again, Royal icing white for the background, and a food safe pen to do all the details.
.
GEOMETRIC VIBES

These were my own design, maybe not exactly pattern painting, but a departure from the idea. I used a ruler to draw a few straight random lines on the cookie (iced in white), then painted the sections in contrasting colors. The outline was painted again after the colors were added, for a more polished look.
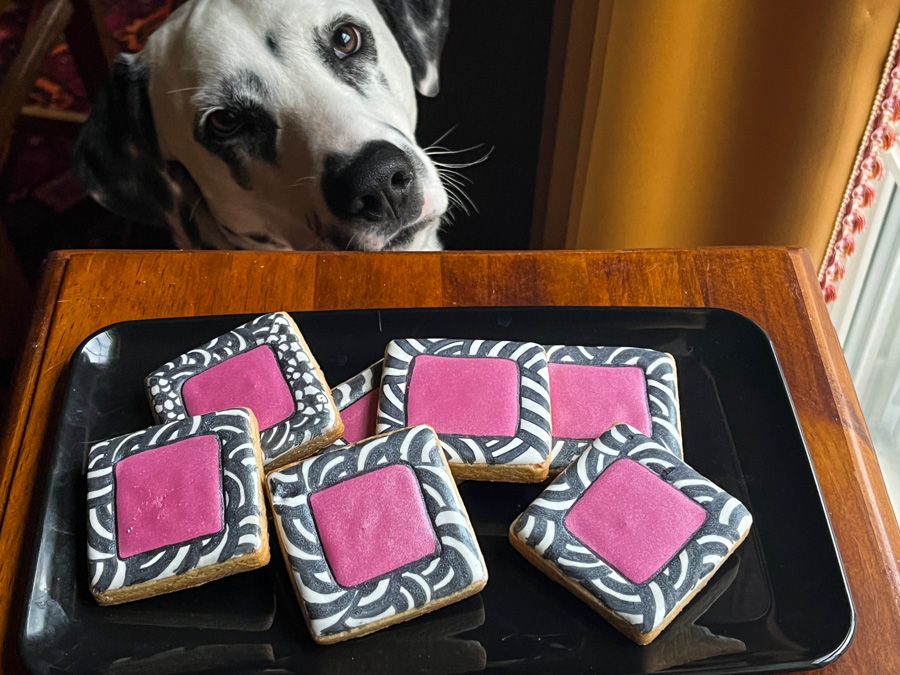
BLACK AND WHITE

Another design of my own, a mixture of zentangle with colors. Below you see how that came to life. The center was iced in pink, the margins in white. Next day the black details were painted with a food safe pen.

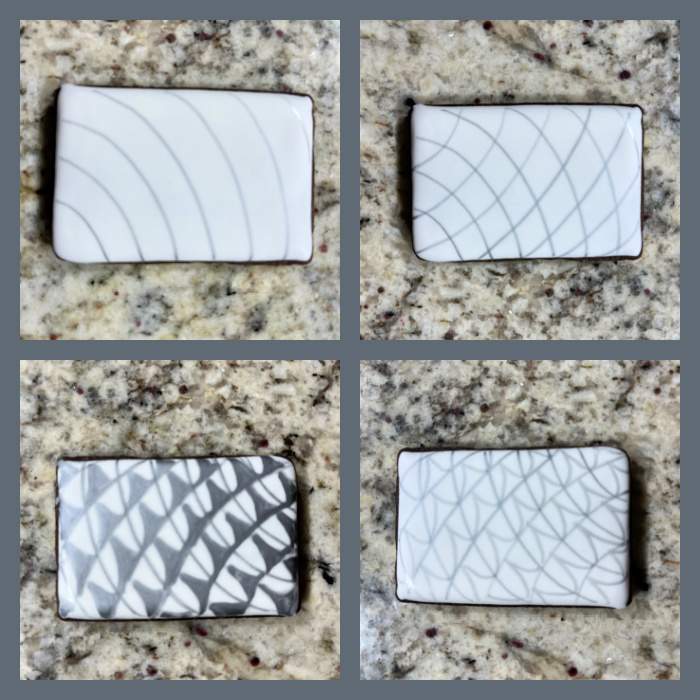
Another example of zentangle to close this series… Two black, two silver.
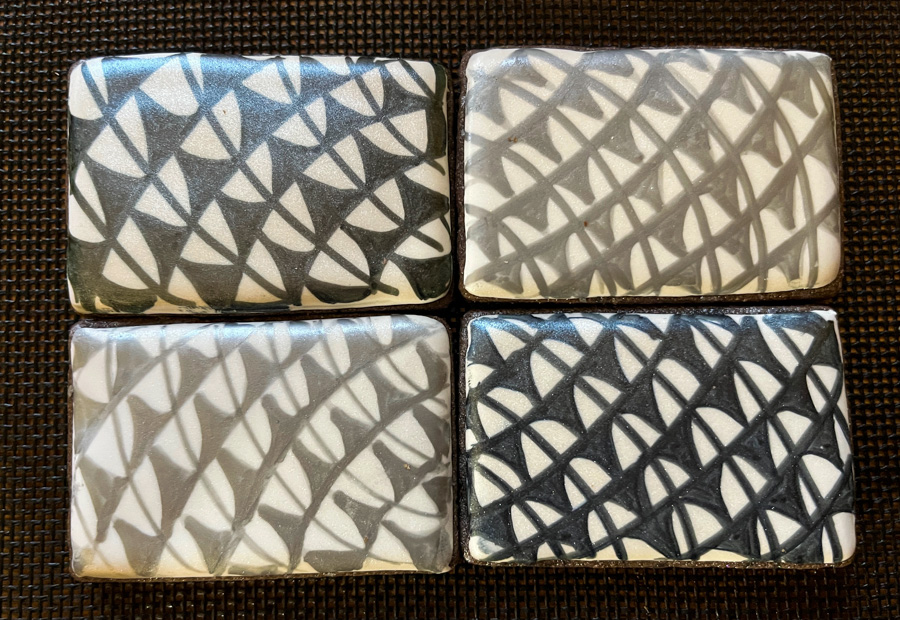
Super simple to draw, and no matter the boo-boos you might make, the cookie will look interesting in the end.
I hope you will consider pattern painting as a cool option to decorate cookies. No two will be alike and they are sure to bring a smile to anyone who gets them. And I do mean, anyone!
ONE YEAR AGO: Amy’s Easter Cookie Decorating


Leave a comment