Easter is of my favorite seasons to celebrate with cookies! Bunnies and pastel colors… what’s not to like?

Starting with the bunnies… no need for projectors or templates, just improvise the bunny head and ears… then flood that area with white and immediately add the black pearls for the eyes. Let that set for half an hour or so, and fill the empty space with the color of your choice. Once the cookie is fully set, paint some pink for the ears and nose…

Simple to make, but I think quite effective!

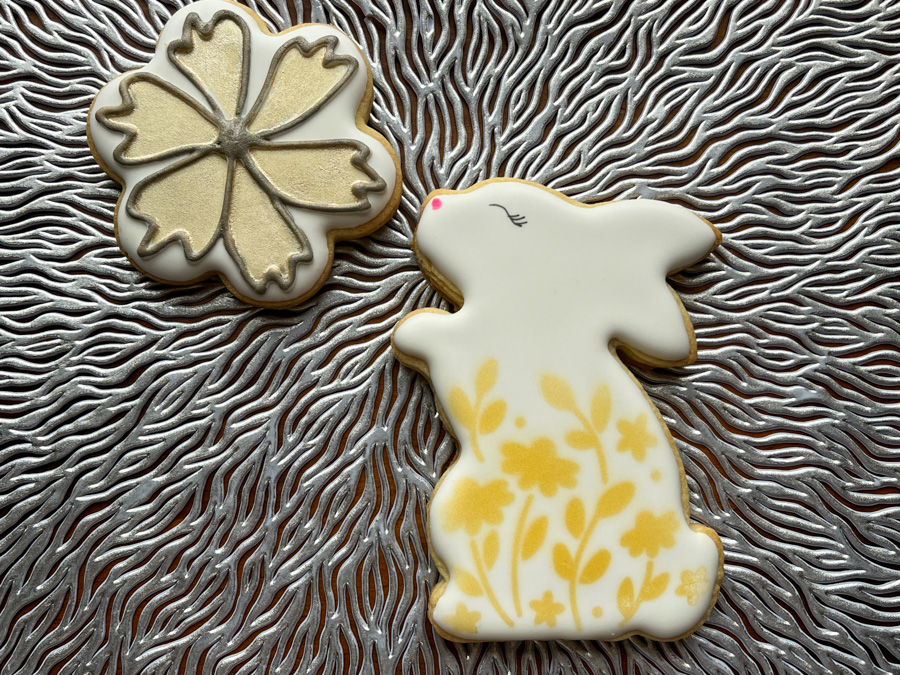
The standing bunny was flooded in white and then I used a stencil to add the image, air-brushed in gold. Eyelashes and nose with food pen. The arc was flooded in white, once that set overnight I added the details, using pastel colors and piping consistency icing is yellow, pink, blue, and purple

Another variation for bunnies in the egg-shaped cookie is changing the background. Below, three ideas. For the first one, using a plaid stencil, you need to start making the background, allowing that to set overnight, then adding the pattern with air-brush. Once that is done you can add the white bunny component. For the other versions I either brushed with Americolor white before baking, or brushed with luster gold + vodka after baking.

I love the simplicity of these cookies, and how you can do so many different styles with the same basic design.
ONE YEAR AGO: The Quilt Challenge


Leave a comment