This design was recently shared by Haniela in her live cookie decorating session. You can follow the tutorial clicking here. These are not complicated to make, the whole idea is to flood the cookie, allow it to fully set, and go back with a very similar color of thick icing to create a pattern with a stencil. It gives a touch of elegance to the background, and of course you can adapt this technique to countless colors and motifs. I am totally in love with them!

.
Below some of the steps to prepare them…. Haniela provided a nice template sheet to pipe the silhouettes, which you must do the day before.

As to the stenciled pattern, you can either match the background tone closely, or use a shade lighter or darker. My background was already pretty dark, so I opted to lighten up things. Check Hani’s video for other ideas. Once that is done, you can glue the bunny silhouette and add the border. I could not quite make the beautiful leaf border to work, my icing was not cooperating, so I used a closed star instead. A little spray with Diamond Dust for the mandatory bling!

The basic idea will work with so many cookie designs! All sorts of backgrounds coupled with silhouettes of butterflies, flowers, dogs, cats, teddy bears… Definitely a lot to play with…

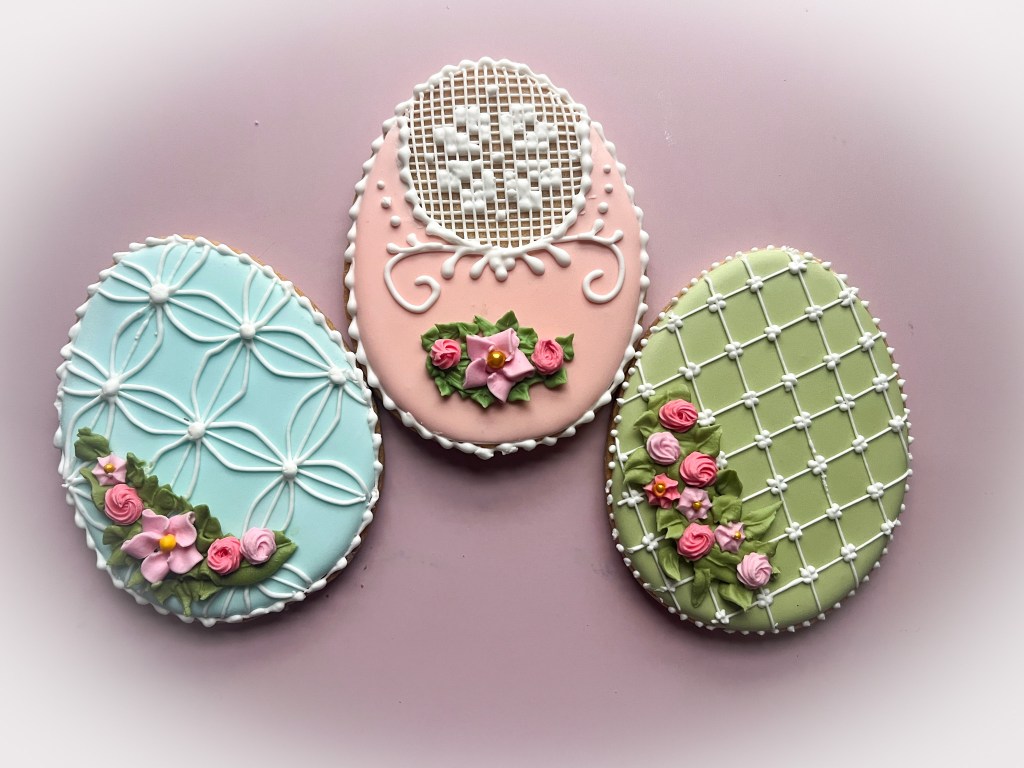
ONE YEAR AGO: Pattern Painting
TWO YEARS AGO: Amy’s Easter Cookie Decorating


Leave a reply to jillsifer Cancel reply