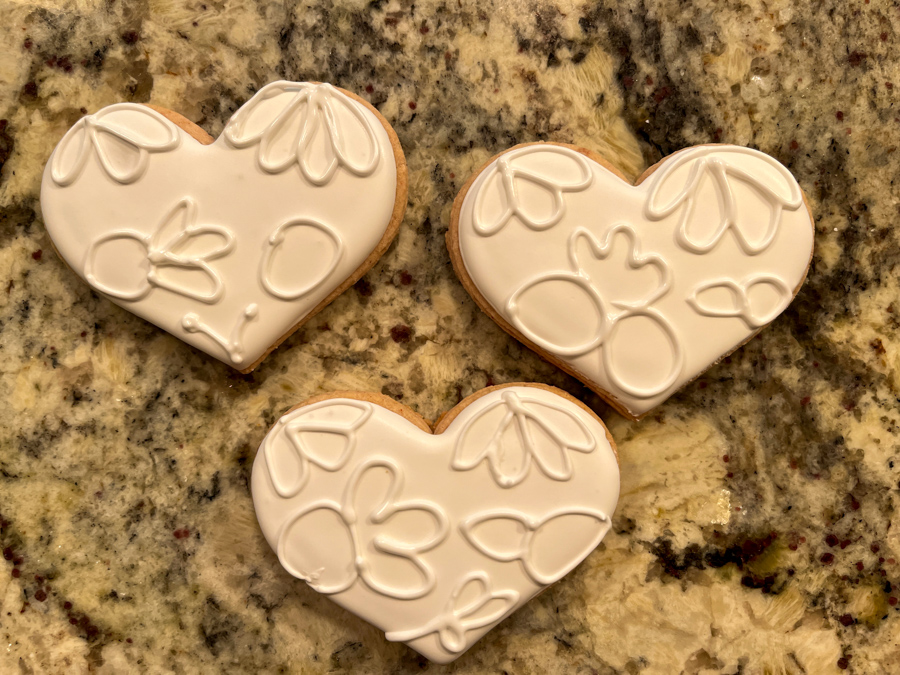
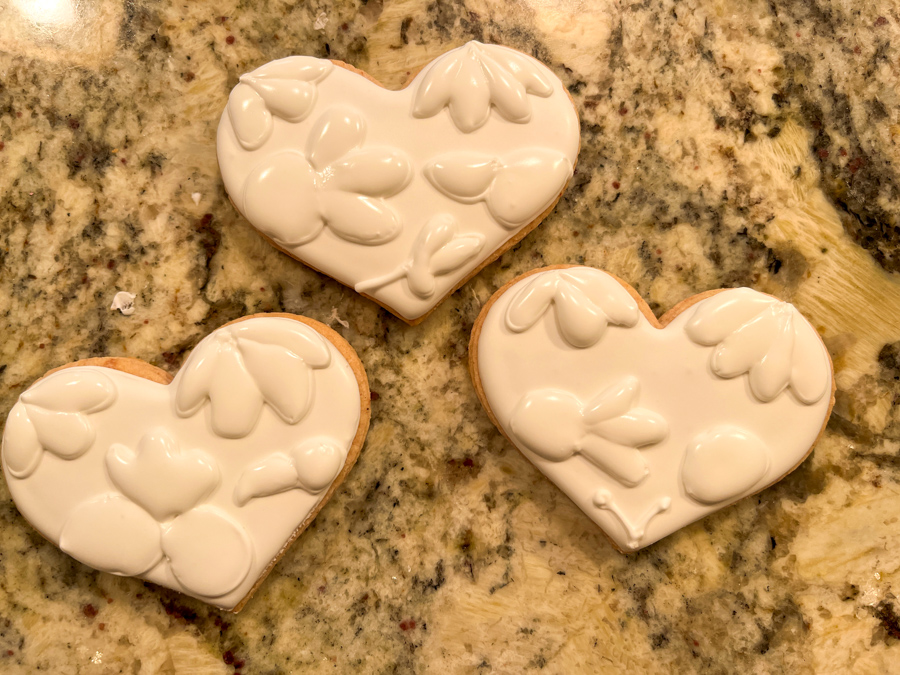
Every once in a while someone sends me pictures of decorated cookies they love and tell me I should make them. Some are totally out of my skill level, so I just reply with a very gentle “are you out of your mind?”, and move on…. But not too long ago my friend Louise sent me a video of a great cookie artist at work and I decided to give that one a try. I actually changed the whole method around. Originally those were made with many (and I really mean many) colors and consistencies of Royal icing. Each cookie requiring several different colors for piping and flooding, then even more colors for the final details. I simplified it quite a bit by using Sugarprism painting over the basic white design.

Once that is fully set, the fun part is waiting for you… grab your colors (if you don’t have Sugarprism, food safe pens, diluted gel colors, or luster powders will work also).
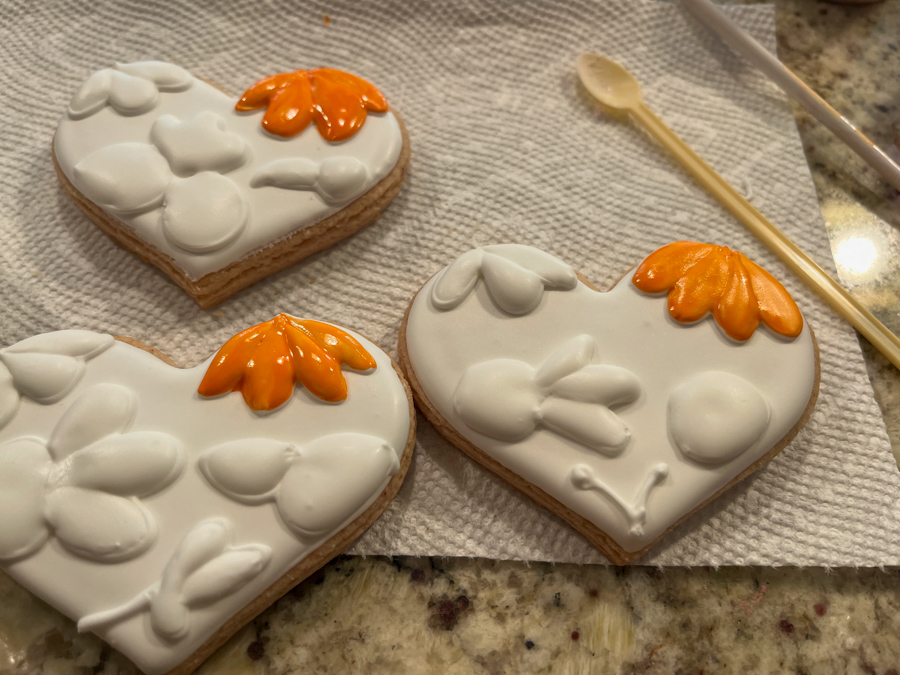

I waited for the base colors to dry a bit, not more than 15 minutes were needed, and added the details on top, also with Sugarprism and a very fine brush.

I had some extra cookies and decided to play with a simpler design. I made random flowers using golden luster powder diluted with vodka, when that was dry, I added the outlines and details with black Sugarprism and a very fine brush.

So there you have, six heart-shaped cookies, in two different floral styles, one will require some time and effort, but the golden ones are the easiest cookies you can dream of. Apart from grabbing a box at the grocery store, that is…

ONE YEAR AGO: Burning Bush, A Custom-Made Cookie


Leave a comment