To visit and join Amy’s Facebook group, click here

Last weekend I took an online class with the one and only Amy, from Seriously Sweet on Davis St. She usually holds 4 of these events per year, in a zoom type of setting. This set of six cookies centered on romance, as Valentine’s is just around the corner. With each cookie, she taught us a different technique or twist on a basic technique. Most people decorate as the class is going, some prefer to watch the video and do it later. Amy keeps a very nice pace, making sure no one is left behind. She does an outstanding job in planning the whole class, so that we work on one cookie, move to another one as the first dries, get a third cookie going. We are never sitting around doing nothing. Pure cookie decorating fun!
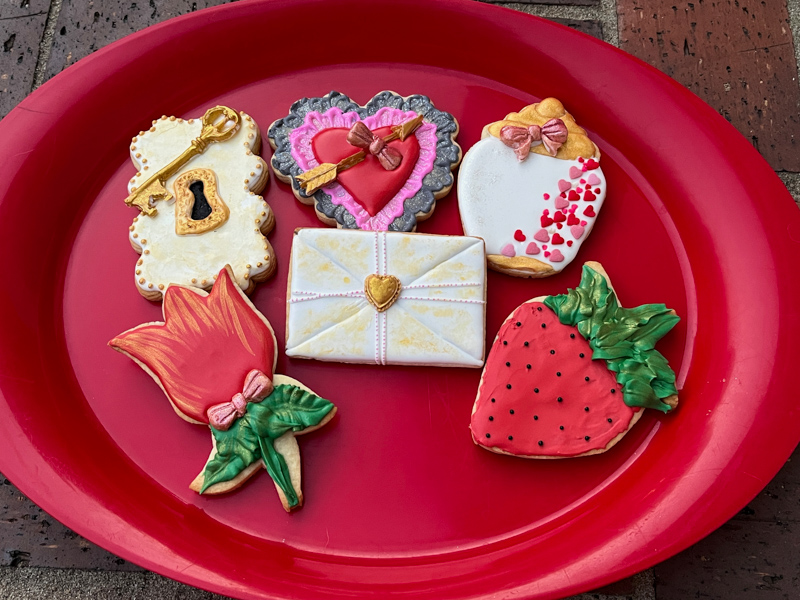
Let me show you one cookie at a time, and in the end of this post, you will find details about Amy’s classes online. Consider joining the fun next time!
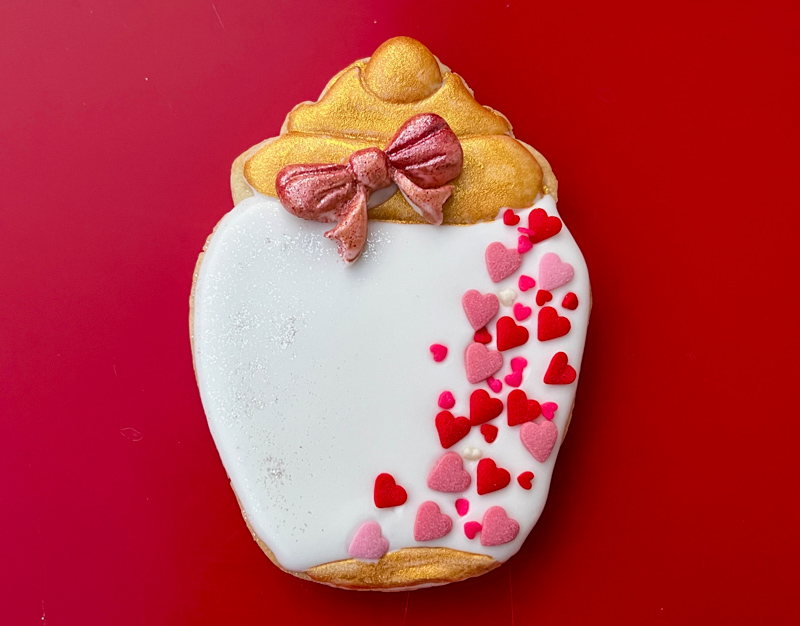
This might be my favorite. The detail of the glitter in one side to give the impression of light hitting from the left, I find absolutely charming, and it was a trick I had never done in any cookie, using Diamond Dust. The hearts climbing on the pot were made of wafer paper by most participants, as they were included in the box of goodies that Amy sells for the class. Buying the box is not required to join. I decided to just use the things I have, so in this particular cookie I departed from the original and added Wilton heart sprinkles in several colors and sizes.

Loved this one also… Two layers of icing with a technique similar to brush embroidery but not quite (I don’t think I hit it correctly, but let’s not worry about it). Amy’s design was white, pink and red, I used gray just for fun. Arrow and bow made with fondant (the day before).

Totally smitten by the envelope. Amy showed the method to “age” it using a sponge. Which was also used in the key plate below.

In this cookie, we also learned how to create texture by agitating the cookie a few minutes after flooding. Super cool! I actually had to make that cookie twice, because my first one was slightly “over-stressed”. Think machine-gun + tornado. Enough said.

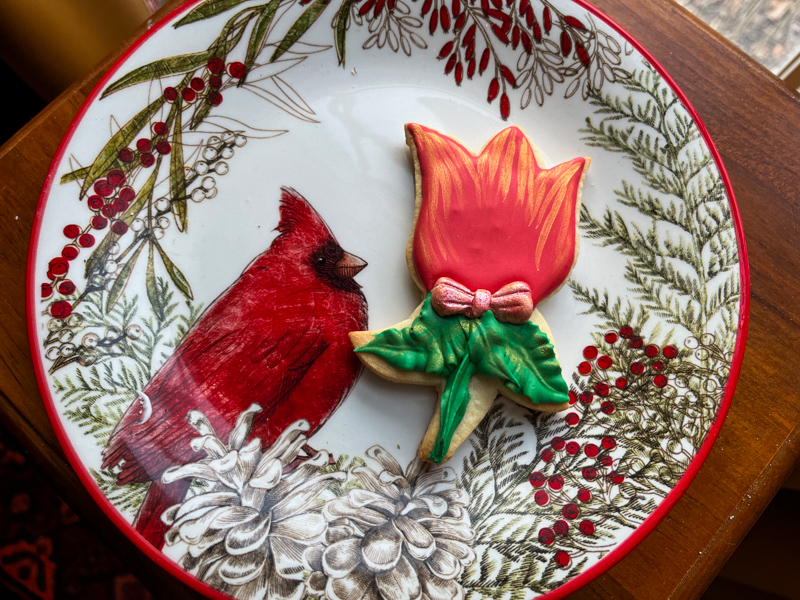
This pair of cookies were simple to decorate, but I did not quite get the consistency of my red icing thick enough, so I could not add the texture that Amy hoped for the design. To compensate for that, I painted details on the tulip. Please note the shape of the stem, that was a nice little trick demonstrated by Amy in class. The little seeds on the strawberry were black non-pareils added with tweezers, but the cookie can be simplified by painting black dots with a fine tip black pen once the icing is fully set.
In case you are interested in joining future online classes with Amy, here’s how it works. First you must join her Facebook group page (click here) About a month before the event you can buy a box with all you need to make the cookies: cutters, gel colors, sprinkles, fondant, molds. If you don’t want to get the box, you can use your own things and improvise when needed. The day before class she usually goes live on Facebook to make sure we all know what needs to be ready. For this particular class, we had to start from a set like the one I show below:
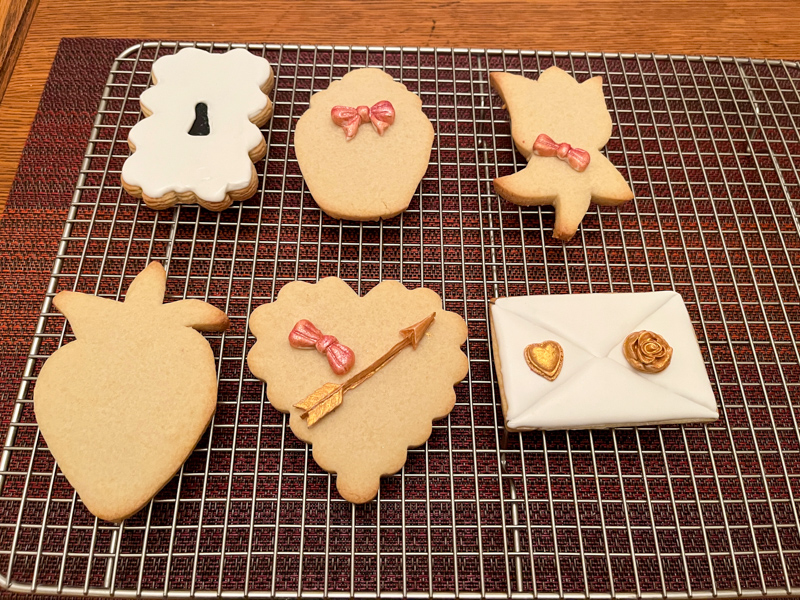
All cookies baked, two of them iced in white (with a texture in the case of the key plate) and the fondant decorations made and painted. I made two options for the envelope, went with the little heart for the final cookie. Before class starts, you also need to have all colors of Royal icing ready to go in piping bags. For the most part she uses tipless bags, which makes it all a lot easier.
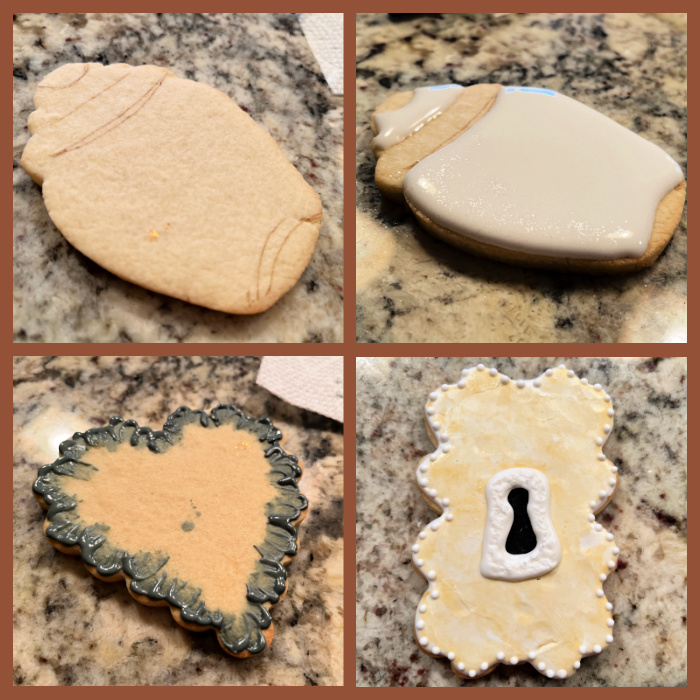
Those were some of the steps of decoration during the event… time goes by quickly, and before you know it, you’ll be staring at six wonderful cookies and asking “did I really make all these????”
Amy, thank you for your great class and all the free tutorials you set up online often!


Leave a comment