To join Amy’s Facebook group and be on top of future online classes, click here.
This is the 8th online lesson I took from Amy… time flies when we are having so much fun, right? This lesson was medium to advanced, and as is often the case with Amy’s designs, lots of different techniques were involved, often several in a single cookie. There were three videos before the online event to make sure we had all the preparation done correctly. Without further ado, here is the full set of my tropical babies!
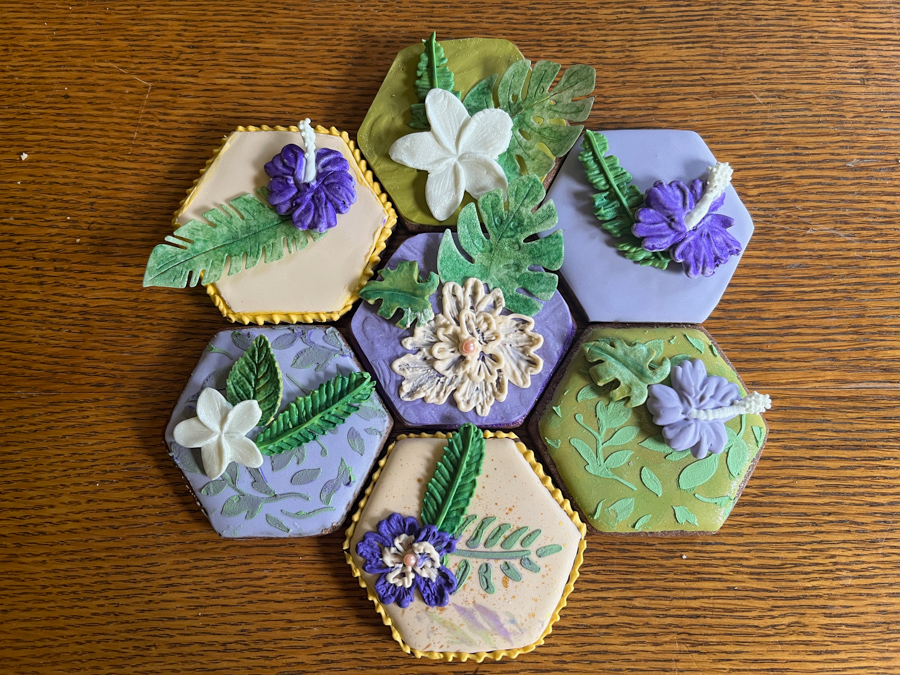
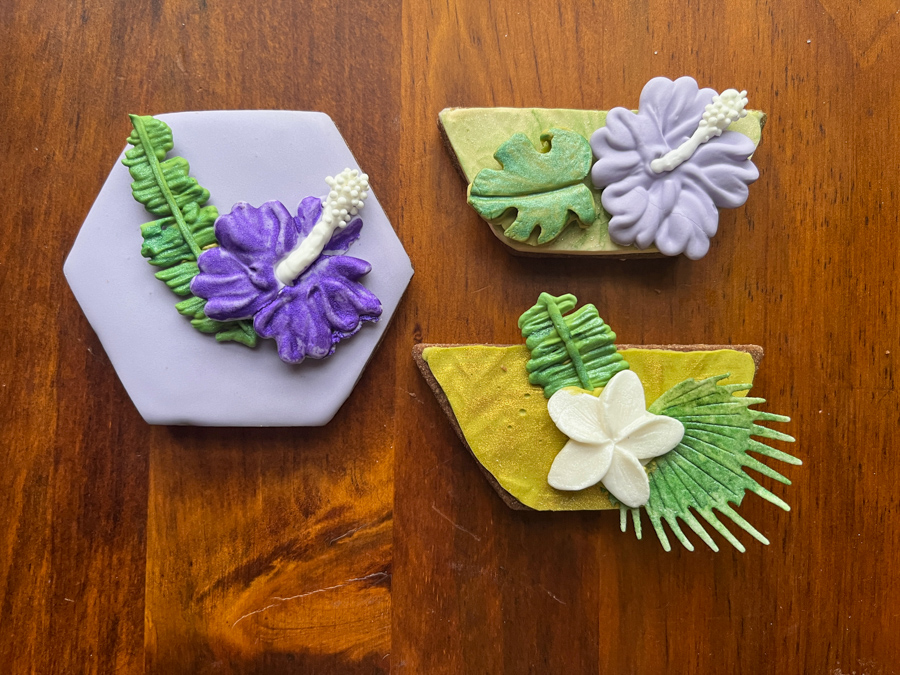
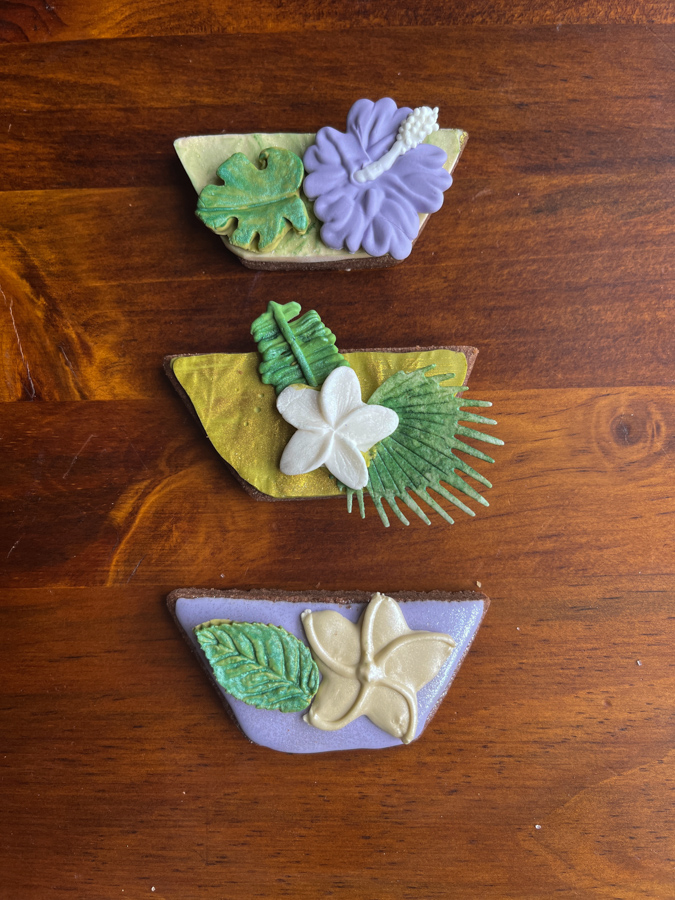
There were seven cookies made as the main set, and we also had the option of making a few more in the shape of half-hexagon.
Below you can see all the prep work for class made the evening before…
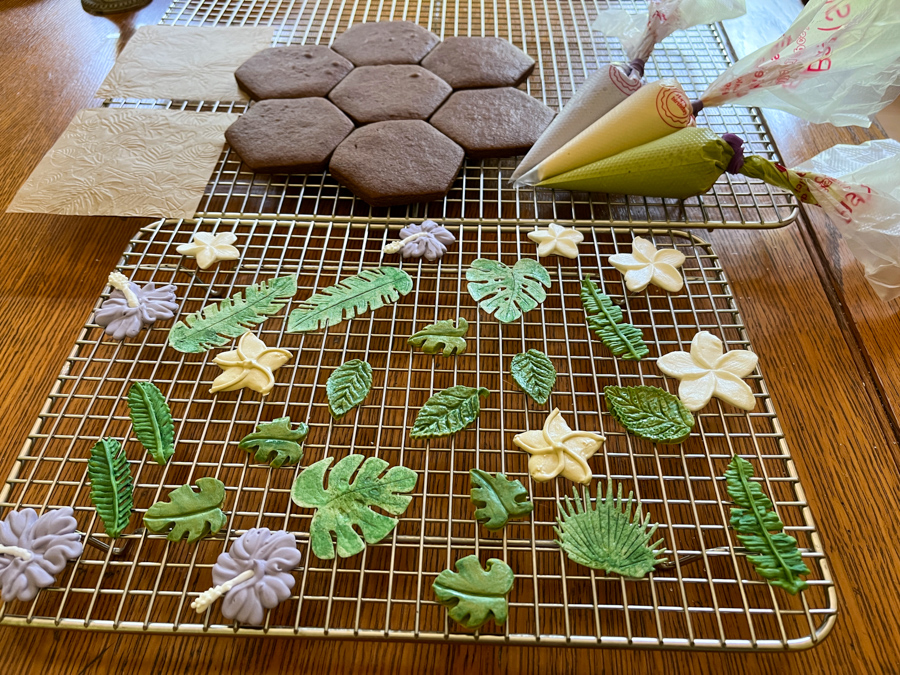
Some pieces are painted fondant, some are Royal icing transfers (like the hibiscus, made in two stages, flower and stamen).
Of all the techniques involved, the one I need to get better at is stenciling with thick royal icing. I have issues keeping the stencil in place (even using the frame to hold it), and making a smooth layer. We did three different cookies, one with a solid color to stencil, and the other two with two-tones (purple and green). I had some issues with each of these three, but in the end they got other decorations on top and I did my best to hide the “boo-boos.”
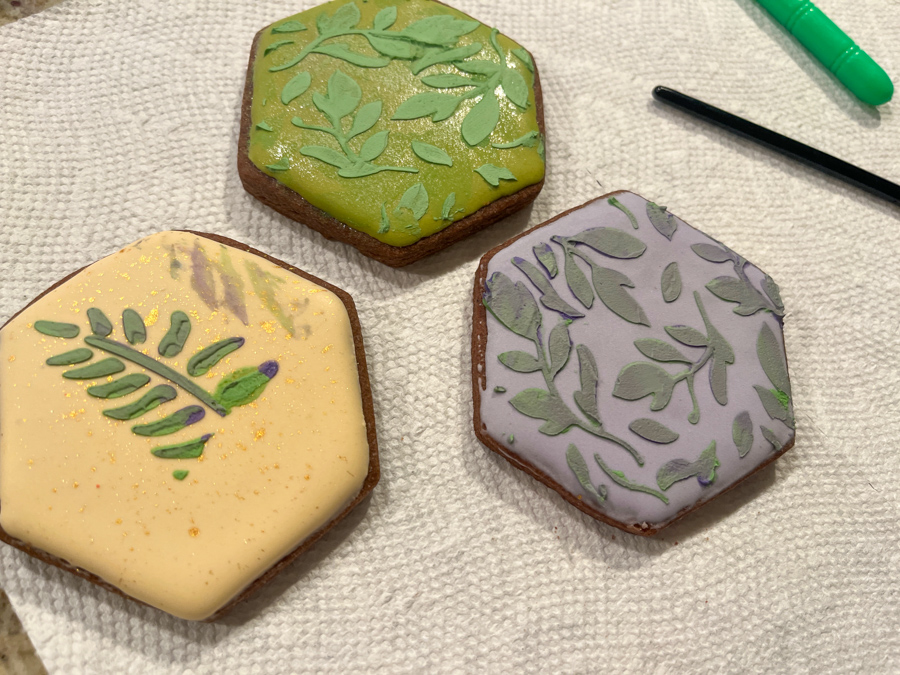
Let me highlight some of the cookies and list the techniques used for them…
Flood with purple. Two-tone stencil with thick Royal icing. Flower is painted fondant. Leaves are fondant and Royal icing transfer.
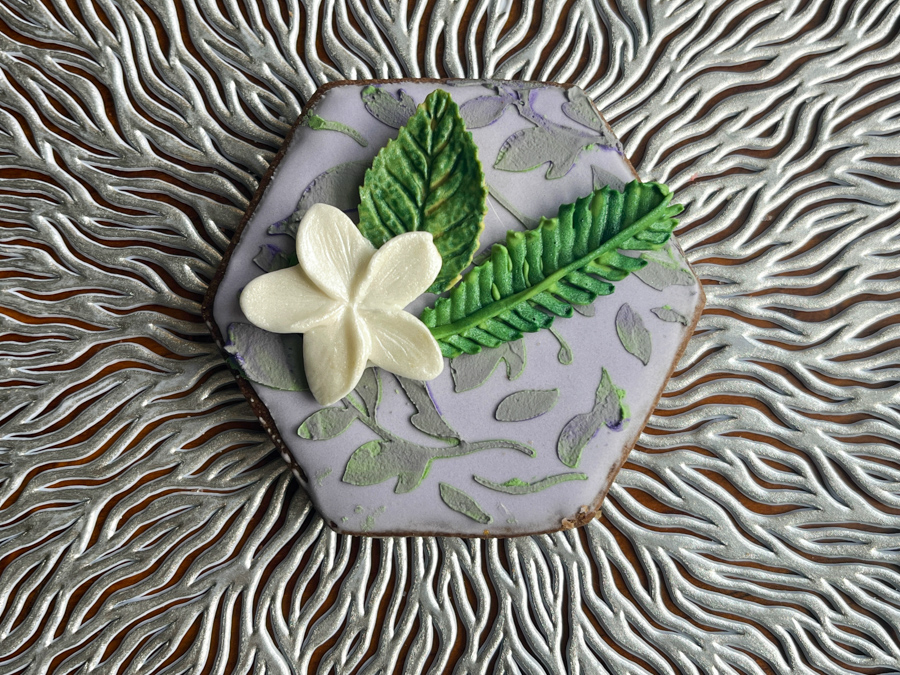
Flood with purple with texture (embossed paper). Brush embroidery flower. Leaves are wafer paper and fondant.

Flood with green and diamond dust for shimmer. Royal icing stencil. Hibiscus flower is Royal icing transfer. Leaf is painted fondant.

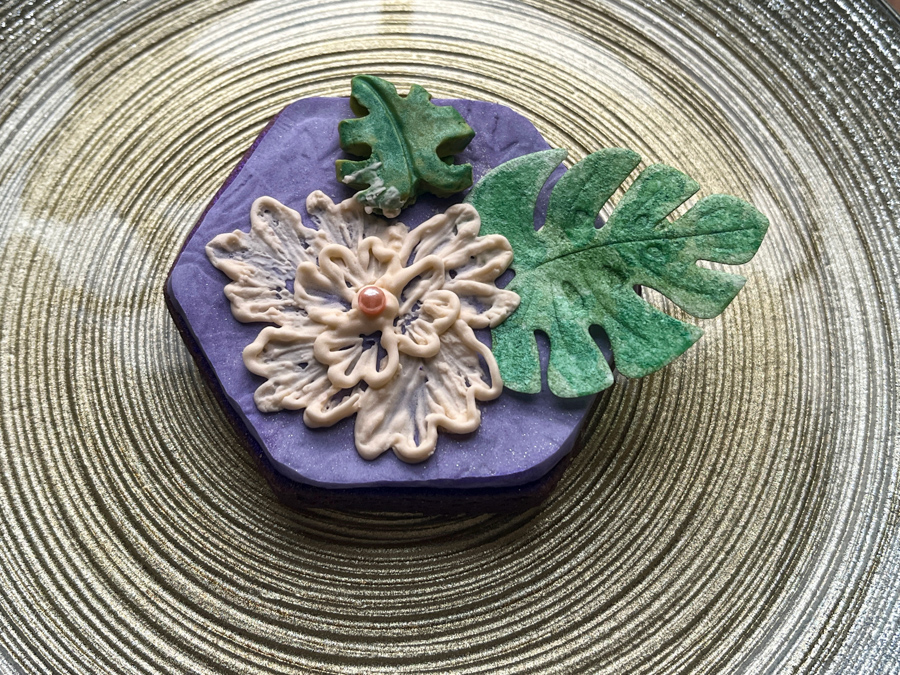
Flood with solid purple. Royal icing transfer for hibiscus flower and leaf. Maybe my favorite cookie of the set.
I loved this class and the use of very few colors to make all cookies, so that they flow together beautifully. Purple, green and ivory, in different shades and textures. Perfect for a wedding or as a Birthday gift for a special friend. Thank you so much, Amy, you ARE a master teacher!
ONE YEAR AGO: Jeweled Butterflies


Leave a comment