One of the easiest ways to add a lot of color to a cookie is painting the background in watercolor. Often bakers dilute the gel dye with vodka, but I find that water is more user-friendly. The liquid takes longer to dry, which means it is much easier to get the different tones to mingle together, without areas in which the color gets overly intense. The drawback is having to wait a little longer for the painted area to dry, but I think it’s worth it. Today I share three types of cookies that rely on a tie-dye look as starting point.
DESIGN #1
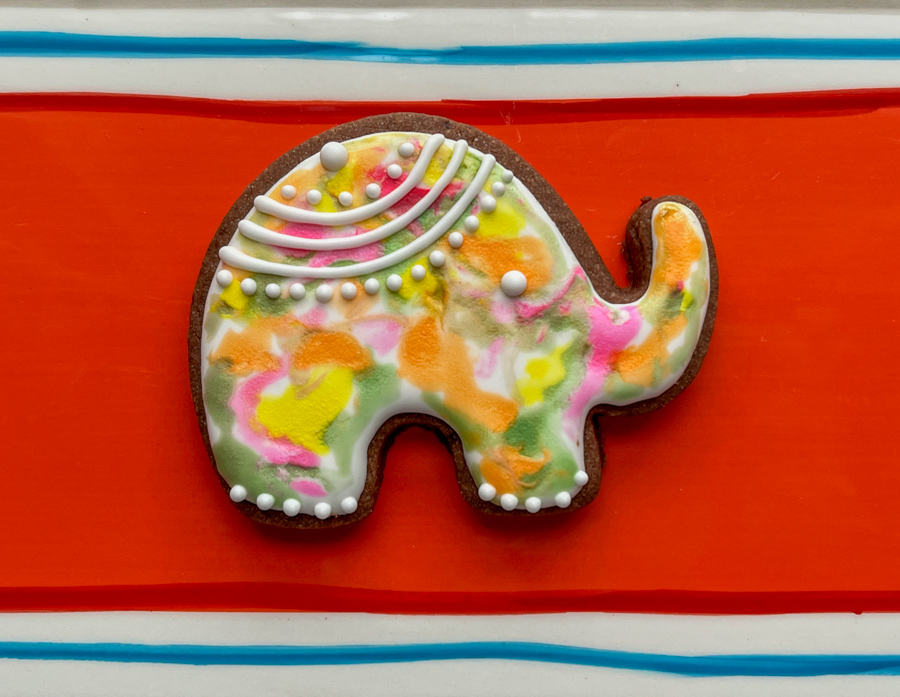
ELEPHANTS

It all starts with a fully set base of white Royal icing… Then the colors are diluted with water and placed in different little spots of a paint palette. A brush with a very small amount of water is used to lightly wet the surface of the cookie, and patches of different colors are painted over the entire surface.

Once that is fully set, piping consistency Royal icing is added for extra decoration, in any pattern you like. Don’t forget to plan a little spot for the eye!
DESIGN #2
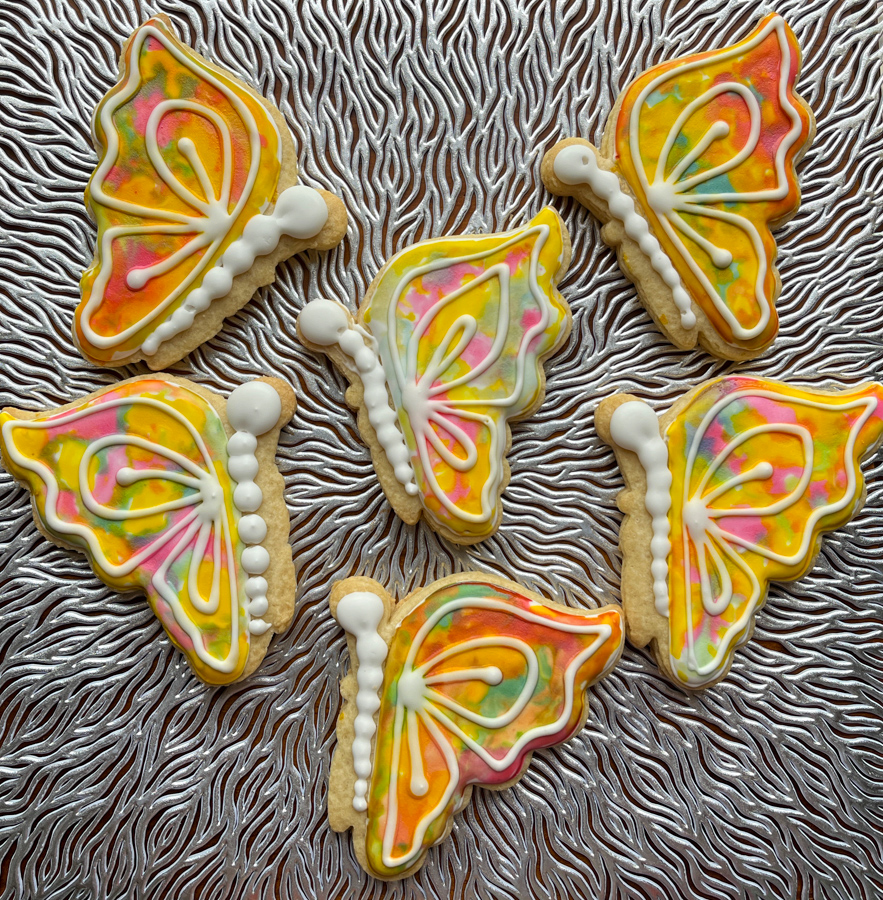
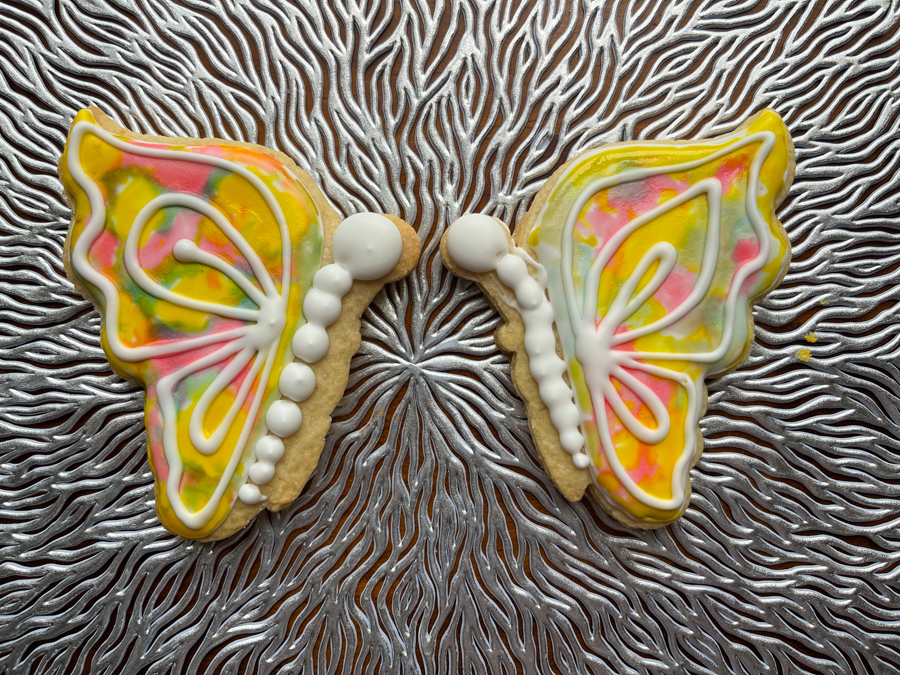
BUTTERFLIES
The exact same method is used, I love this cookie cutter (available here at etsy.com) that shows the butterflies from a side view…. Make sure to make some in opposite orientation so they can be grouped together in a more interesting array.

DESIGN #3
THE GOLFER

For this final design, after the base was fully dry, I used a stencil to air-brush the silhouette. Finally, a little bead border was added and painted with bronze luster powder.
A colorful base of watercolor can make many different cookie shapes and design shine, so consider that for your upcoming cookie adventures…


Leave a comment