As far as a high-impact design requiring very basic piping skills, you cannot beat marbled icing. These cookies were all made with this technique designed by Haniela. You can use anywhere from five to seven colors, but I made some using only four. The marbling is not as dramatic in the end, but the cookies are still quite beautiful. You can use one single color and simply vary the intensity, or add two different colors, each in two or three shades. It all starts with piping the outline (using the darkest color), then some horizontal guide lines to separate the blocks of repeating tones. Working quickly, pipe lines of each color and marble them in two directions using a needle. Piping the border is optional, but it does make the cookie more elegant.

Below, some of the steps to make this type of cookie…

The piping of the stripes does not have to be perfect, as everything will get mixed up by marbling. The only thing to keep in mind is working reasonably fast, otherwise the icing will start to set and it won’t pull smoothly, the surface will be all bumpy.
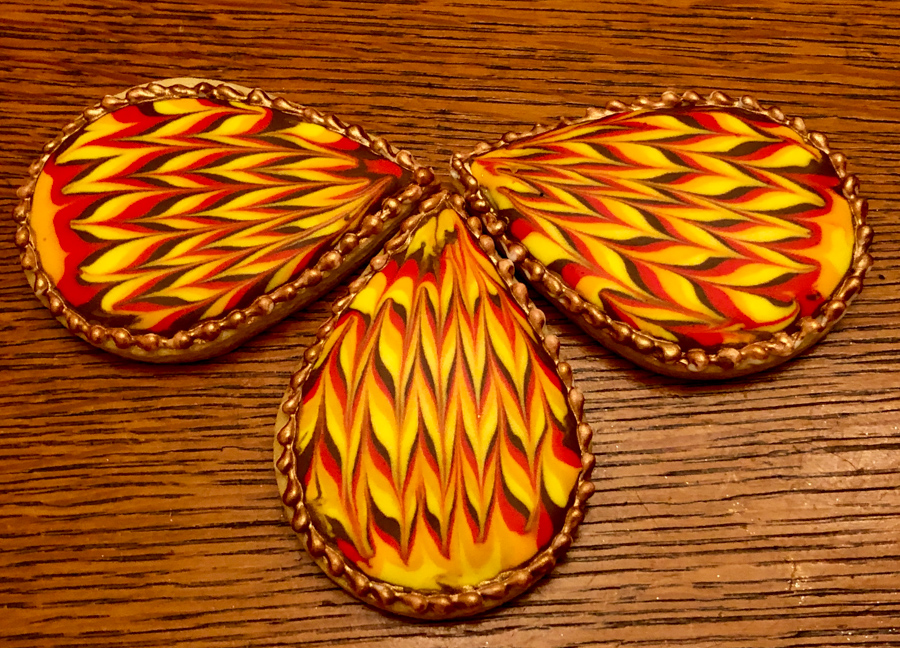
The same design using brown-orange-red tones…

Some of the borders I left white, some I painted with bronze…
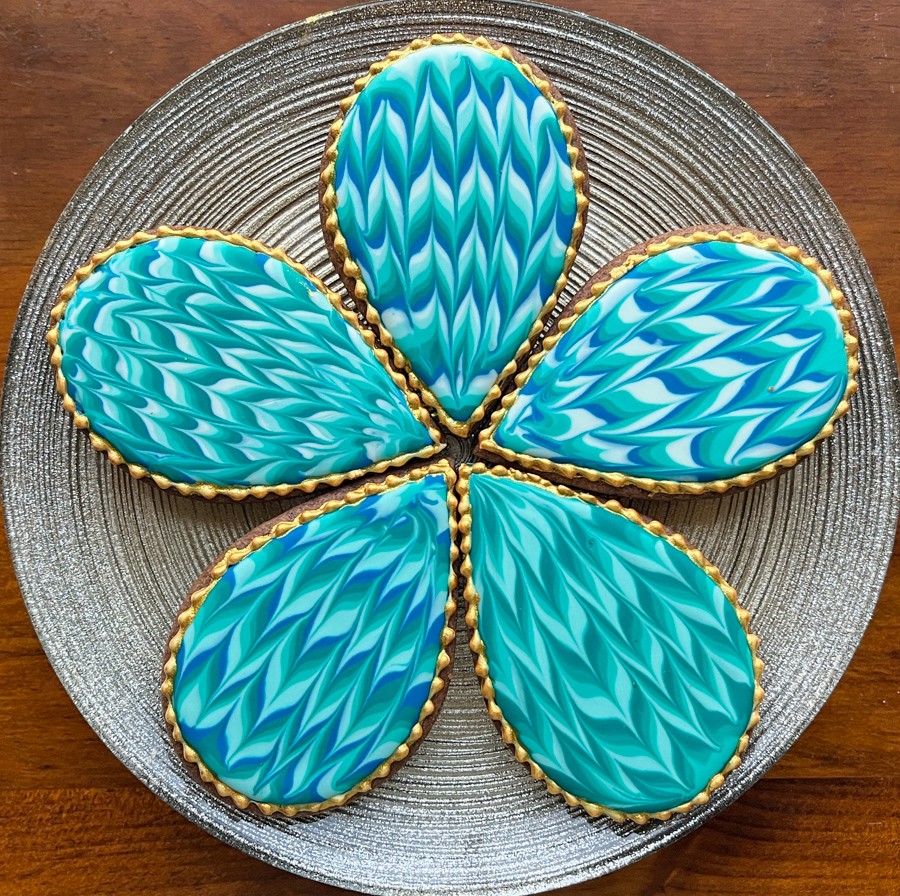
For these cookies I used 6 different colors, including white. In some cookies I omitted the white, using just the other colors.

Finally, a blue series, with border in gold luster.
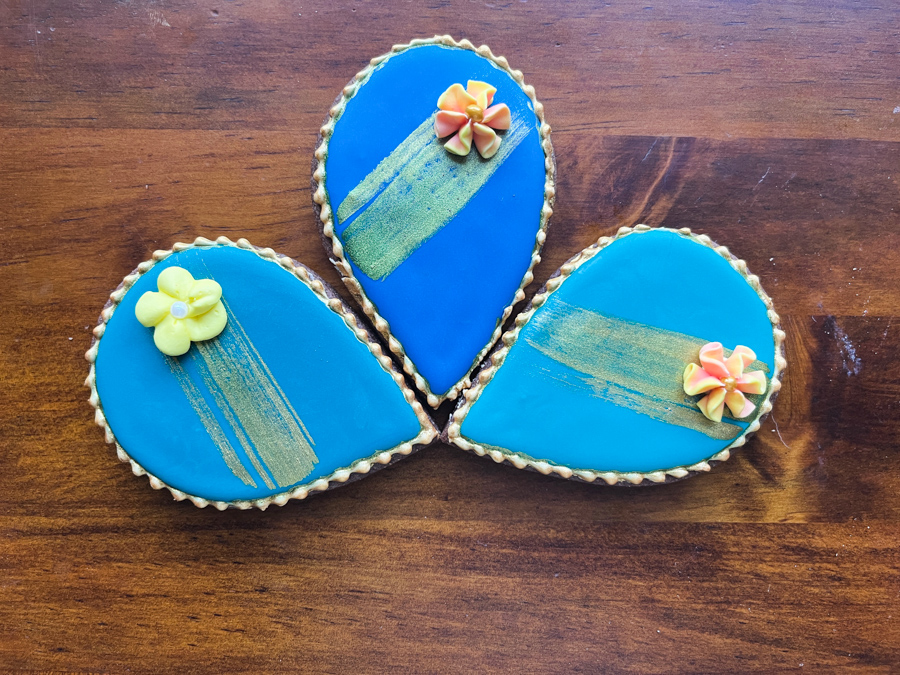
I love this cookie shape. It is perfect for marbling, but works with many different designs also.


ONE YEAR AGO: Sugar Cookies, Black and White Series


Leave a comment