Yesterday I shared with you a few needlepoint cookies that rely on a grid made using a silicone mold. Today, as promised, I show you a needlepoint production made – as I like to call it – without anesthesia. I was quite scared to go for it, but so glad I faced the challenge. Mine is far from perfect, but it still had me smiling the whole day…
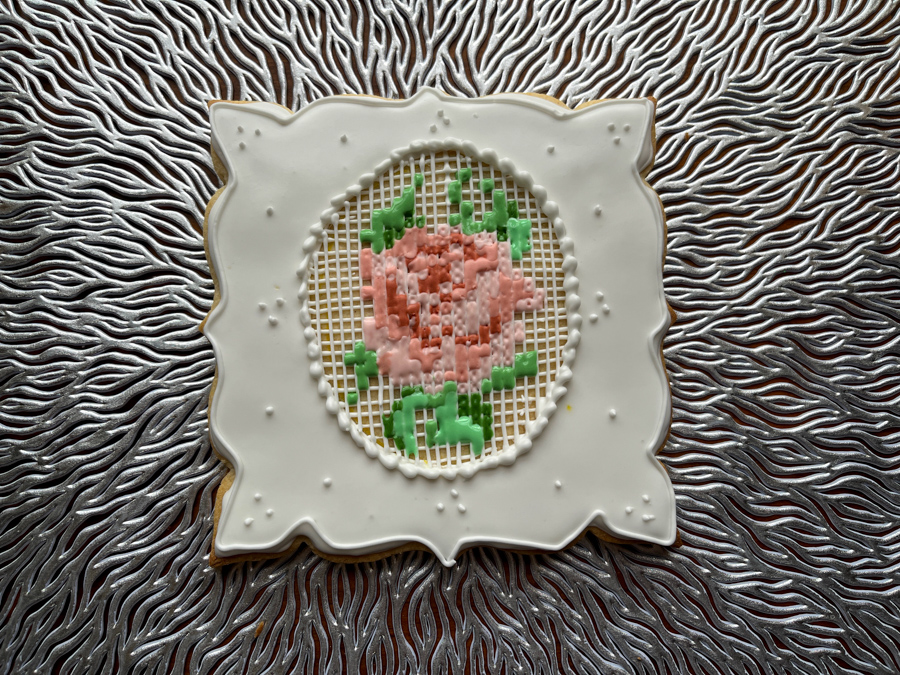
The cookie is very large, about 5 inches square. For this type of work, it is easier to do a larger design. Once the cookie is baked and cooled, you draw an oval using a cookie cutter and pipe a grid with Royal icing. I used a PME 00 tip. The composite photo below shows the steps. It is easy to get discouraged because the grid has imperfections compared to the one Tunde demonstrated, but once the design goes in, those imperfections will not be evident.

This is truly a labor of love. I am not sure anybody would be willing to pay the amount of money this cookie would deserve. It takes a long time to pipe, and demands a lot of attention. It would be great as centerpiece for a Mother’s Day get together, or to offer as a gift to a very special person. You’ll need 6 colors for the flower: three shades of pink – I used Dusty Rose – and three shades of green. But you can get by with a very small amount of each, as only small dots are needed.
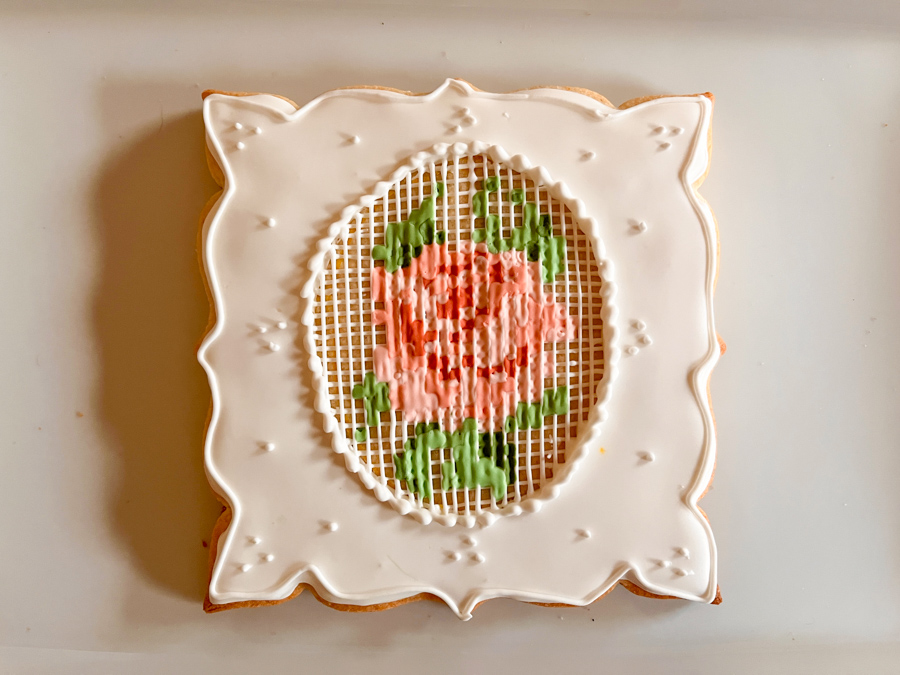
Tunde painted the frame and details with a copper luster powder, but I decided to leave mine white. I definitely want to make this again in the near future, while I have the whole technique fresh in my mind. This was a great tutorial, she uploads the video and you can play anytime, stop it, rewind, forward, work at your own pace. I was absolutely thrilled with my needlepoint babies!


Leave a comment