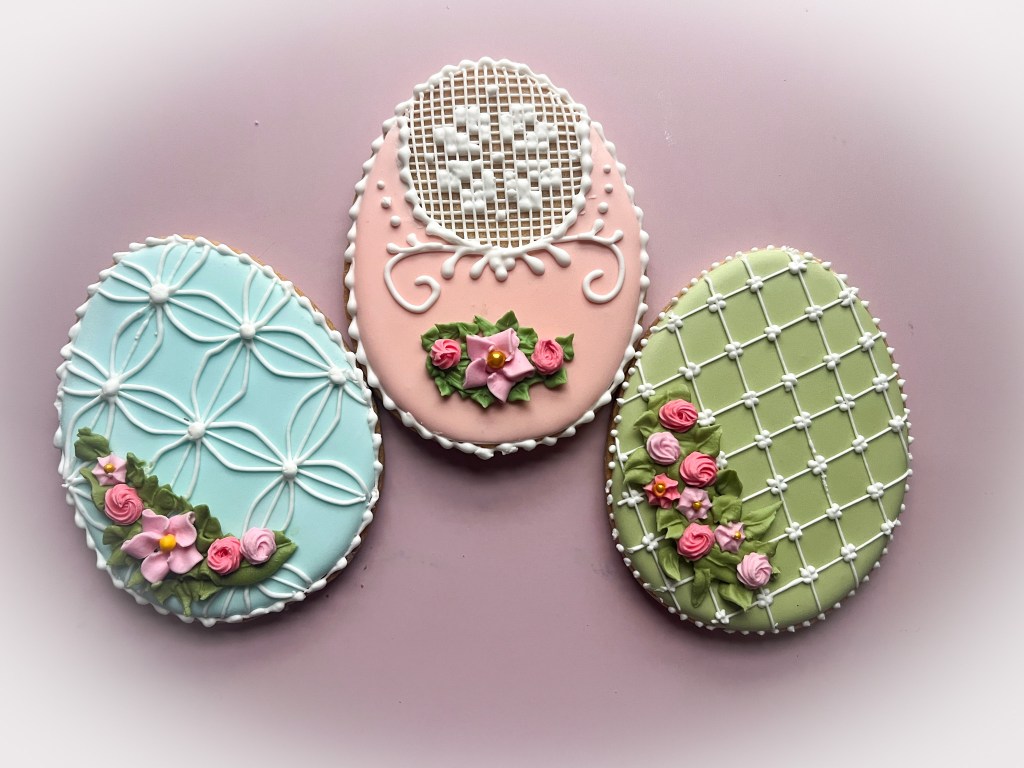
Easter is just around the corner and there is definitely a lot to share in the cookie decorating department, as you can imagine. Today I show you a series of ideas that center around the Easter Bunny.
.
Some designs were my own and some were made following tutorials of my dearest cookie artist, Haniela. So, without further ado let’s get this party started!
.
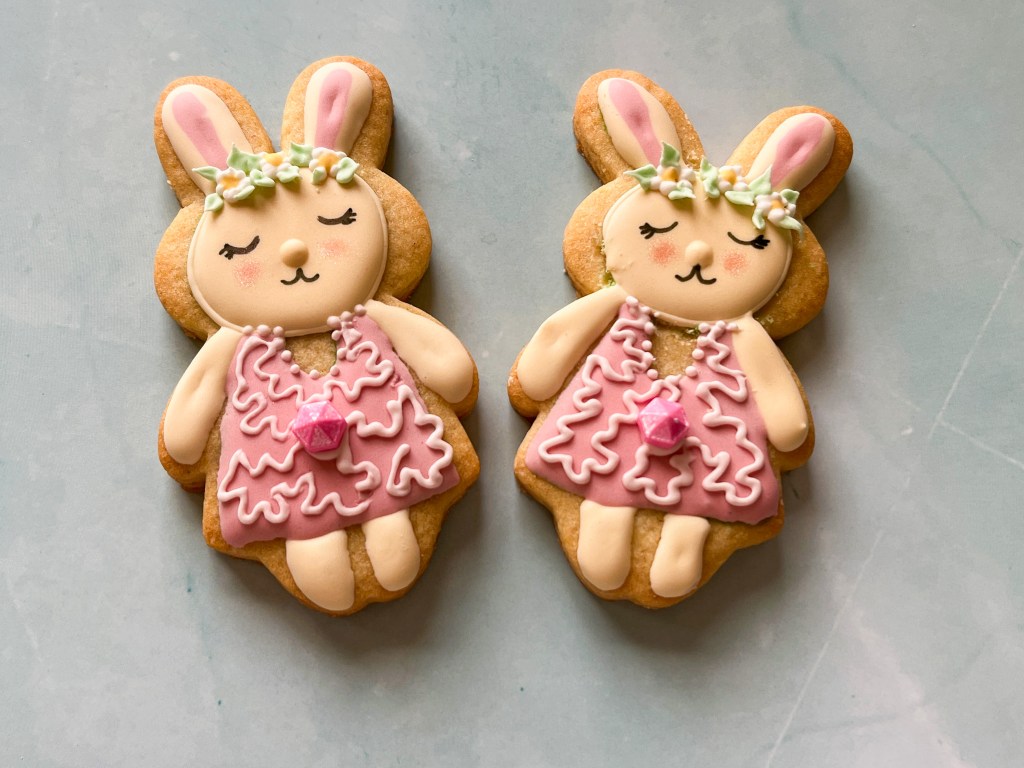
HANIELA’S BUNNIES
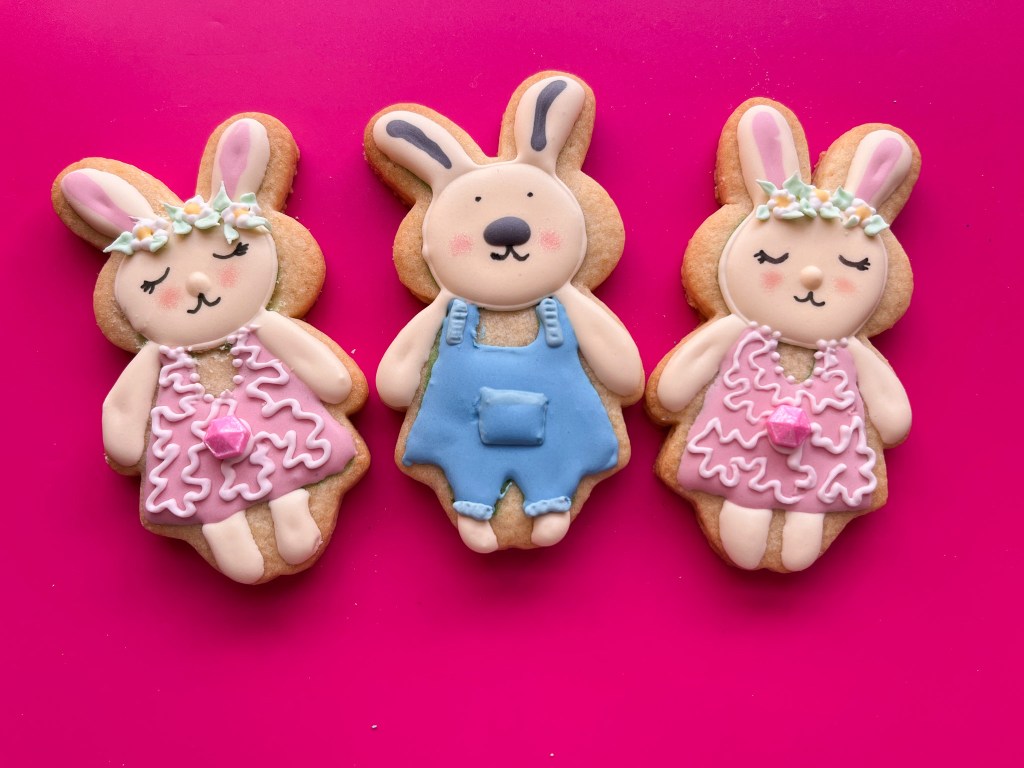
Aren’t those the most adorable cookies ever? This tutorial is available for anyone to watch and learn so you can get all the details clicking here. It shows the little guy in the making, and then I made the girl on my own, as a self-imposed little challenge…
.
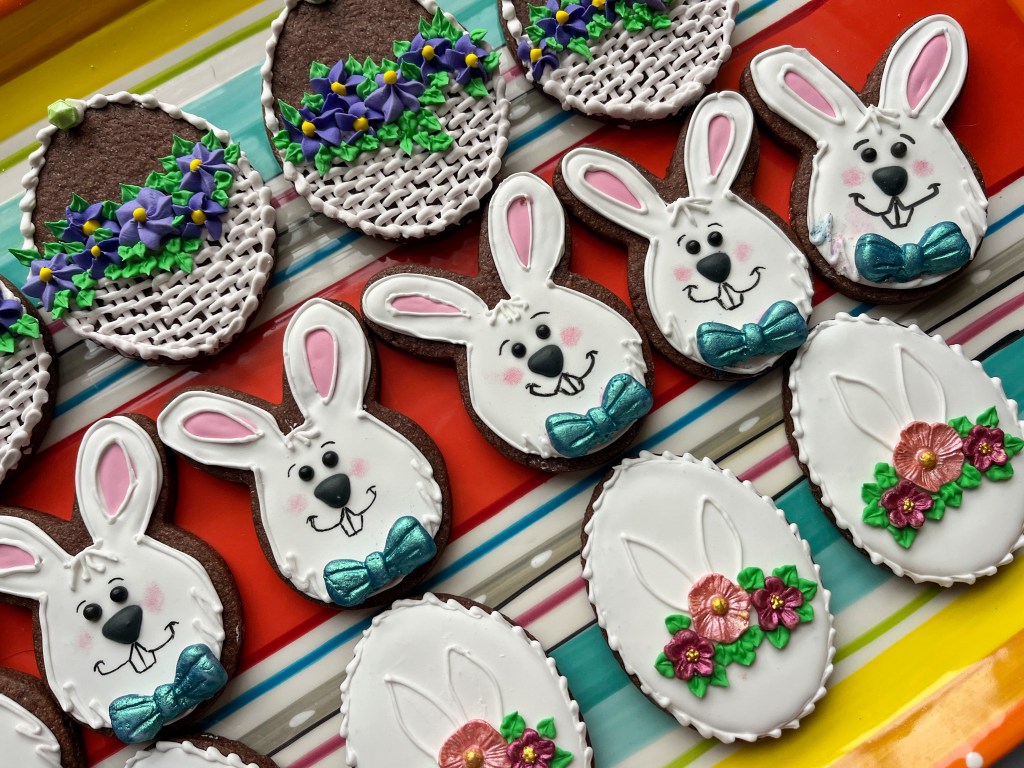
STENCILED & PAINTED BUNNIES
Super simple, just flood the cookie and allow it to fully set. Pick a stencil and use it to spread white Royal icing for the design. Let that set for 30 minutes or so, then paint it. I used Sugarprism, but you can use diluted gel color, a food safe pen, or luster powder mixed with vodka. I will cover this technique with other designs in the near future. Stay tuned.
.
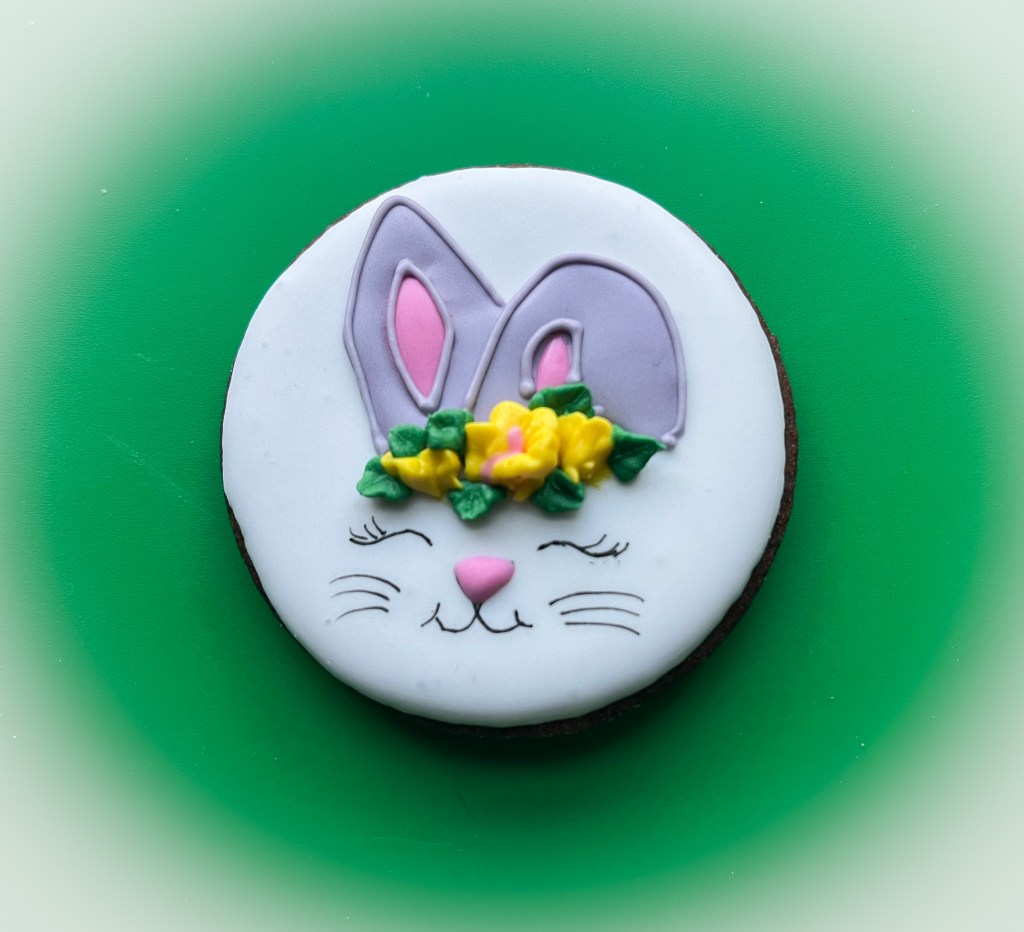
GOOFY BUNNY HEAD

I was inspired to make these from versions I saw on Pinterest. I made the noses as Royal icing transfers, and the blue bows are made of fondant using a silicone mold. Some steps shown below.

.
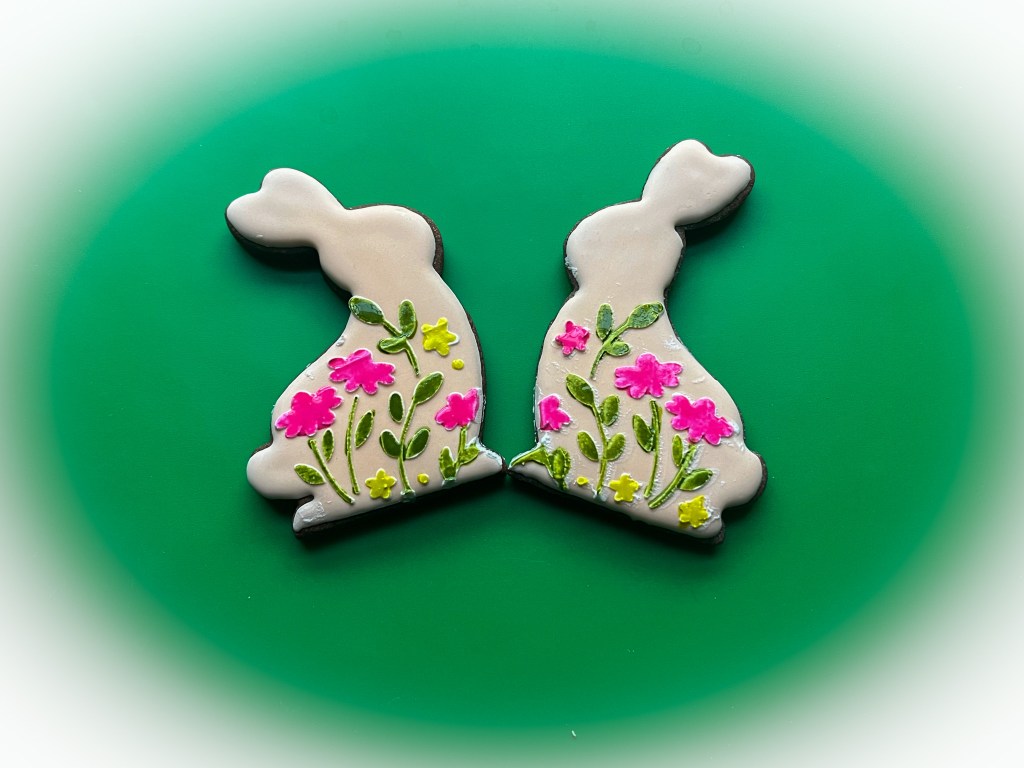
BUNNY’S EARS – VERSION 1
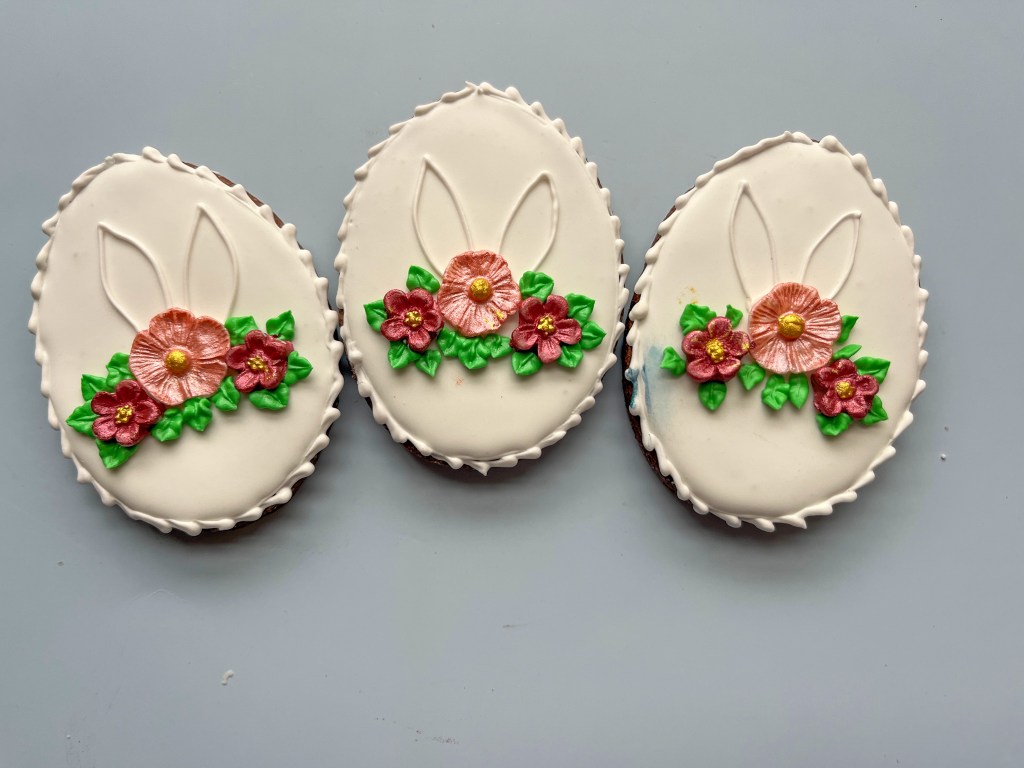
A design inspired by a cartoon drawing, very simple and straightforward. I made fondant flowers, leaves were piped with green Royal icing. I I bravely resisted painting the inside of the ears with gold. It was not easy but I exercised incredible amount of restraint. (Sally pats herself on the back).
.
BUNNY’S EARS – VERSION 2

Once again, I started from a cartoon image from Pinterest. Then I used the projector to add it to a cookie that had been previously flooded with white royal icing. I piped some details and finally added the flowers also with royal icing in thick consistency. You can see below some of the steps as well as the starting picture that inspired me.

I really like the way this girl turned out…
.
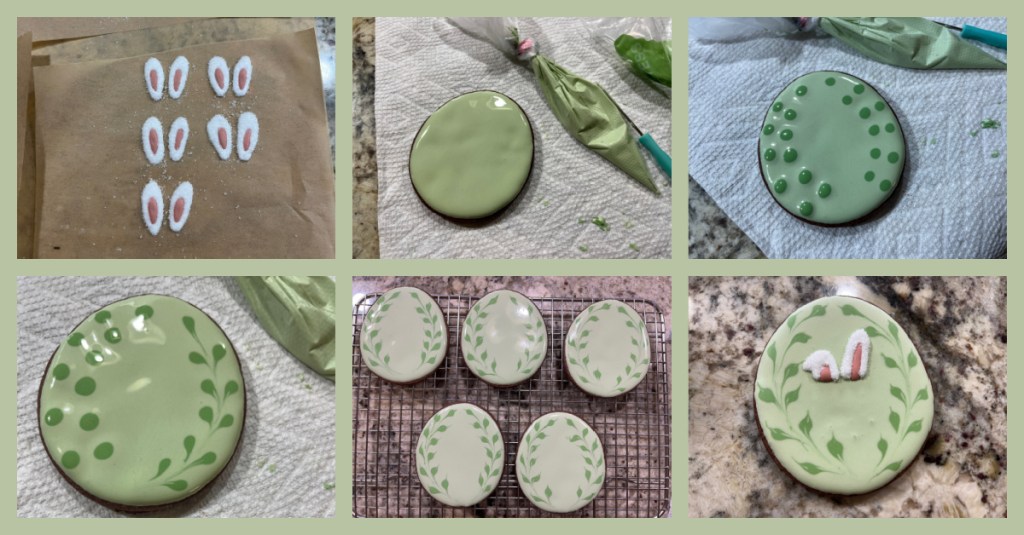
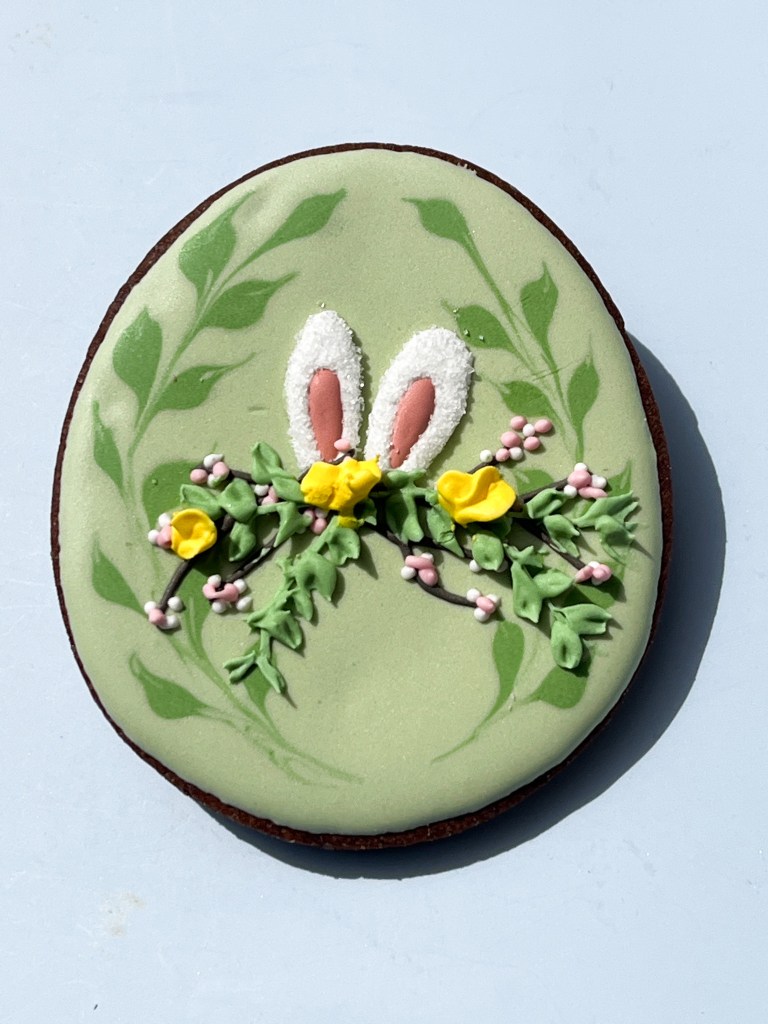
BUNNY’S EARS – VERSION #3
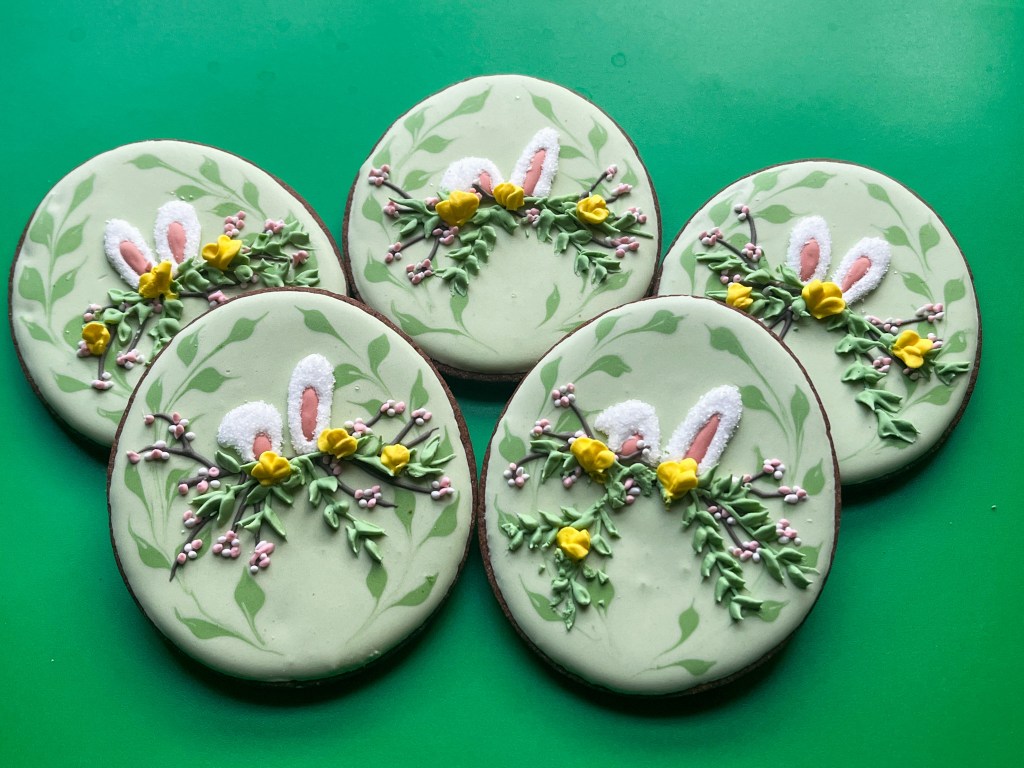
Of course, I had to save the best for last… This is a design imagined and demonstrated by Haniela in a recent Facebook live. I could not wait to try it, because there were so many details to make this a special cookie. You can watch the replay for free clicking here. You start by making the ears as Royal icing transfers, then use them to glue over a beautifully decorated background made with wet-on-wet. Some steps shown below, but watch her video for the full experience.
This is by far my favorite cookie of this whole set. I love how Haniela imagines little things to add to a design to make it super special and adorable. Elegant to the limit!
That is all for now, friends! I am officially getting started with the Easter decorating, and will have a lot more to share, hopefully I can get it all in the blog before the day comes and goes…

.
ONE YEAR AGO: Total Eclypse Cookies
TWO YEARS AGO: Metamorphosis, the Cookie
THREE YEARS AGO: Marbled Cookie Dough


Leave a comment