Classic or playful? Your choice!

.
THE WHITE BUTTERFLY

A little bit of piping will be needed for this design, but it does not have to be super thin, a PME 1.5 will be fine, or even a Wilton 2. Some of the steps shown below…
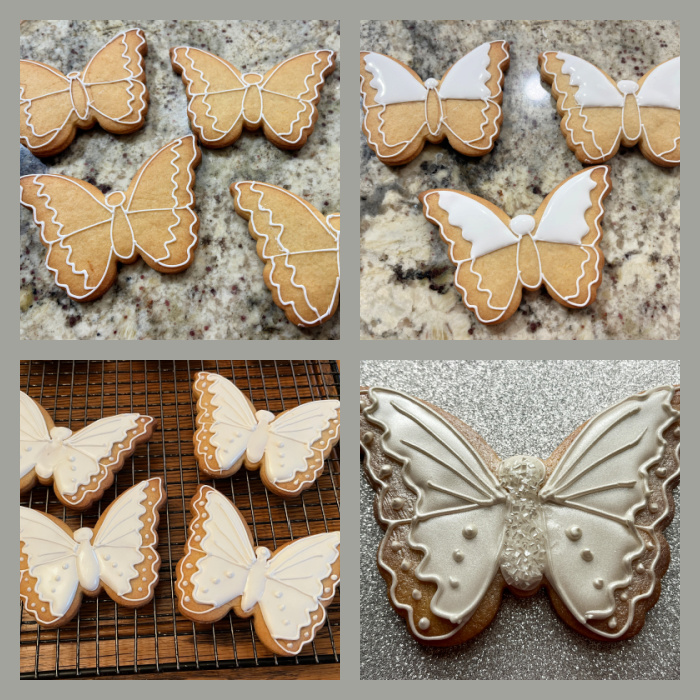
Pipe the sections over the naked cookie with Royal icing white.
Flood non-adjacent areas, waiting about 10 minutes for each section to set before flooding the one next to it.
Add details with piping consistency white. Let that set.
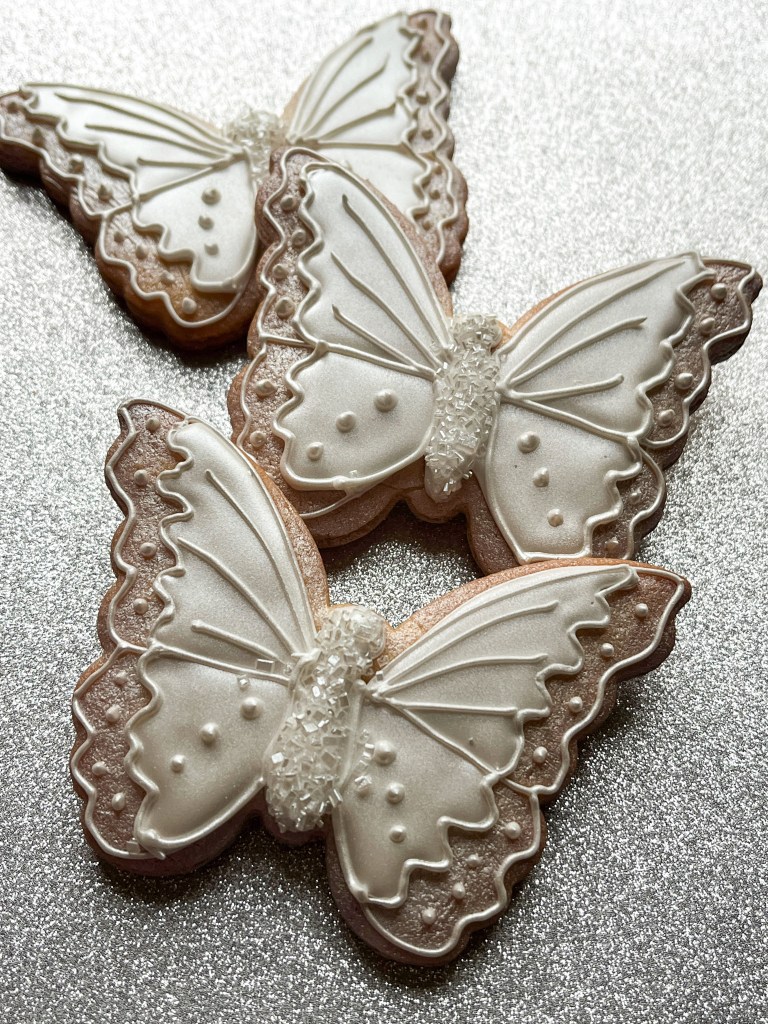
Wait at least a couple of hours, add a small amount of white icing to the body of the butterfly and cover it with white sanding sugar.
Spray a light layer of PME luster pearl all over the whole cookie to give a transparent look to the edge of the wings.
You are done!
Modern and colorful…

This design was inspired by one found in the book 100 Party Cookies, by Kalinichenko and Sanchez (available here). Some steps shown below, most important thing is to pick bright, happy colors!
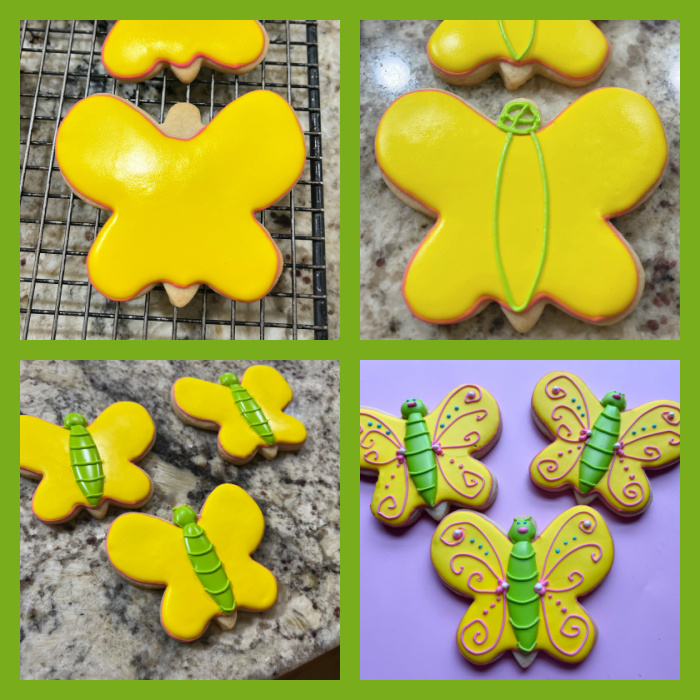
Outline the edges with pink, using a Wilton 2 tip.
Flood with yellow icing, allow it to set for an hour or so.
Pipe the outline and flood the head first, then the body. Let that set.
Add all details with piping consistency pink, green, and turquoise, some sprinkles for good measure.

.
ONE YEAR AGO: Inspiration for June, Just Three
TWO YEARS AGO: For the Love of a Teddy Bear
THREE YEARS AGO: Mandala Sugar Cookies


Leave a reply to thebaroquebaker Cancel reply