This set of cookies were part of an online class I took recently (click here for details). Andi is a wonderful instructor and when you subscribe to the class you get a super detailed PDF not only with all the recipes and templates, but also in this case a little tutorial on how to draw this particular type of flower. For me, this kind of basic info is extremely helpful. Right after I finished the cookies planned for class, I took a little departure and made a small set of my own, using her basic approach. I highly recommend her classes. This was a reasonably simple one, I am trying to decide if I should take a deep breath and go for one of her more advanced versions. You know how that might end… (wink, wink).
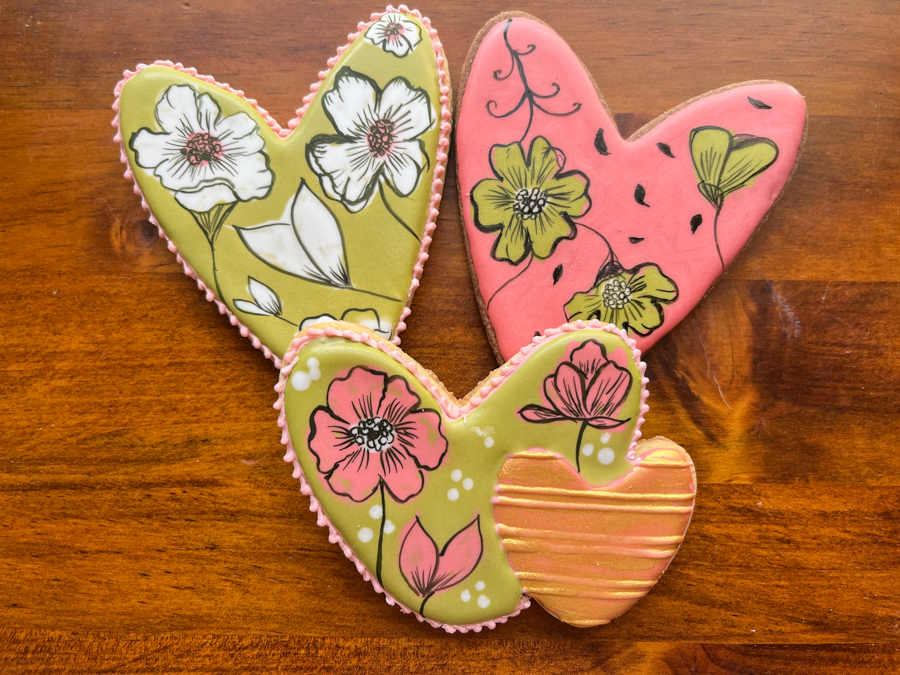
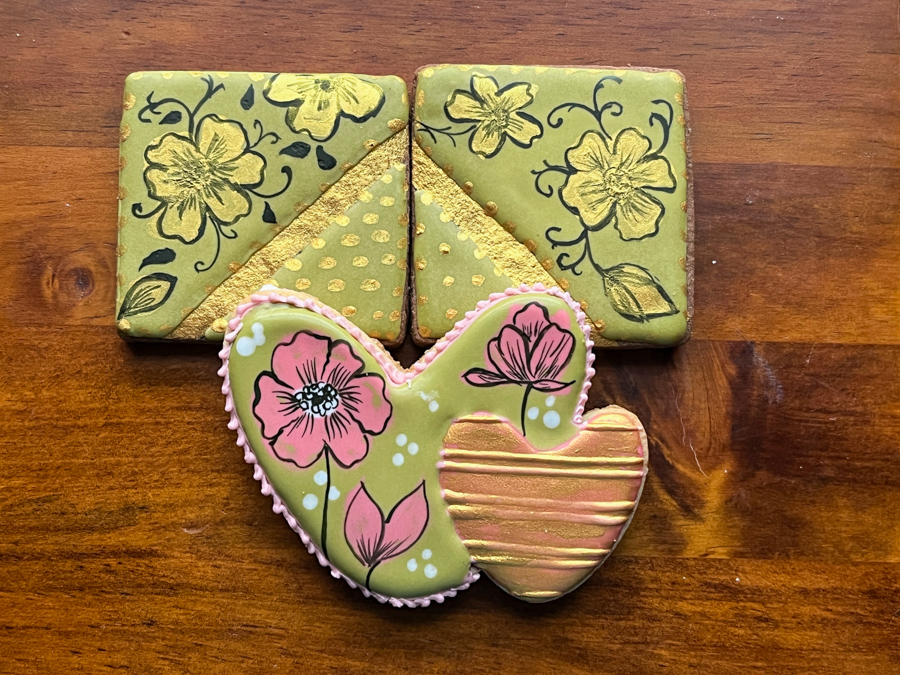
This online class had four designs, but two of them I messed up. One of the things that needs to be considered is that designs with a big area of wet-on-wet might cause the icing to overflow the edge of the cookie, which distorts the image. I added too much of the base color without taking that in account. But the heart-shaped cookies worked very well. Also in the class we had a square cookie and a large, round cookie with a monogram inside. I need to re-visit those in the future.

I cannot go into all the details for the different stages (due to copyright issues for the class), but what I loved the most was adding the black details using a fine brush and this particular food color, which is Andy’s favorite for this type of work. It truly works super well. It is a dye designed for air-brushing, it dries reasonably quickly, but it is very forgiving. You use it straight from the bottle, no need to adjust anything.
One of the cookies I had issues with started from a square shape and a band of gold luster painted on the naked cookie. I used that idea and made a composite square cookie. In this case, instead of wet-on-wet, I painted the design with luster gold and then used the black Amerimist gel color to add the details.
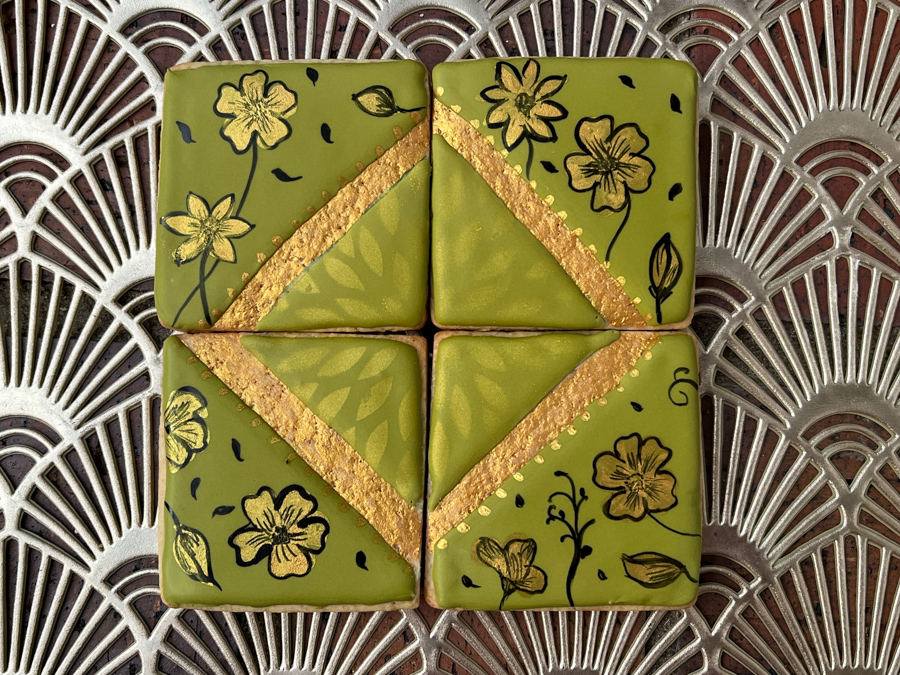
Below a few steps of the prep for these cookies… First, painting with gold, icing with green, and using a stencil to add a pattern just in one area of the cookie. Luster gold to paint a very loose design of the flowers, and the black details added once it all dries, which is less than 10 minutes.


I really loved this method, and will be exploring different shapes of flowers in the future. I also love how a very elegant design can be made with just three colors of Royal icing.
ONE YEAR AGO: Brush Embroidery


Leave a comment