Yes, it is that time of the year, all we can think about in the cookie department is romance, hearts, reds and pinks. I have quite a few cookie ideas to share – as I followed several tutorials in the recent past – but today I launch this party with my own designs.
DESIGN #1
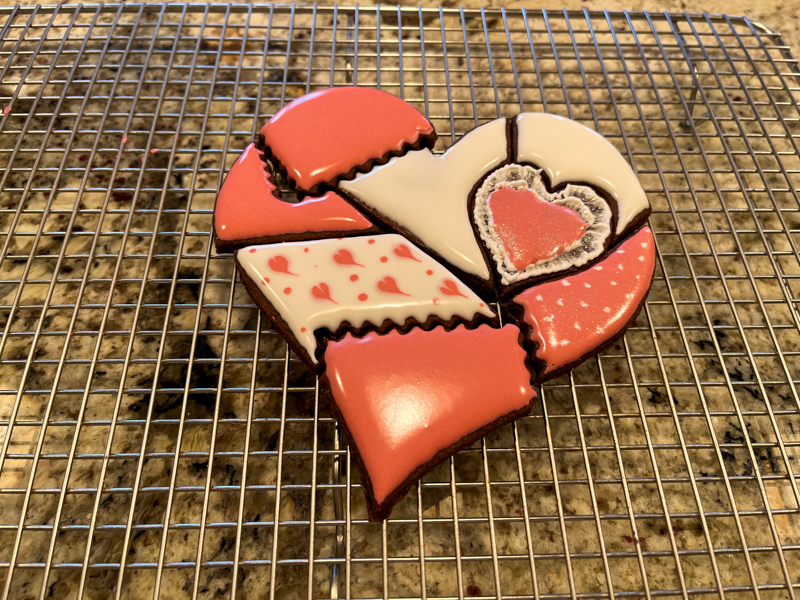
THE PUZZLED HEART

This cookie cutter was a gift from Tanya, my tent-baking friend. She used her 3D printer to bring it to life. Last year she made a stunning composition using it, and I decided to give it a try now. Several decorating methods were used: brush embroidery for the small heart off-center, texture with a fondant ball, wet-on-wet and air-brushing with stencil.

It is very important to use a recipe without any leavening agent when making a cookie puzzle in which the pieces should join together nicely after baking. I baked them slightly apart from each other, and used my default chocolate cookie recipe which has no baking powder. Once that is done, the decorating fun can begin. All the wet-on-wet and the brush embroidery can be finalized once the cookies are cold. The air-brushing requires many hours for setting the base, even better if you do it the following day. The texture is added about 30 minutes after flooding, but you must be gentle and carefully test it. You don’t want to break the skin, just form a nice rounded indentation. However, don’t worry if it cracks at certain spots, in the end it won’t be a problem.
DESIGN #2
MODERN HEARTS

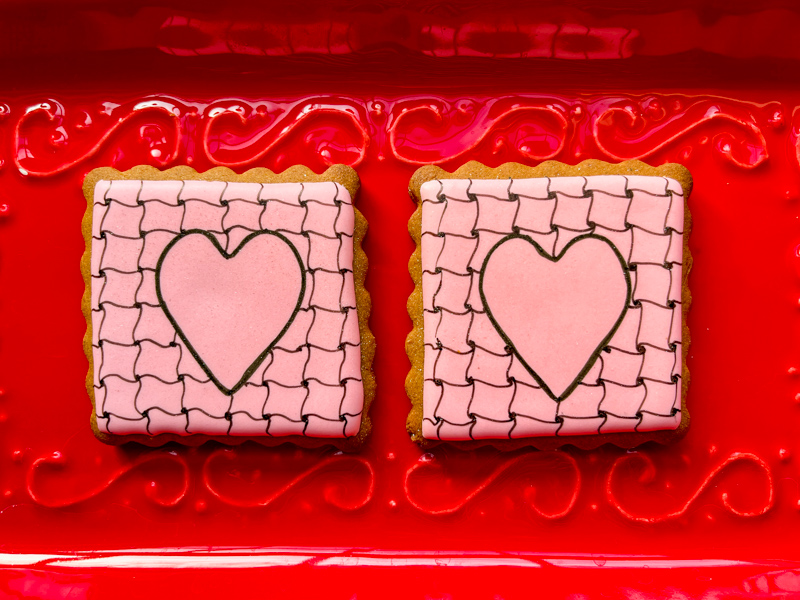
I like this type of design because it is so exotic and unique. I used this set of cutter + stencil. Very high quality cutter, it comes with two stencils, I’ve only tried one of them so far. Cookies are flooded in different colors, then the pattern is air-brushed. All that’s left to do is pipe the design with a Wilton 3 tip, to get thick lines.
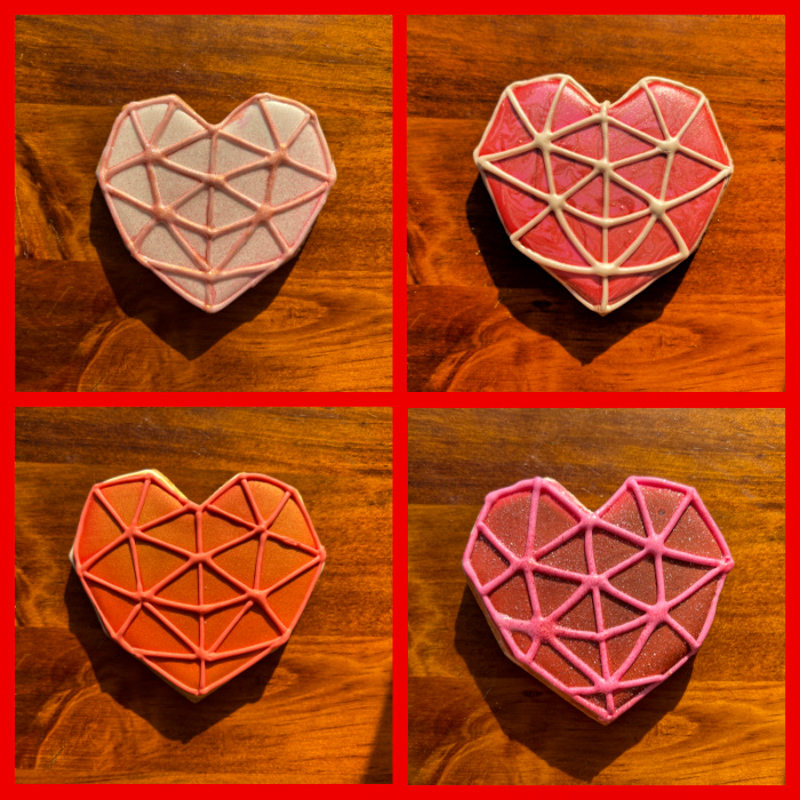
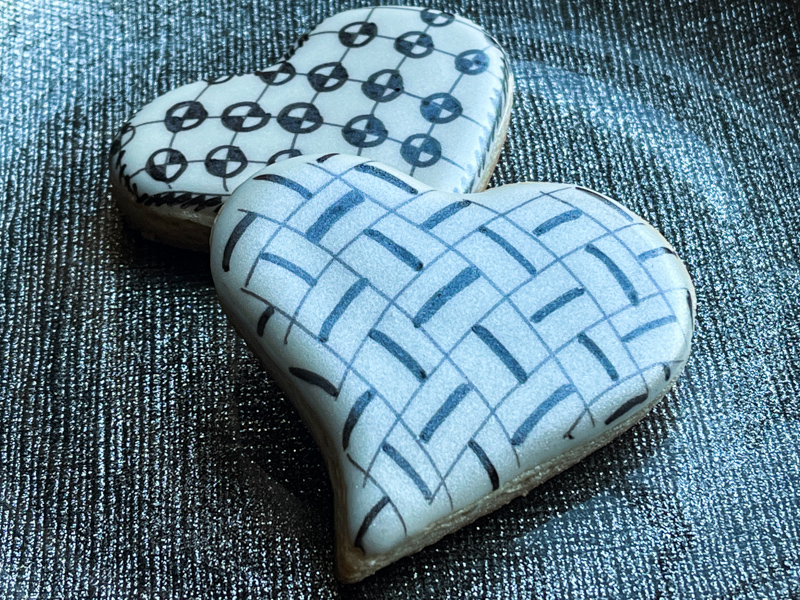
In a similar spirit, but with a free-hand approach, my duo of “Game of Thrones” inspired hearts…

I did not know exactly where I was going with them, but in the end, I loved the combination of gray and fuchsia. I flooded the cookies in white, piped a simple design, and then used luster powder + vodka to paint the different sections.
DESIGN #3
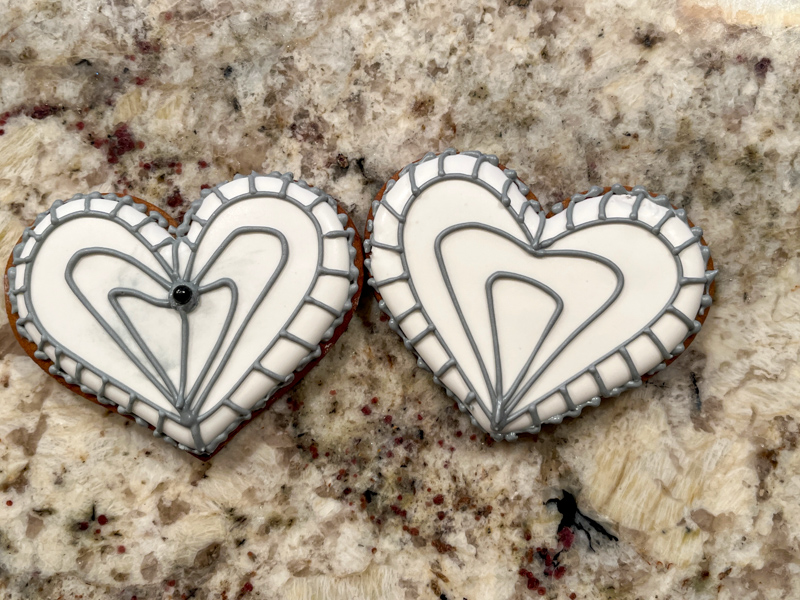
BRUSH EMBROIDERY

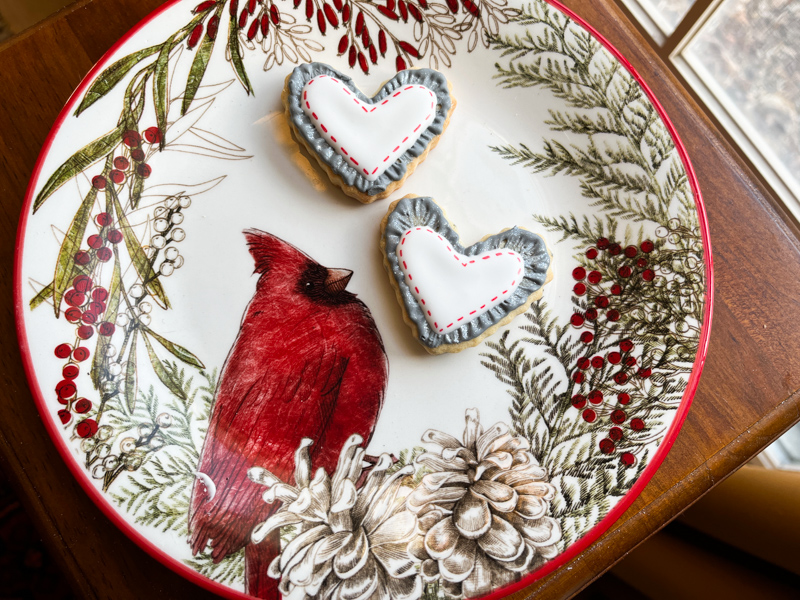
In this set I used chocolate cookies because I find that the brush embroidery looks particularly interesting with a dark background. Very easy to decorate, once you do the embroidery, just flood the center in any color of your choice, and add dots while still wet. I like to pipe dots of different sizes because then a random pattern looks nice. When the dots are all the same size, the spacing needs to be more carefully planned, as the ones below.
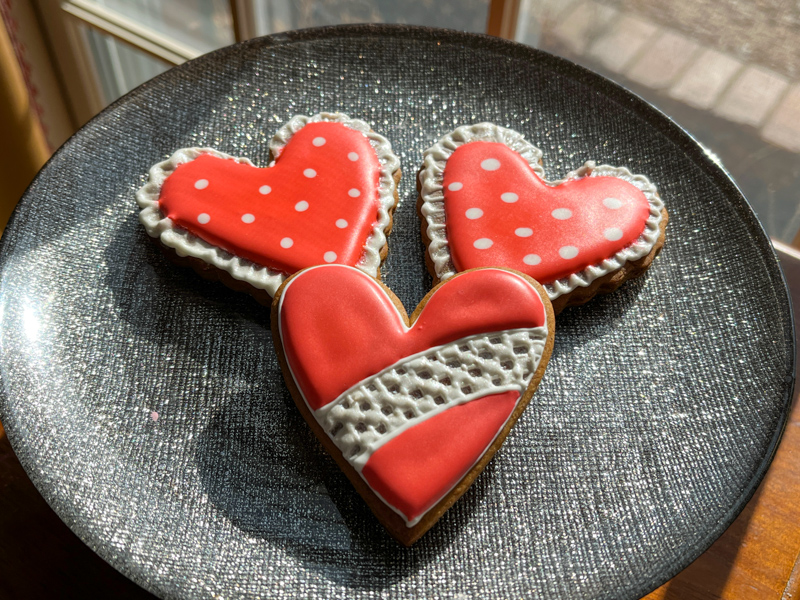
Same style in red and white, and a little departure using fine lines to make a lace ribbon in the center. After that the upper and lower regions are flooded with red. It is a bit more work, so making a dozen of those would be time consuming and tedious maybe. But I made only a couple, to practice the fine lines. I try to incorporate a design with fine lines in some of my weekly bakes.

Another style, super simple. Gray at the edges, white to flood the center, and when that sets a red food pen is used to make the red stitches. Easier than piping, but you can definitely pipe Royal icing if you prefer.
DESIGN #4
ZENTANGLES
Cannot stop making those at every change I get… They closed my latest post with the Gnomes, and now they show up again. The one above is my favorite Zentangle pattern because it is easy and fast to do, but it gives the impression of being labor-intensive.
Not quite zentangles, but in the same style of repetitive pattern…

DESIGN #5
LOVE MESSAGE

These were imagined by my beloved husband, and transformed into cookies by yours truly. It turns out that I have a little daily routine with Buck, our 14 year old Jack Russell: I hold him and keep telling him over and over… “I love you to pieces”. Phil thought it would be cool to make a little series celebrating different pets. I used a mini-projector for all except the kitten, which was – very bravely – drawn free-hand, from a cartoon I found online.
DESIGN #6
THE BAROQUE HEART

For this set of cookies, I used Cricut to cut a stencil exactly in the shape of the cookie. Then all that’s needed is flooding the base, allowing to to fully set, then air-brush the design. I used fuchsia from Sugarflair as the base, and air-brushed purple, which I also used later to make a beaded border. With PME tip #2.
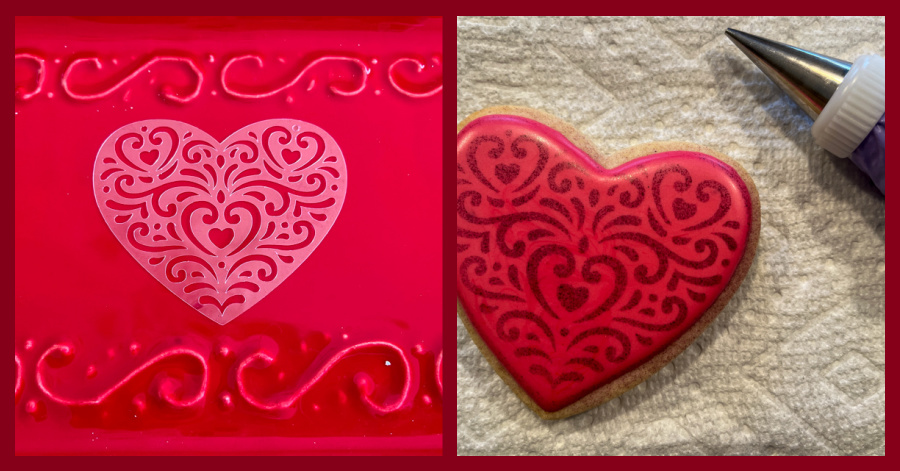
The trickiest part is air-brushing. To minimize the possibility of smudging, I use a screen placed on top of the stencil, but that makes it hard to judge how well the dye is reaching the cookie. It is not very easy to get all cookies with exactly the same intensity of color, but maybe that’s part of their charm… never two exactly alike!

This closes the series of hearts I’ve made since the year started.
In the next blog post, I will share versions made following tutorials online.
Sneak Preview


Leave a comment