What’s not to love? They are amazing creatures and such a wonderful subject for cookie decorating… Today I share a few designs from my recent past.

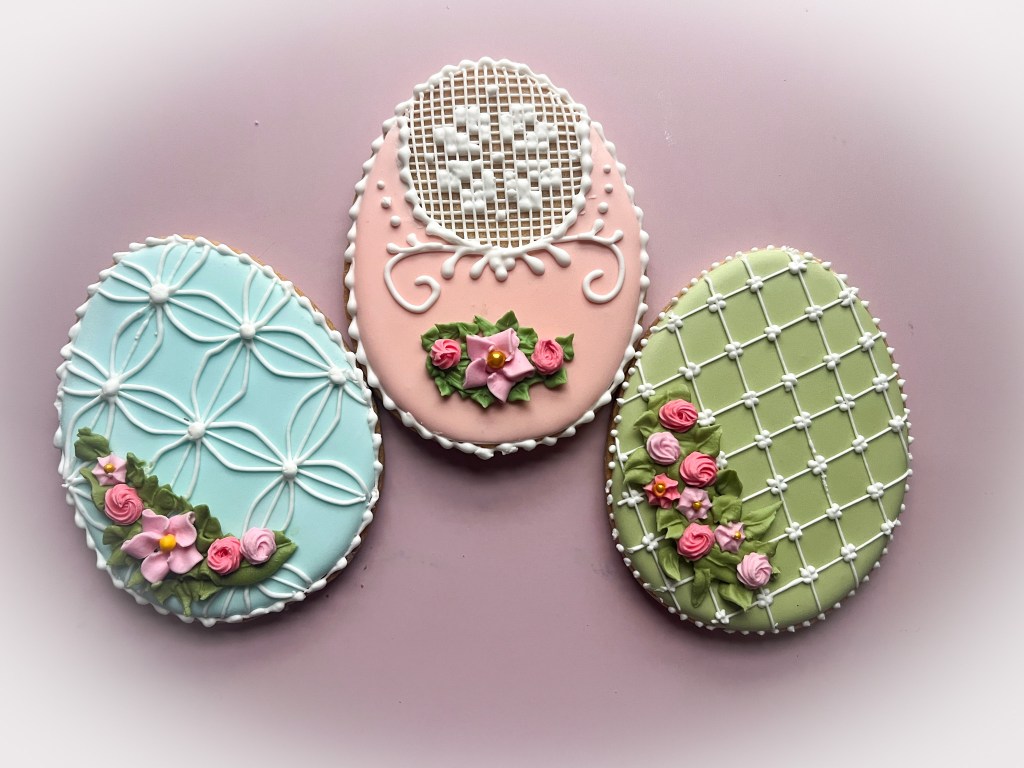
This is a large cookie, made to accommodate a stencil covering its whole extension. You can get the stencil here. Very simple to make. Flood the cookie, let it set completely, preferably overnight. Brush white Royal icing over the stencil, and before removing it, spray a little Diamond Dust for shine. Finalize with a central butterfly made with fondant, and a bead border. I used slightly thinner icing for a more wavy effect.

.
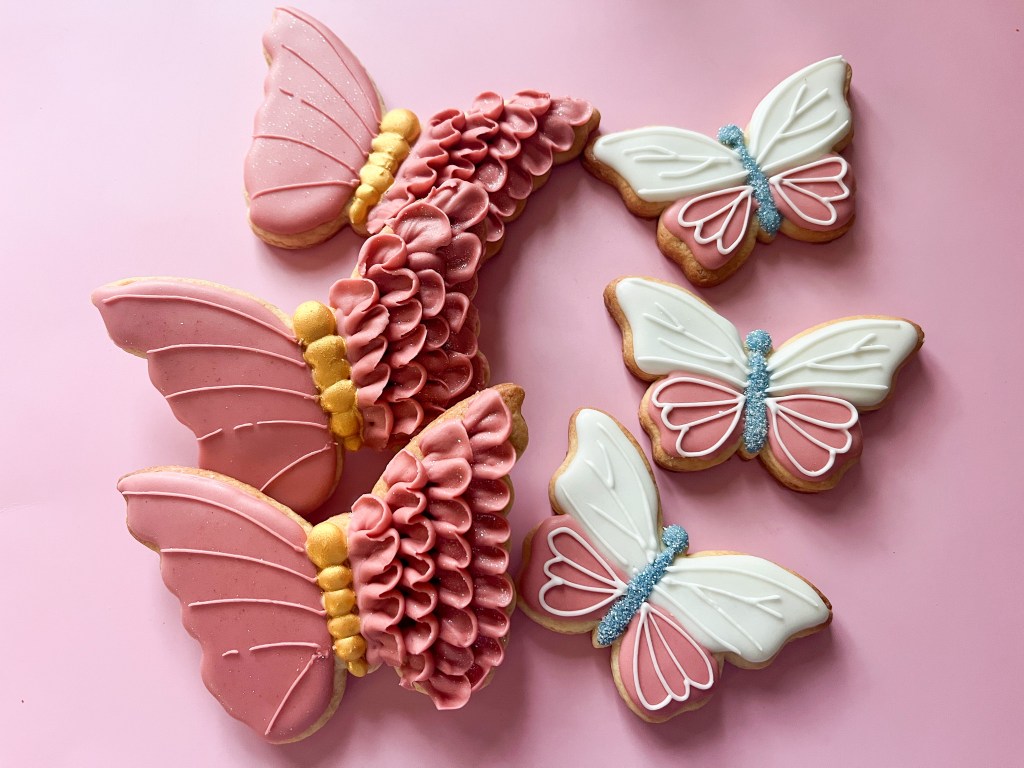
PASTEL PINK

Slightly more time-consuming, the body is piped first ad covered with whit sanding sugar. Then the other parts of the butterfly, once it all sets the details are piped.

.
BICOLOR BUTTERFLIES

Quite in love with these… Body is piped first in blue, sanding sugar added right away. Then the two areas of the wings in different colors. Once that sets, details are piped in white.
RUFFLED WINGS

In this case, the wings are piped first. Right side thick consistency using a petal tip (102). Left side is flooded. Once that sets the body is added with gold icing. Details with piping consistency applied on the left side only. Finally the body was painted with Luster powder gold + vodka.
.
ONE YEAR AGO: Fun with Wax Seal Stamps
TWO YEARS AGO: Gnome and Floral for the Month of May
THREE YEARS AGO: Let’s Square Things Up
FOUR YEARS AGO: The Many Faces of the Oreo Cookie


Leave a reply to jillsifer Cancel reply