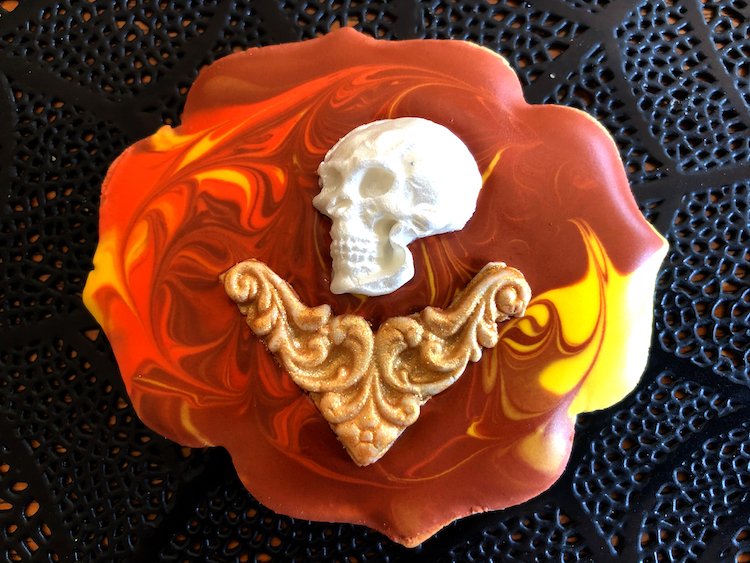
The technique of marbling using dots of gel color on the surface of Royal icing is a nice and straightforward method to generate colorful effects. Recently I saw Marlyn achieve a similar effect by swirling three batches of Royal icing with different colors. She did that on a baking sheet, to get a shallow surface, quite a bit easier to work with the cookies. It all ends up very smooth, with perfect coverage. I picked Halloween-friendly colors and coupled the marbling with spooky fondant decorations or silhouette painting. I ended up feeling pretty spooked. How about you?

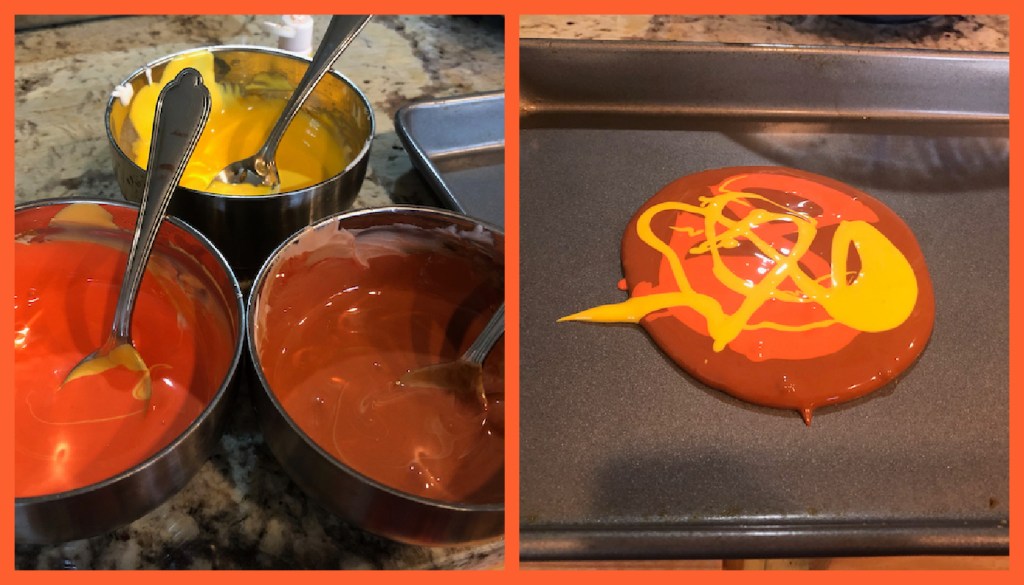
This is how Marlyn does the marbling… It is very easy to coat the surface of the cookie when the icing is poured this way, and since the icing needs to be a bit thicker it also covers quite well.
From that point, you can add decorations while the icing is still wet, or wait and glue them later with Royal icing.


I tell you one thing, I will be sad when Halloween is over… So. Much. Fun.


Leave a comment