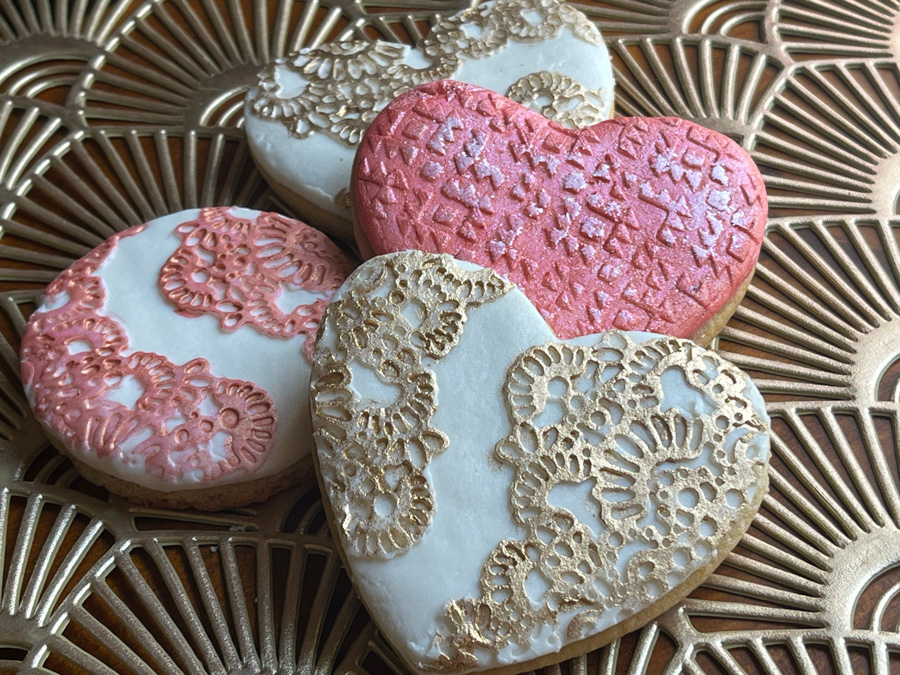
With this post, I celebrate Marlyn from @montrealconfections, bringing you three designs inspired by her work shared in her Patreon page and Instagram. I love her style and if you’ve been around my cookie blog for a while, that is probably old news to you… A fourth design is from yours truly, but I believe the style ties in well with the other three.

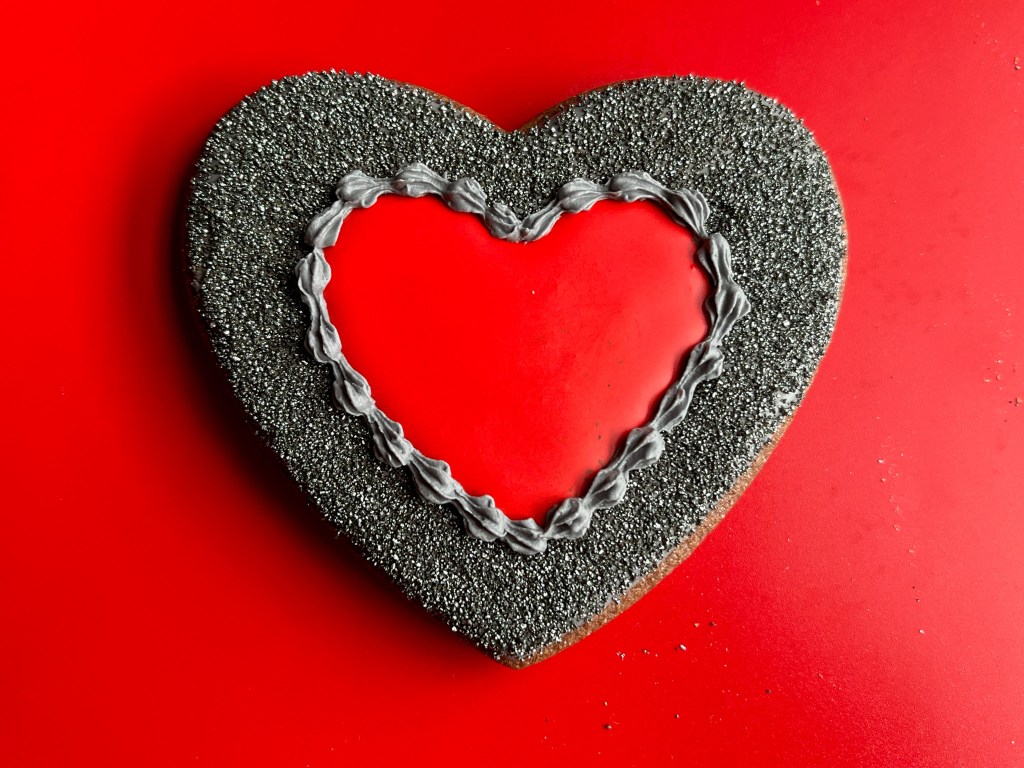
SILVER HEARTS, TWO WAYS
For this first design, all that is needed is flooding the cookie with gray (I used just a tiny amount of Black Diamond food gel dye), leaving a space in the center for the red heart. Once the flooding sets, spray with silver luster, then add the red center. Piping consistency for the details around it, and a little final brushing with silver for those details. The spray with luster is optional but it will give the metallic look for the whole thing. You can watch Marlyn’s tutorial on youtube with a click here.

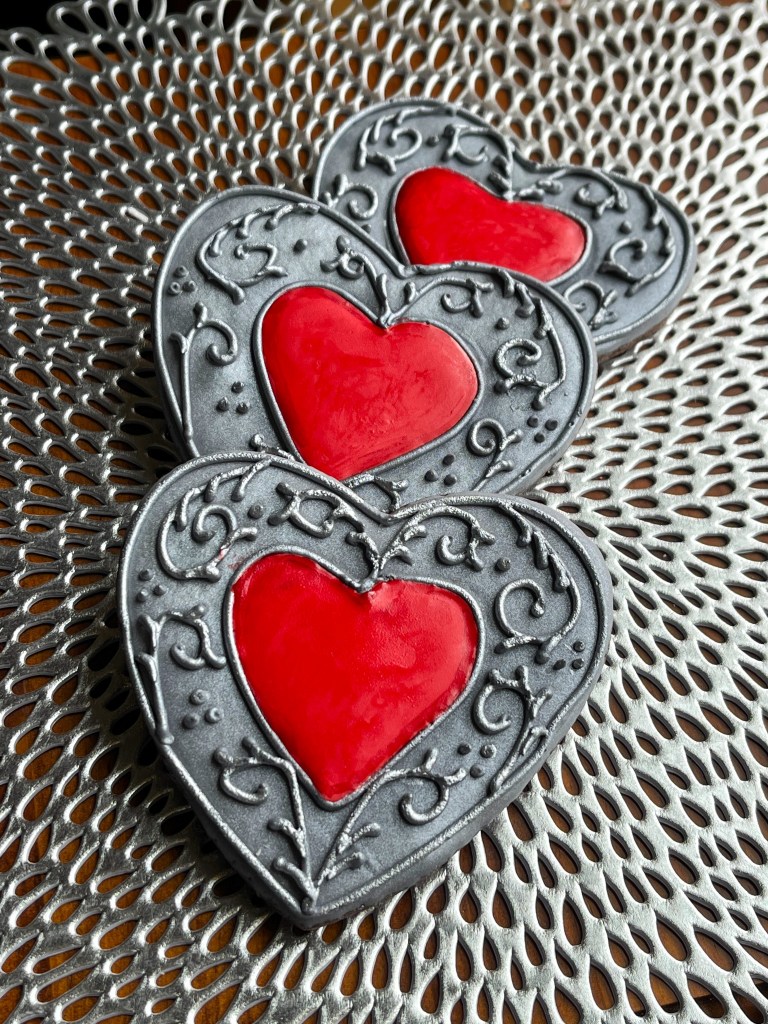
Another style joining silver and red, a little more elaborate…

The preparation starts by flooding just the border and immediately covering it with silver sanding sugar. The central red area is piped next, then once that sets the border is added with thick consistency gray Royal icing, and a small star tip.

This design might be my favorite, and all things considered, it is not that hard to make!

The border can be also simplified using the same tip, but less frills…
.
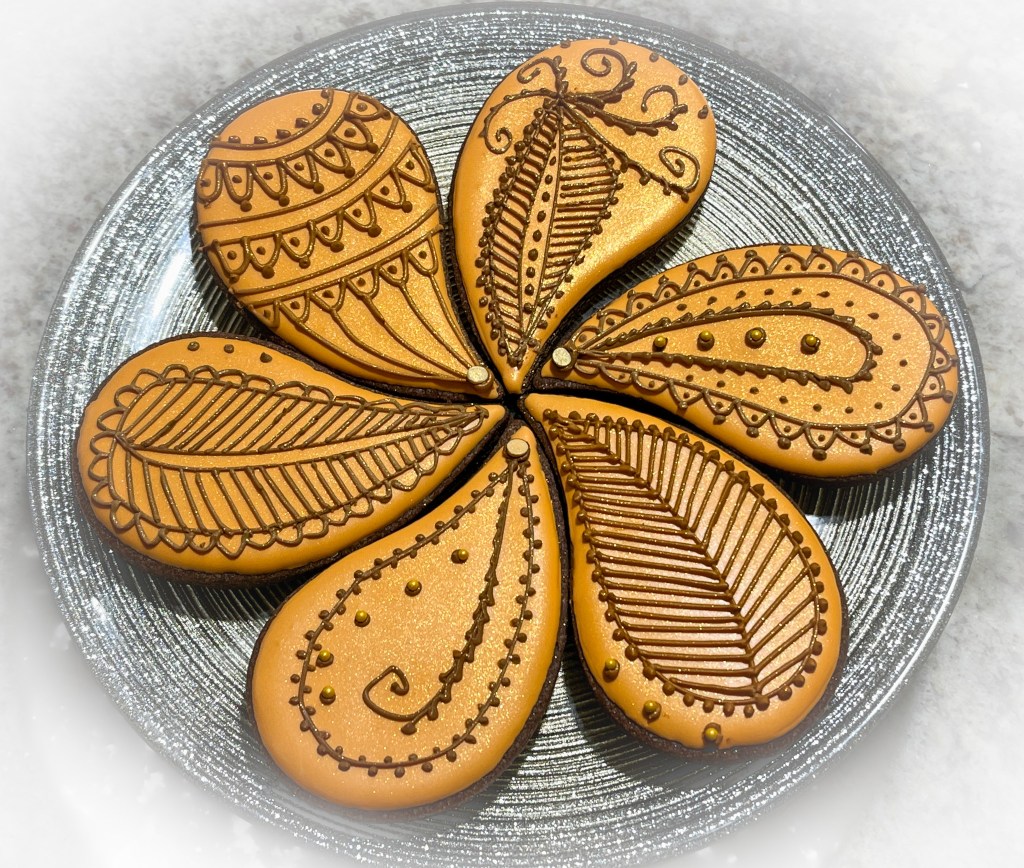
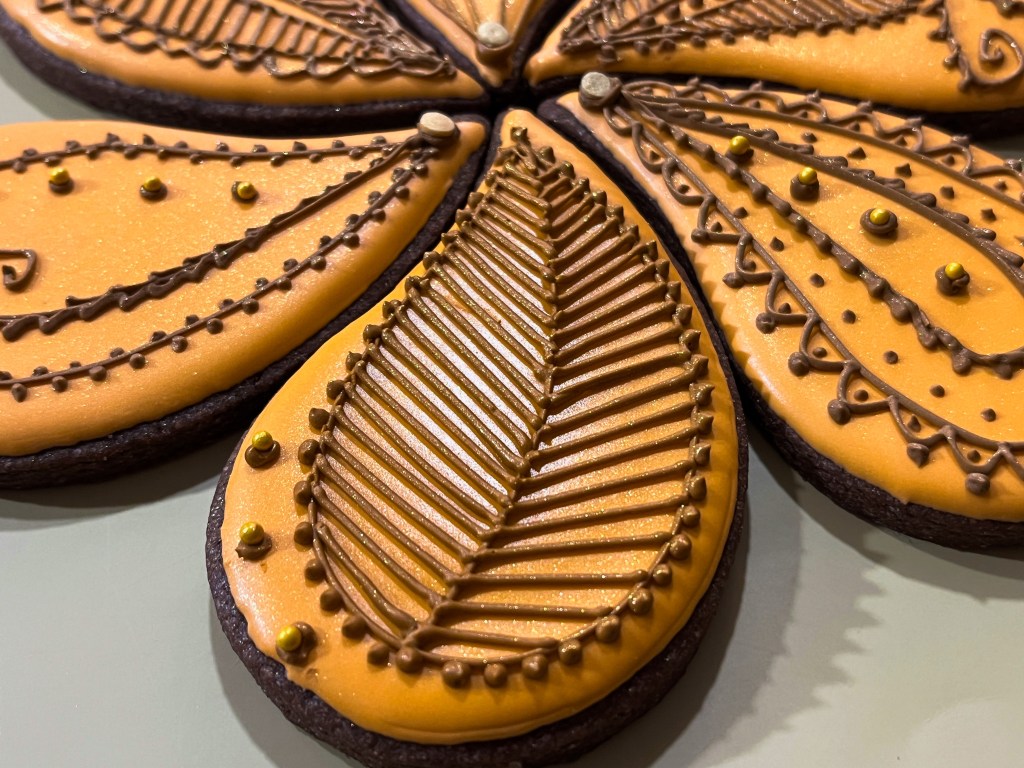
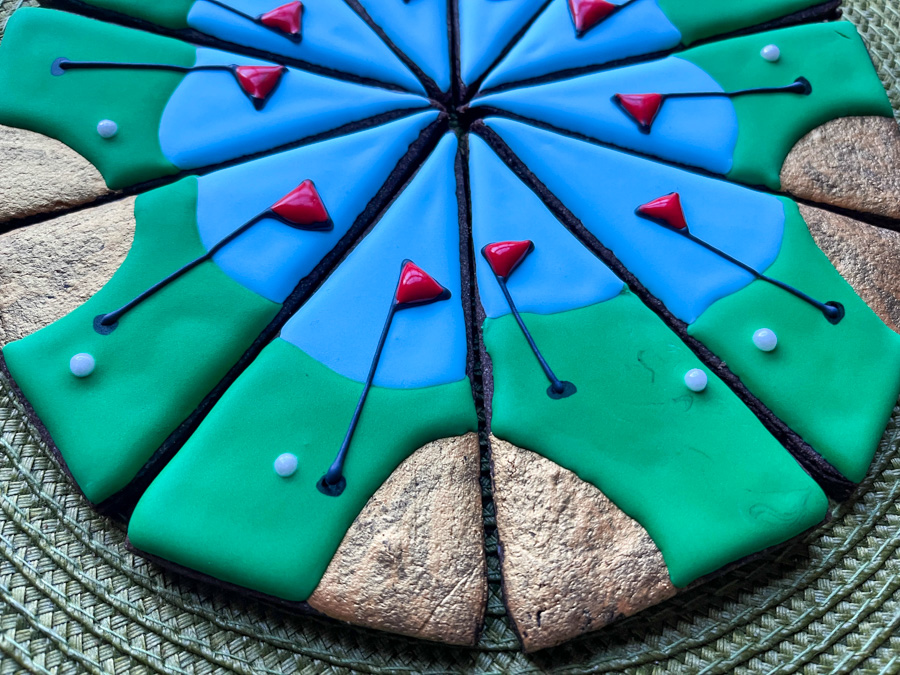
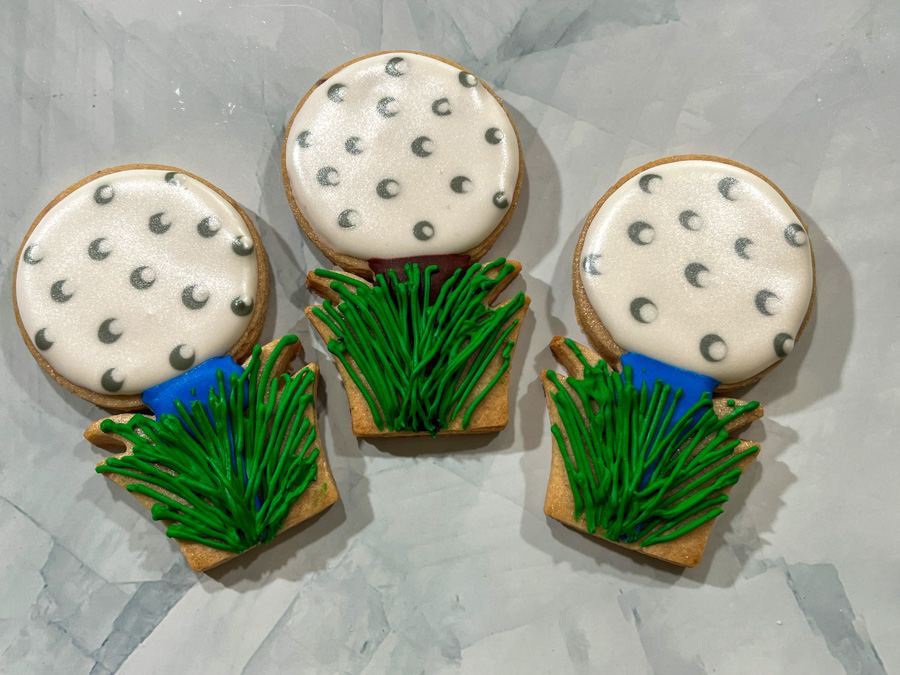
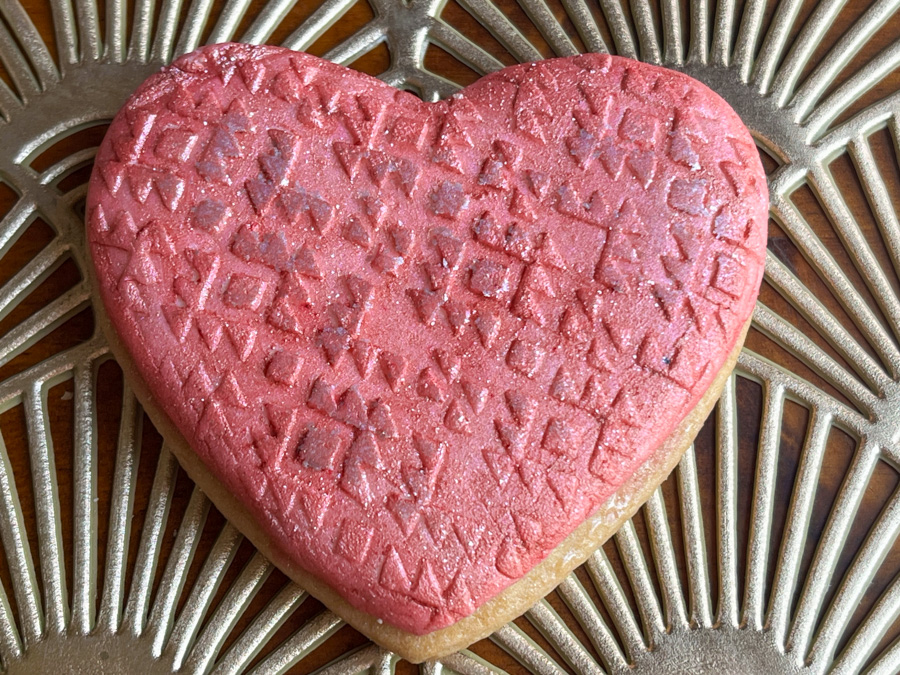
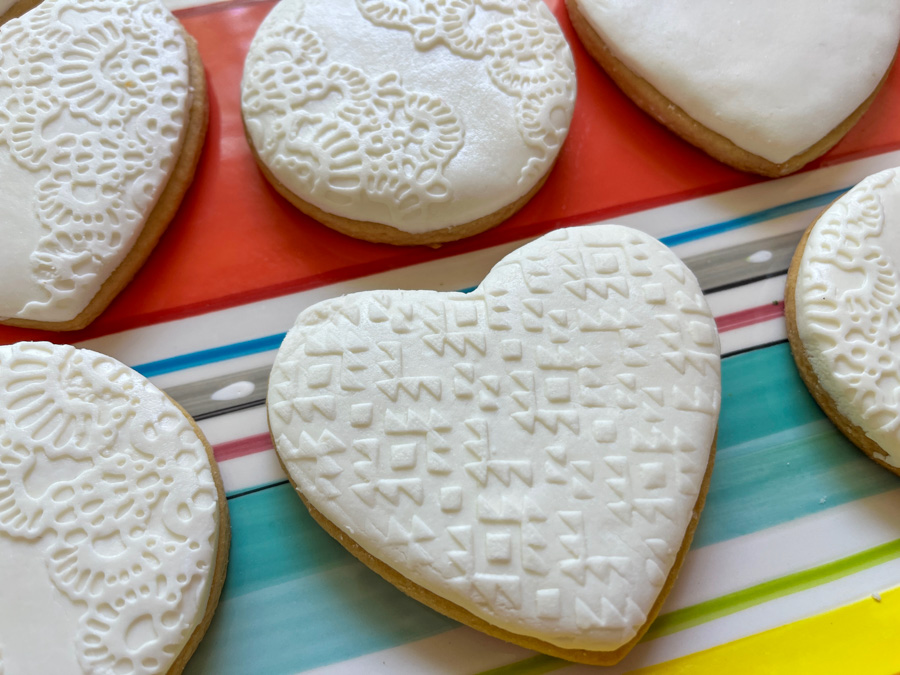
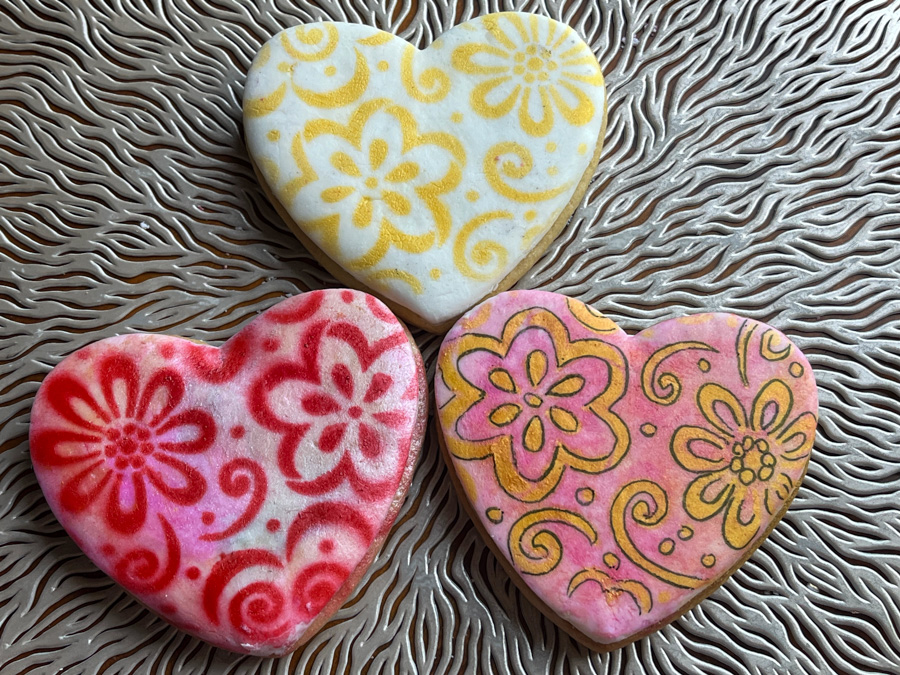
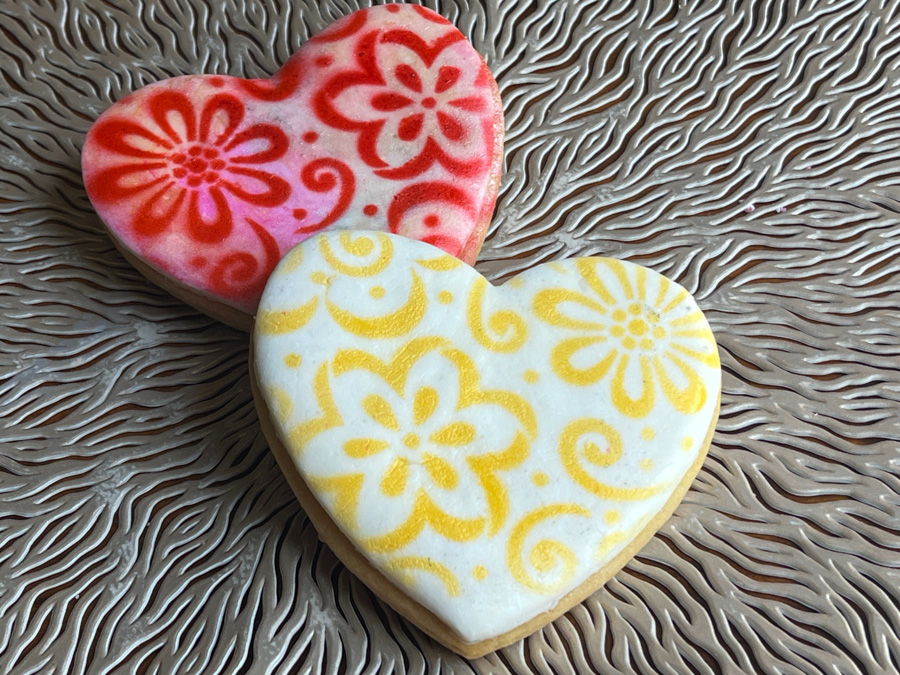
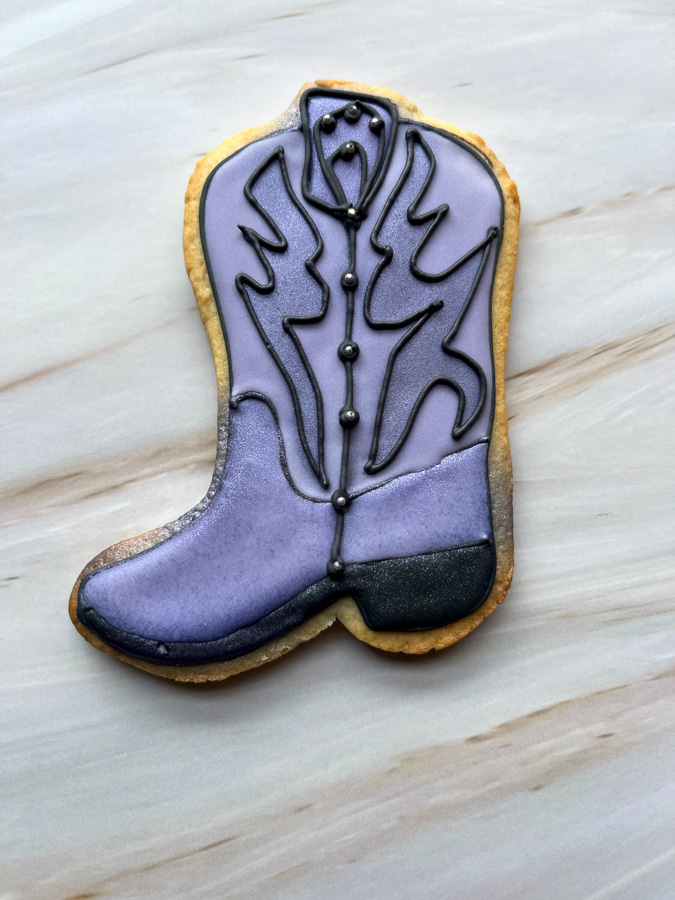
THE DIAMOND HEART
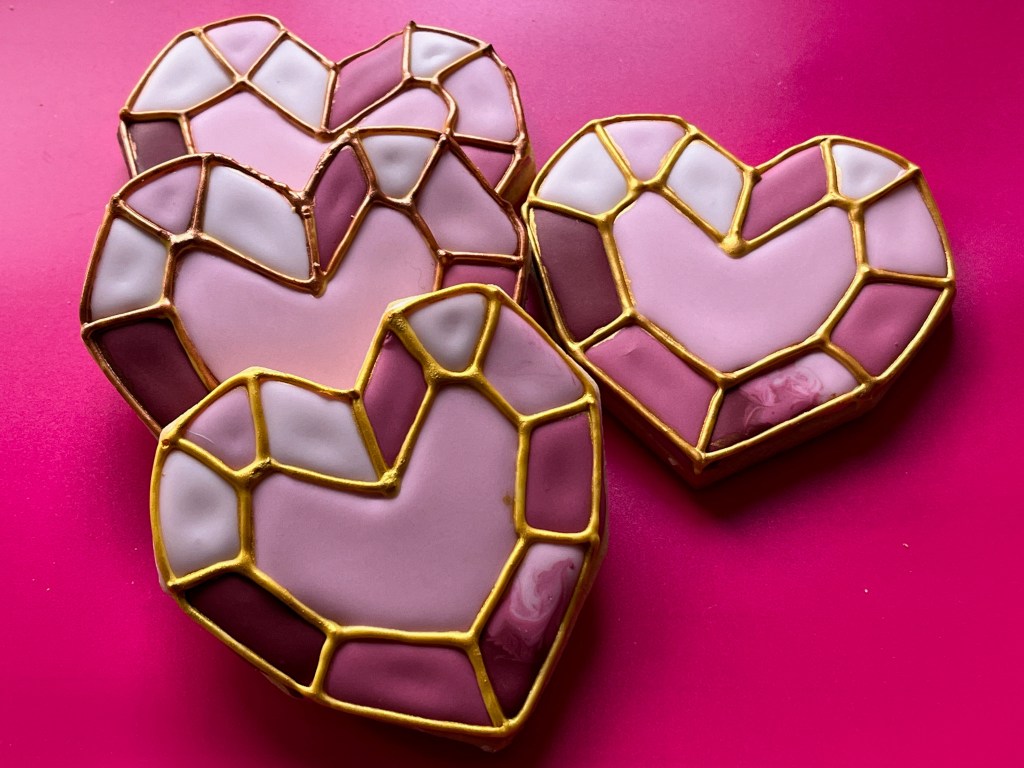
I am quite fond of this version… It was in some ways the most elaborate because four colors were needed and a little stencil to position the areas nicely on the surface. Marlyn suggests numbering the different regions so you can flood them sequentially using each of the colors and allowing them to set before piping the region adjacent to it. Works super well. The different stages of decorating are shown below and you can also watch her step-by-step tutorial on youtube (click here).

You can make this set in all sorts of different colors, just keep in mind that to tie them all together the final piping of lines is needed. The cookie will look ok without the final detail, but not nearly as composed. I made the lines using Americolor Gold (one of my most used colors!) and then brushed some with gold some with copper luster powder.

.
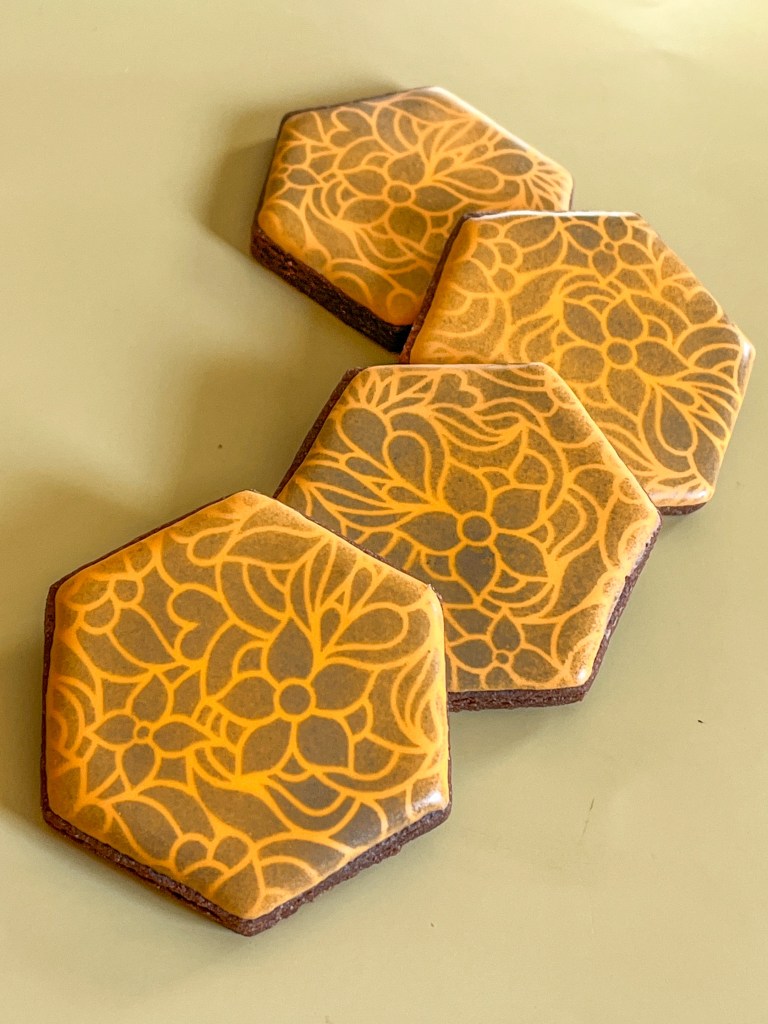
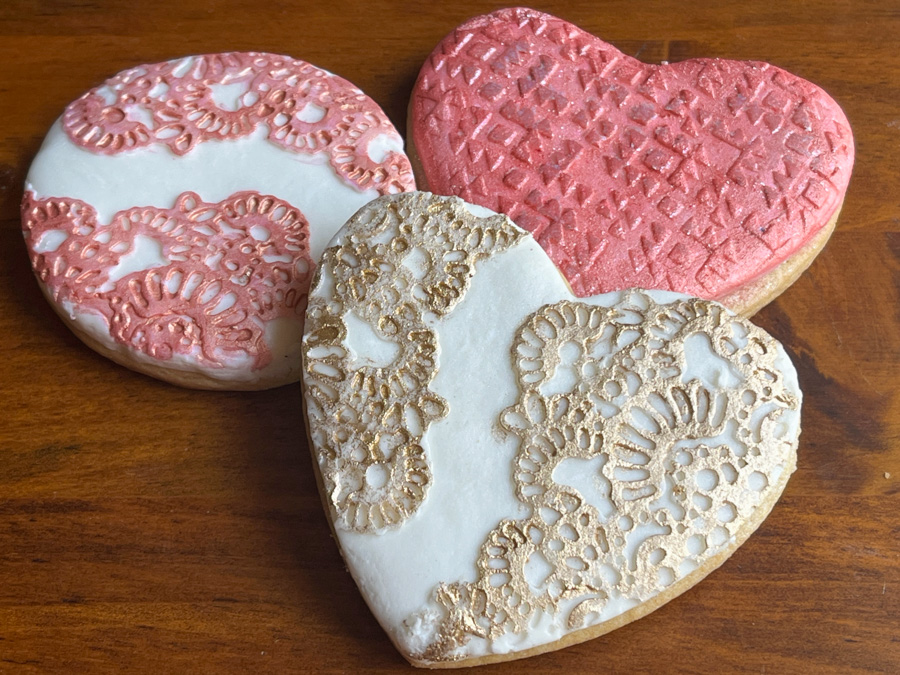
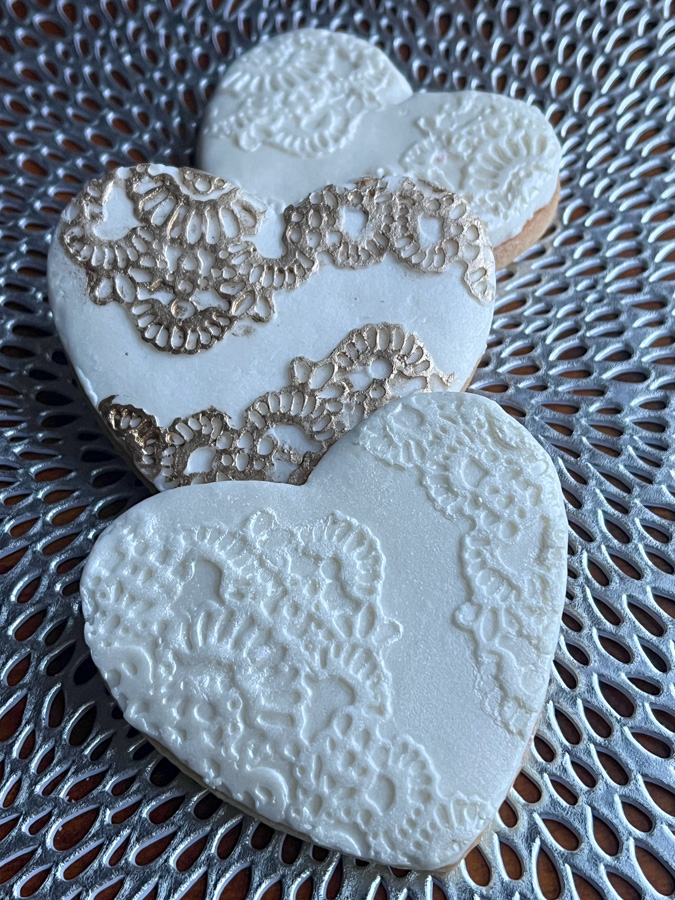
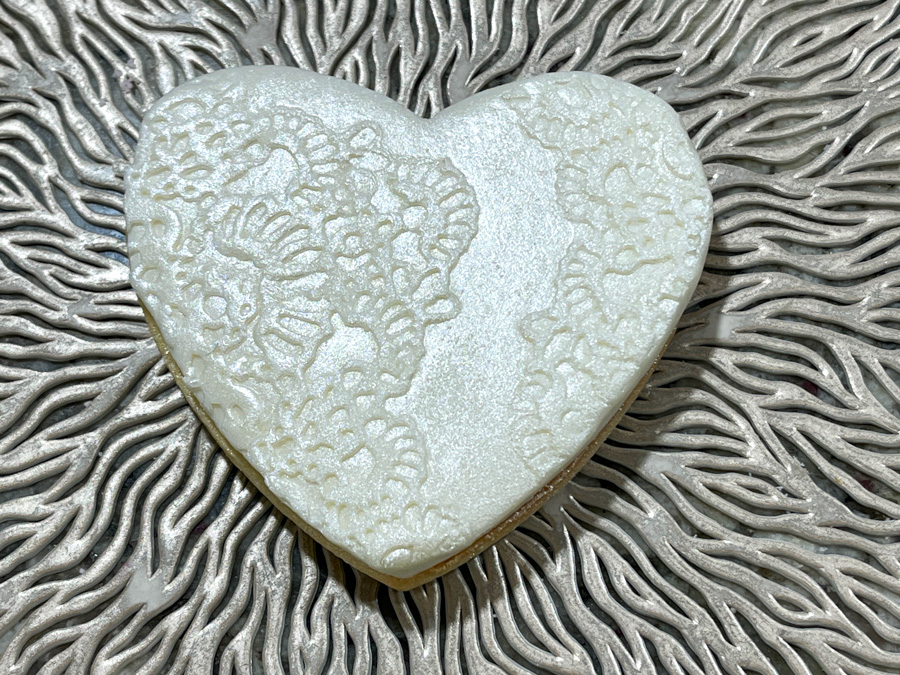
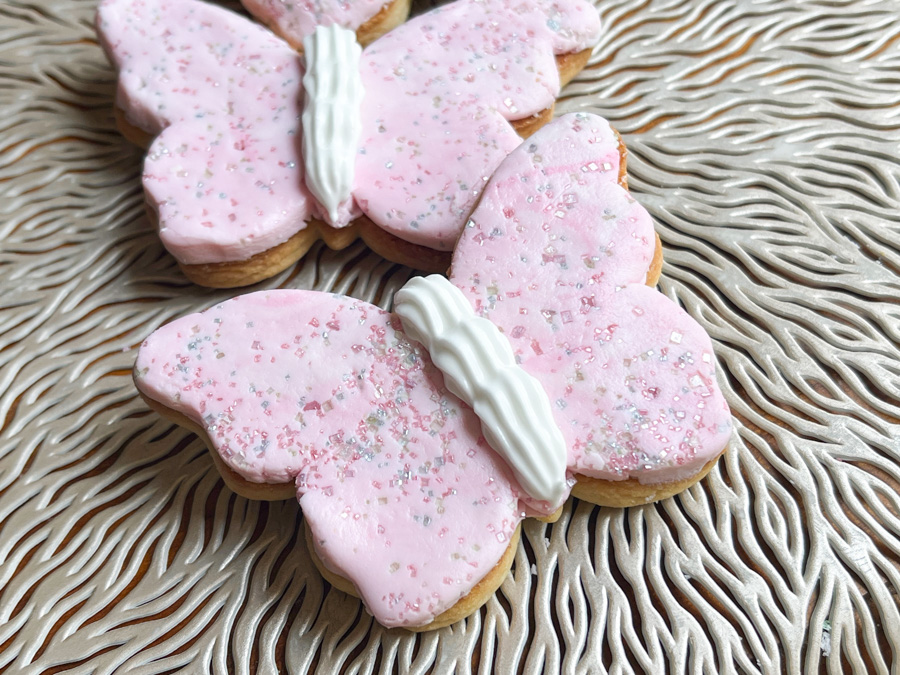
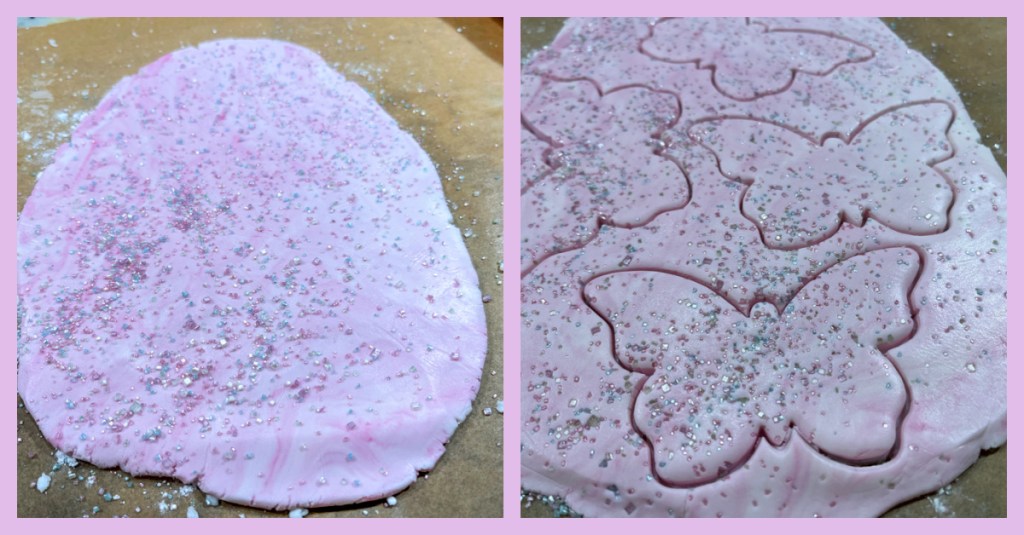
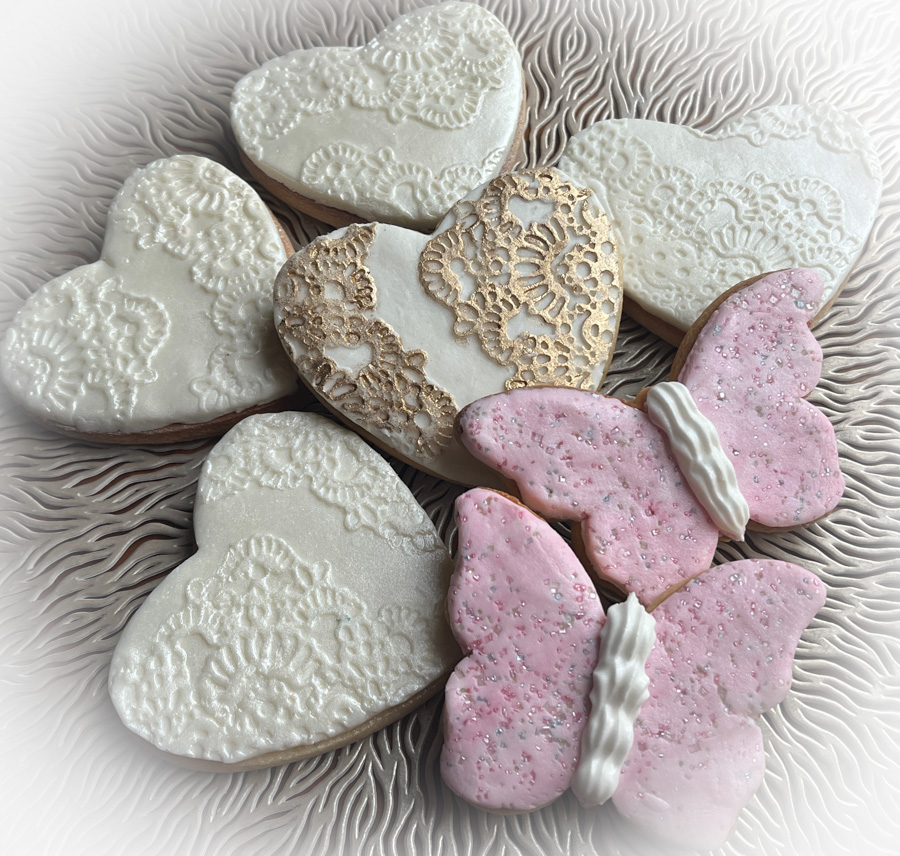
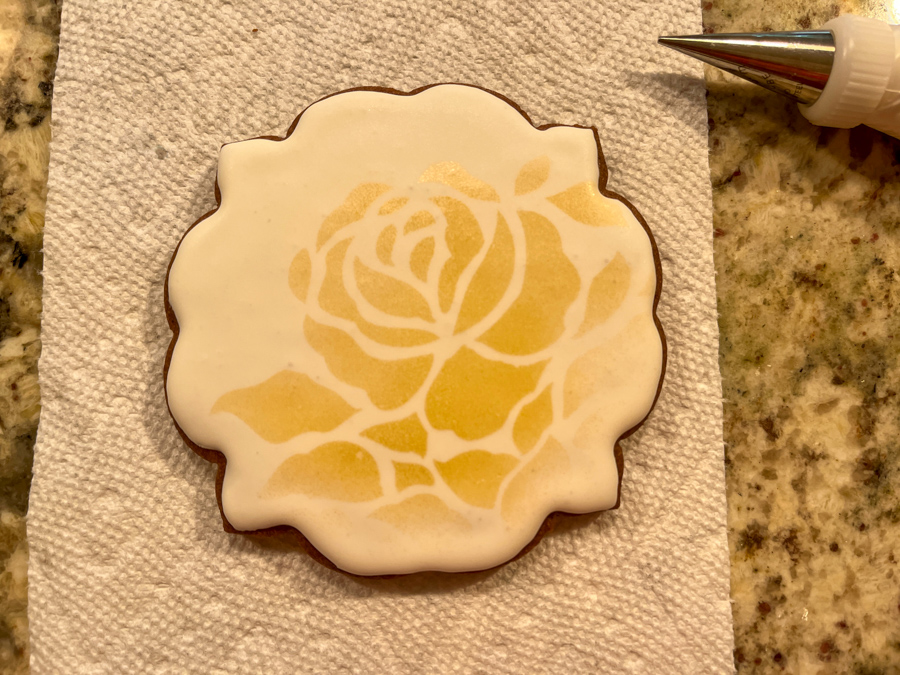
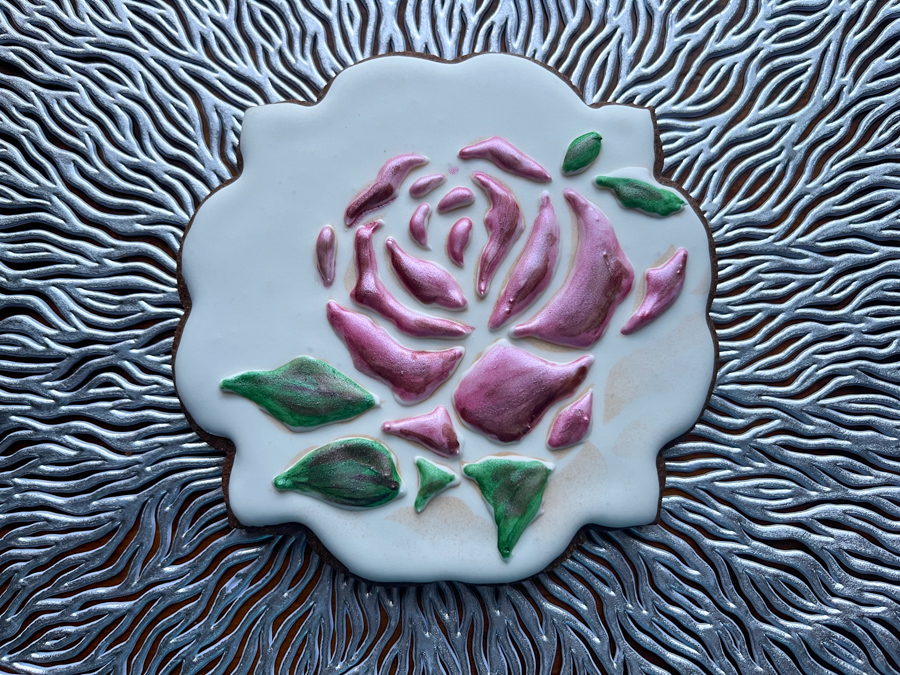
THE PINK HEART
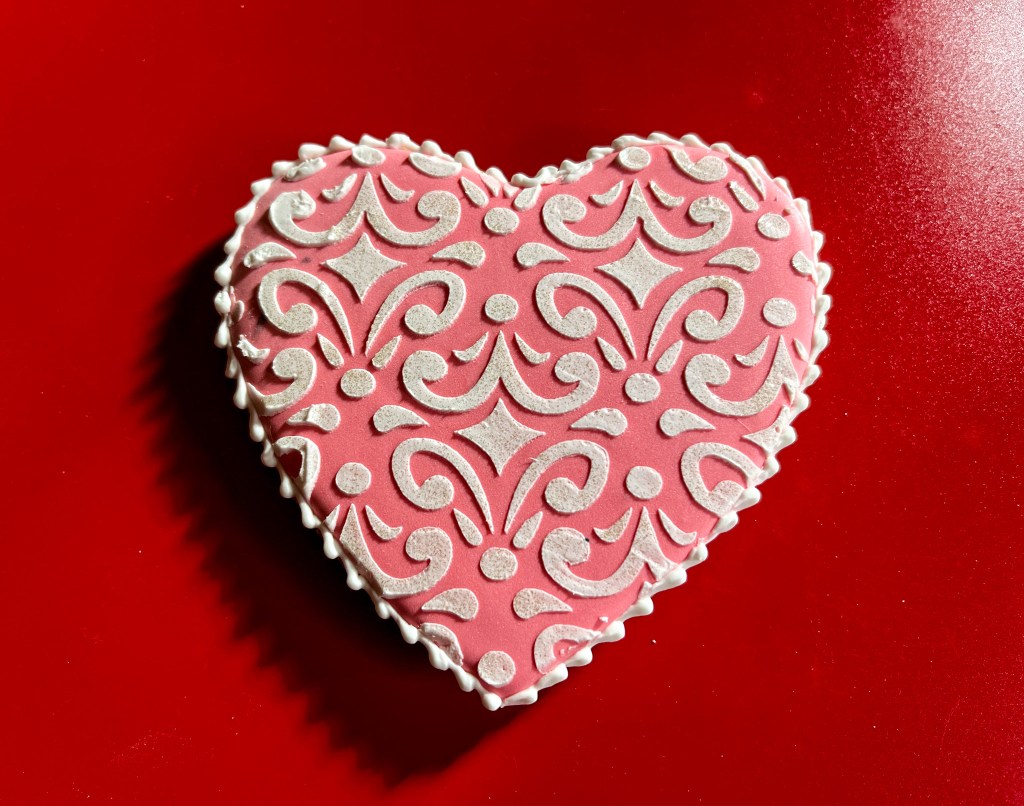
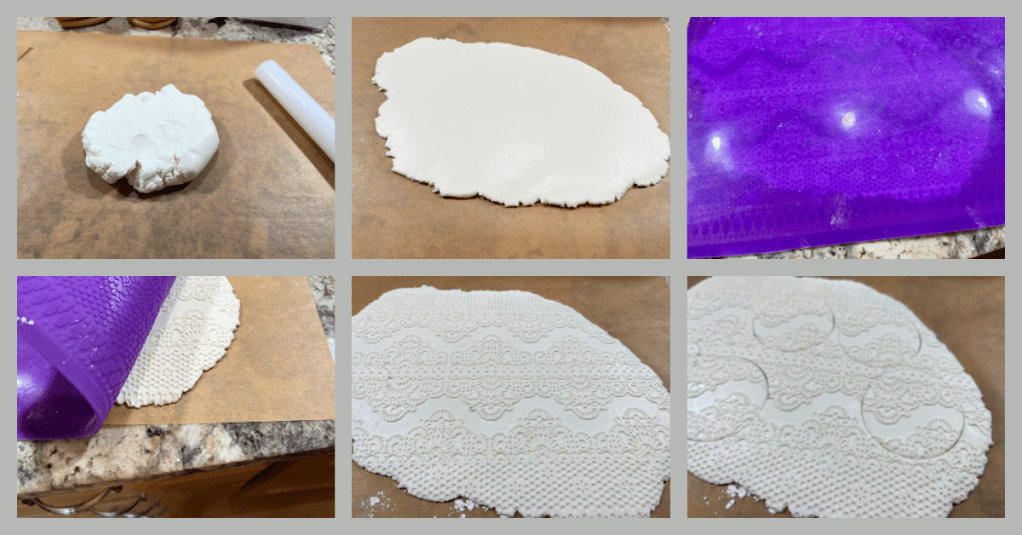
I am over the moon with this design, because I finally managed to do the stencil coupled with Royal icing in a nice way. It took getting a very special gadget, but I am glad I did. It is not cheap, but after doing quite a bit of research on the subject I realized it is the best one out there. Ordering info here. It holds the stencil in place, so you can spread the icing without hesitation. I am totally in love with it, and also works well for airbrushing.
I hope you enjoyed this little set made with Valentine’s Day in mind… I still have so many cookies waiting and probably won’t be able to get through all of them before the big day arrives. Such is life. So many cookies, so little time!

.
ONE YEAR AGO: Valentine’s Cookies by Tunde Dugantsi
TWO YEARS AGO: Following my Heart